
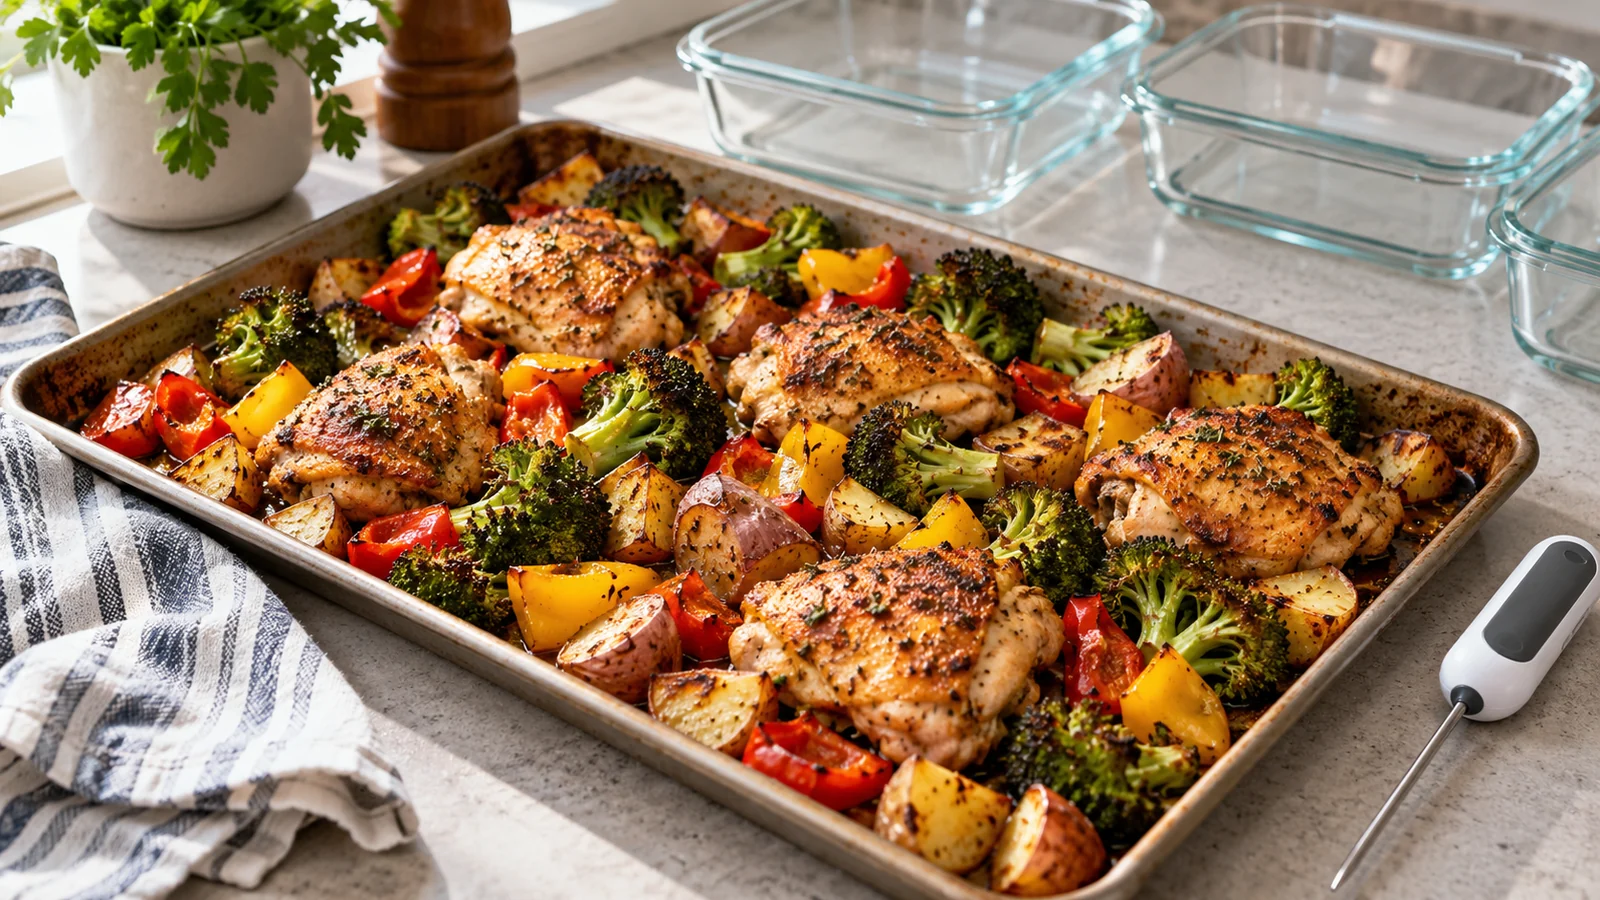
Sheet-pan meal prep works best when you group ingredients by cooking time, give them enough space to roast, and remove each component when it is ready. Start dense vegetables first, add faster-cooking ingredients later, and use a thermometer for animal proteins. Two uncrowded trays often produce better meals than forcing everything onto one overloaded pan.
Published October 12, 2026
Plan around the oven, not the recipe photograph
A tray of chicken, potatoes, and broccoli can look simple while hiding three different cooking schedules. Potato size, chicken thickness, vegetable moisture, oven accuracy, and pan crowding all affect the result. The useful skill is arranging a sequence that lets each ingredient finish properly.
Choose your meal components before turning on the oven: a protein, one or two vegetables, an optional starch, and a sauce or finishing ingredient. Then decide which components belong on the same tray. Foods with similar cooking times and moisture levels are easier to combine than ingredients chosen only because their colors look good together.
Keep raw animal proteins on a separate rimmed tray from vegetables when learning this method. That simplifies timing, reduces the chance of transferring raw juices to ready-to-eat food, and lets you remove vegetables without wondering whether they have contacted undercooked meat juices.
A sheet-pan meal can still include a stovetop grain, refrigerated sauce, or fresh topping. You do not need to roast every component to earn the convenience. A cold yogurt sauce or lemon dressing added after reheating often makes leftovers more appealing than coating everything before storage.
Set up equipment before handling ingredients
Use sturdy rimmed baking sheets with enough room for food in a mostly single layer. A rim helps contain juices, but it is not permission to overload the tray. Leave visible space between pieces when browning is the goal. If vegetables are piled several layers deep, expect more steaming and less surface color.
Have oven mitts, clean tongs, a spatula, shallow storage containers, and an instant-read thermometer ready. Decide where hot trays will land before you open the oven. Keep the clean serving area separate from the area used for raw meat or fish, including the plates and utensils that touched it.
If lining a tray, use a material rated for your oven temperature and cooking method. Parchment, foil, and reusable mats behave differently; follow their instructions, especially near broilers. A liner can ease cleanup, but it does not eliminate the need to wash a tray that held raw animal foods.
Check that both trays fit with room for air to circulate. If the oven cannot accommodate them comfortably, cook in batches. More food at once is not always faster when crowding delays cooking and forces you to correct uneven results afterward.
Sort ingredients into three timing groups
Give dense vegetables a head start
Potatoes, sweet potatoes, carrots, and other dense roots usually need more time than tender vegetables cut to a similar size. Cut them into consistent pieces and start them first. A small dice cooks faster than a large wedge; shape is part of the schedule.
If you want very large potato pieces beside a quick-cooking protein, consider cooking the potatoes separately rather than expecting the protein to wait. You can also precook potatoes using a safe, appropriate method and finish them in the oven, but that adds a step and may not suit a busy evening.
Add medium-speed vegetables in a separate stage
Broccoli, cauliflower, onion wedges, and bell peppers often fit the middle of a roasting sequence. Their exact timing depends on size and how tender you like them. Keep broccoli florets reasonably similar, and slice thick stalks smaller so they do not lag behind the tops.
Dry washed vegetables before adding oil. Excess surface water must evaporate before substantial browning occurs. Frozen vegetables can also work, but they release moisture differently; our frozen-vegetable meal-prep guide explains how to protect texture instead of treating them exactly like fresh produce.
Reserve delicate ingredients for the end
Thin asparagus, leafy greens, delicate herbs, and some small pieces of zucchini need less time or no roasting at all. Add herbs and citrus zest after cooking when you want a fresher flavor. A sauce containing substantial sugar may also be better near the end so it does not burn during a long roast.
These groups are planning aids, not guarantees. Look, stir, and test tenderness as cooking progresses. Your first batch teaches you how your oven and cut sizes behave; note that information rather than relying permanently on a generic minute count.
Build a realistic cooking sequence
Imagine a meal with potato cubes, broccoli, and chicken breast. The potatoes can start first while you prepare the broccoli. The chicken goes on its own tray, with its timing based on thickness and measured temperature. Broccoli joins the vegetable tray later, after the potatoes have begun to soften.
Set a timer for the next check, not for an automatic declaration that everything is done. At each check, ask three separate questions: Are the potatoes tender? Is the broccoli cooked to the texture I want? Has each piece of chicken reached the safe internal temperature?
If one component finishes early, remove it to a clean container or plate and manage its temperature safely. Do not keep roasting it merely because another component needs longer. If you are not serving immediately, portion cooked food into shallow containers and refrigerate promptly.
For two-tray cooking, rotate or swap tray positions if your oven browns unevenly, while handling raw-protein juices carefully. Opening the door repeatedly loses heat, so combine checks when possible. Still, food safety and proper doneness matter more than protecting an optimistic recipe time.
Use temperatures for safety and tenderness for vegetables
The FoodSafety.gov cooking chart gives the relevant minimums: poultry reaches 165°F; ground beef, pork, lamb, and veal reach 160°F; whole cuts of beef, pork, lamb, and veal reach 145°F followed by a three-minute rest. Fish reaches 145°F. Reheated leftovers reach 165°F.
Insert the thermometer into the thickest part of the food, avoiding bone and the hot tray. Thin pieces may be easier to measure from the side. Check more than one piece when sizes vary, and clean the thermometer appropriately between checks, especially after measuring food that is not yet safely cooked.
Color is not a reliable substitute for a temperature measurement. A browned chicken exterior can surround an undercooked center, while safe poultry can sometimes retain color. Recipe times are estimates because thickness and oven conditions vary.
For tofu and tempeh, follow the package’s preparation directions. For vegetables, test the texture you want while maintaining safe handling. If vegetables have contacted raw meat juices, do not remove or serve them early as though they were untouched vegetables. Separate trays avoid this complication.
Recipe 1: lemon chicken, potatoes, and broccoli
This four-serving preparation uses 700 grams of raw boneless chicken breast, 800 grams of potatoes cut into roughly three-quarter-inch cubes, 500 grams of broccoli florets, two tablespoons of olive oil, two teaspoons of garlic powder, black pepper, and one lemon. Salt to taste if desired. Use two rimmed trays.
- Heat the oven to 425°F. Wash and dry the produce. Toss potatoes with about half the oil and some garlic powder and pepper. Spread on the vegetable tray and roast for about 15 minutes before checking.
- Prepare chicken on a separate board or after finishing produce prep and cleaning the workspace. Arrange similarly thick pieces on the second tray with a little oil and seasoning. Wash hands and clean surfaces after raw-poultry handling; do not rinse raw chicken.
- Put chicken in the oven. Toss broccoli with the remaining oil and add it to the potato tray only if there is enough space; otherwise use another batch. Begin checking vegetables after another 12–15 minutes.
- Measure the chicken temperature as it approaches doneness. Remove each piece once it reaches at least 165°F. Continue vegetables until potatoes are tender and broccoli reaches your preferred texture.
- Finish with lemon zest and juice. Divide the cooked chicken and vegetables into four portions using clean utensils.
Expect the total oven time to vary with chicken thickness, potato size, and tray placement; the staged checks are more important than a promised finish time. If chicken is done before the potatoes, remove it. If broccoli is ready first, lift it out with a clean utensil rather than letting it become mushy.
For an illustrative protein calculation, suppose the raw chicken label states 22 grams per 100 grams. The 700-gram batch would contain about 154 grams of protein before cooking, or 38.5 grams per quarter-batch, ignoring minor cooking losses. Potatoes, broccoli, oil, and lemon are excluded. This is an example label assumption, not a universal chicken value or complete nutrition analysis.
Record the original raw chicken amount if using its raw label. Do not multiply the smaller cooked weight by the raw value. Divide the finished chicken evenly among four containers, or calculate portions from their fraction of the cooked batch. See raw versus cooked food weight for a fuller explanation.
Recipe 2: tofu, chickpeas, peppers, and onion
For four servings, use 800 grams of drained extra-firm tofu weighed before pressing, two cups of cooked drained chickpeas, three bell peppers, one large onion, two tablespoons of oil, two teaspoons of smoked paprika, one teaspoon of cumin, and lemon juice to finish. Use canned chickpeas or chickpeas that are already fully cooked, never raw soaked legumes.
- Heat the oven to 425°F. Pat the tofu dry and cut into consistent cubes. Drain and dry the cooked chickpeas. Slice peppers and onion into bite-sized pieces.
- Toss tofu and chickpeas with part of the oil and seasoning. Put vegetables on another tray with the remaining oil and spices.
- Spread both trays without crowding. Roast, checking and turning after about 15 minutes. Continue until vegetables are tender and the tofu is appropriately cooked and browned, following its package instructions.
- Remove vegetables when ready even if the tofu needs longer. Finish with lemon juice and divide the tofu and chickpeas evenly between four containers.
Using illustrative labels of 12 grams of protein per 100 grams of drained tofu and 7 grams per half cup of cooked drained chickpeas, the counted batch provides 96 plus 28 grams, or 124 grams total. Divided four ways, that is about 31 grams per serving from tofu and chickpeas. Vegetables, oil, seasoning, and lemon are excluded.
Roasted chickpeas soften during refrigerated storage. That is normal texture change, not a failed batch. If you want a crisp contrast at eating time, keep a separate crunchy topping and add it after reheating. Do not expect refrigerated legumes to retain the exact texture they had straight from the oven.
This tray also works as the warm component of high-protein salads. Chill portions safely before combining them with delicate greens. Keep dressing separate so you can decide whether the meal will be a warm bowl or a cold salad later.
Recipe 3: salmon with carrots and green beans
For three servings, use three raw salmon portions of approximately 150 grams each, 600 grams of carrots cut into thin sticks, 400 grams of trimmed green beans, one and a half tablespoons of oil, black pepper, dill, and lemon wedges. Cook fish on a separate rimmed tray from vegetables.
- Heat the oven to 400°F. Toss carrots with some oil and pepper, spread on a tray, and give them a head start of about 15–20 minutes, checking their tenderness.
- Add green beans to the vegetable tray if space allows. Put salmon on its separate tray with the remaining oil and pepper.
- Begin checking the fish after about 10 minutes, sooner for thin pieces. Continue until the thickest part reaches 145°F. Vegetable timing may differ, so remove each component separately.
- Add dill and lemon after cooking. Serve one fish portion with a third of the vegetables, plus bread or cooked grains if desired.
Under an illustrative raw-salmon label of 20 grams of protein per 100 grams, each 150-gram raw portion contributes approximately 30 grams of protein before cooking. The vegetables and optional sides are not included. Actual salmon values vary by product, so use the package or an appropriately matched food database entry for your own calculation.
Fish can lose quality when reheated aggressively. Plan it for meals you will eat sooner, and reheat only the portion needed, reaching 165°F for leftovers. You may also eat safely cooked, promptly chilled fish cold within its safe storage window if that suits the meal.
Cooling is part of the workflow
Set out shallow containers before the trays finish. Portioning a large batch promptly helps it cool more effectively than leaving a deep mound of hot food on the counter. Hot food can go into the refrigerator in suitable shallow containers; you do not need to wait for it to reach room temperature.
Keep the refrigerator at 40°F or below. Use cooked refrigerated leftovers within three to four days, and freeze portions intended for later. Label containers with their cooking date. A sauce added tomorrow does not restart the storage clock for food cooked today.
The USDA advises refrigerating leftovers within two hours, or within one hour when the surrounding temperature is above 90°F. Discard food that has exceeded those limits rather than trying to rescue it through extra reheating. Reheating does not reliably undo every consequence of unsafe storage.
For a three-day batch, refrigerate the portions you will eat within that period. For a longer plan, freeze appropriate portions promptly instead of assuming a large Sunday batch should stay refrigerated all week. Our meal-prep food-safety guide covers cooling, transport, and reheating in more detail.
Reheat components according to their texture
A microwave is convenient for a mixed bowl, but it will not recreate every crisp edge. Add a small splash of water to grains if needed, cover appropriately, rotate or stir, and check that leftovers reach 165°F. Let the food stand as directed by your microwave before checking temperature.
An oven or skillet may restore some surface texture to potatoes and tofu. Avoid drying a delicate protein while waiting for a large portion of vegetables to heat. Separate containers or removable compartments let you use different methods when that matters to you.
Add cold sauce, fresh herbs, lemon juice, and crisp toppings after heating. This preserves their contrast and prevents a yogurt sauce from becoming an unintended cooked coating. Reheat only what you plan to eat rather than warming the entire batch repeatedly.
Troubleshoot the tray you actually cooked
The vegetables are pale and watery
Reduce crowding, dry the produce better, and check whether one ingredient releases a lot of liquid. Roast watery vegetables separately from potatoes when you want distinct browned surfaces. More oil is not the first fix for a tray that is steaming.
The outside burns before the middle is ready
Cut dense pieces smaller, lower the oven temperature if necessary, and move sugary sauces later in the process. Very dark pans and hot spots can accelerate surface browning. Rotate the tray and check progress instead of blindly extending the original time.
Chicken finishes unevenly
Start with pieces of reasonably similar thickness and measure each one. Remove cooked pieces while allowing thicker ones to continue. If you alter thickness before cooking, use safe raw-poultry handling and clean the work area before preparing ready-to-eat toppings.
Every meal tastes the same by day three
Keep the roasted base simply seasoned and vary the finishing ingredients. Lemon and herbs, a thick tomato sauce, and a yogurt-based dressing can lead the same components in different directions. Store sauces separately and respect their own ingredient dates and refrigeration needs.
Cleanup takes longer than cooking
Measure seasonings into one small bowl before handling raw protein, use a suitable liner when helpful, and wash tools while the first tray cooks. Keep clean and raw-food utensils distinct. Efficiency should reduce unnecessary steps without blending food-safety zones together.
Scale the batch to your refrigerator and appetite
Four portions is a convenient recipe size, but it is not automatically the right amount for your household. Before doubling a recipe, count your available trays, safe refrigerator space, and meals you expect to eat at home. A double batch may require two oven rounds, and the second round still needs room to cool and store promptly.
Make one container first as a portioning model. Add a quarter of the protein batch, then a comfortable amount of vegetables and starch. If the container feels too full, use a separate side container rather than compressing everything into a deep, tightly packed mound. If the meal looks too small for your appetite, plan an additional component instead of taking protein from the other portions without noticing.
Keep a small amount of each sauce in its own container so you can change the flavor later. For households with different preferences, divide the plain roasted components first and season individual portions afterward. This approach is especially useful when one person prefers a stronger sauce or a different amount of starch. It also makes the next batch easier to adjust: you can change one component without rewriting the whole oven schedule.
Your next batch can be simpler
After eating the first batch, note the cut sizes, tray arrangement, and actual sequence that worked. Repeat that structure with small flavor changes before trying a completely different collection of ingredients. Reliable timing and manageable portions make meal prep useful on an ordinary busy day.
Pair a realistic food routine with a realistic movement routine. Explore Workit on the App Store for your fitness routine.