
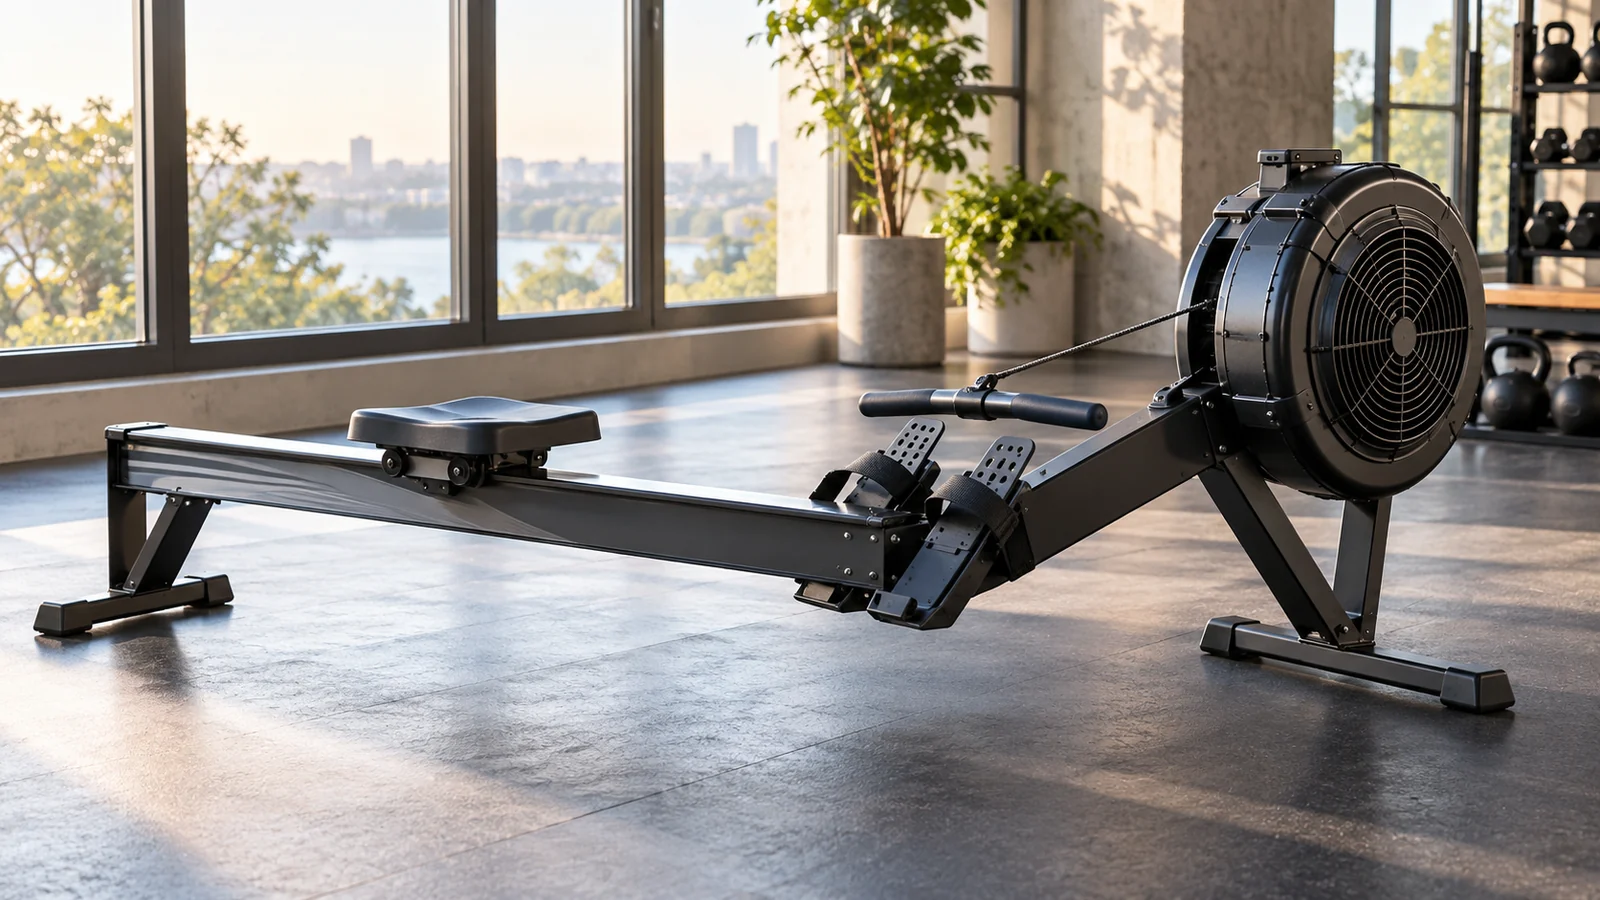
A good rowing machine workout for beginners starts with short, easy practice and a repeatable stroke: legs, body, arms on the drive; arms, body, legs on the recovery. Once you are comfortable rowing for several minutes, try the 20-minute session below: four minutes easy, six rounds of one minute steady and one minute easy, then four minutes easy.
Published October 12, 2026
You do not need a fast 500-meter split, a maximum resistance setting, or an exhausting interval workout to benefit from getting started. Your first priority is learning how the seat, handle, and footrests work together. The second is finding an effort you can sustain while maintaining that coordination.
If this is your first time on a rower, begin with the shorter familiarization session before attempting twenty minutes. The timed plan is a next step, not an entry requirement. This guide explains machine setup, technique, useful monitor numbers, intensity, progression, and ways to combine rowing with strength training.
Before your first rowing workout
Check that the machine is stable, the seat rolls smoothly, and the handle and straps appear intact. Leave the rail clear of bags, towels, and loose clothing. Ask gym staff about any unfamiliar adjustment or maintenance concern. Different air, magnetic, water, and hydraulic machines use different controls, so follow the instructions for the model in front of you.
Wear shoes that stay secure on your feet and clothing that cannot catch under the seat. Keep a water bottle within reach without placing it where the seat or handle could hit it. Adjust the monitor so you can glance at it without craning your neck or rounding forward.
If you have an injury, a condition affecting exercise tolerance, or uncertainty about whether rowing is suitable, get individualized advice before following a generic plan. Low impact does not mean every movement is comfortable for every person. Stop for pain, dizziness, chest discomfort, or unusual shortness of breath, and seek appropriate medical help rather than trying to finish the interval.
Set the footrests and straps first
Sit carefully on the seat and position your feet in the heel cups. Adjust the footrest height according to the machine’s instructions. On a Concept2, the strap generally crosses around the ball of the foot, rather than sitting high across the ankle. The manufacturer’s comfort and setup guidance explains the basic positioning.
Secure the straps enough to keep your feet in place without uncomfortable pressure or numbness. Check how to loosen them before starting. A good setup lets you move through a comfortable stroke without feeling that your shoes are slipping out or that the strap is pinching.
Take a few gentle strokes and reassess. You may need a small adjustment if you feel crowded at the front or cannot sit comfortably. Do not move the footrests simply to imitate another person’s setting: shoe size, limb lengths, and the machine itself influence the setup.
The straps help secure your feet, but you should not use them to yank yourself toward the front on every recovery. Concept2’s foot-strap explanation emphasizes a controlled return rather than pulling hard against the straps. Keep the standard strapped setup while learning; advanced drills with feet unsecured are unnecessary for this beginner plan.
Choose a manageable resistance setting
On a Concept2 air rower, the damper lever changes airflow and the feel of the stroke. It is not a simple difficulty score, and level ten is not a badge of experience. Concept2’s damper guidance recommends starting around three to five and focusing on technique.
That number does not transfer to every rowing machine. A magnetic rower’s resistance scale or a water rower’s setup may work differently. Use a light, manageable setting recommended by the manufacturer or gym staff. You should be able to learn the sequence without having to wrench the handle toward you.
On air rowers, pulling more forcefully increases the work even when the damper stays unchanged. This is why a moderate damper can still support a hard workout. For now, keep the setting consistent across sessions so you can focus on timing and comfort rather than changing several variables at once.
Learn the rowing stroke in four positions
The Concept2 rowing-technique guide describes a leg-led drive and a recovery that reverses the sequence. Use the following short outline as a memory aid, then practice gently rather than trying to produce power immediately.
1. Catch: prepare to push
At the front, your arms are long, your shoulders relaxed, and your torso tilted slightly forward from the hips. Bring your shins close to upright within a comfortable range; avoid forcing the knees far past that point. Heels may lift naturally. Keep your head in a comfortable line with your torso.
2. Drive: legs, body, arms
Push against the footrests with your legs. As the legs extend, swing your torso through upright into a modest backward lean, then finish with the arms. Bring the handle toward the lower ribs with relaxed shoulders. Avoid starting with a hard arm pull.
3. Finish: stay tall and controlled
Finish with the legs extended comfortably, a small backward torso lean, and the handle near the lower ribs. Keep your wrists fairly straight. You do not need to lean far backward or pull the handle toward your neck.
4. Recovery: arms, body, legs
Move the hands away, hinge the torso forward, and then bend the knees after the handle has cleared them. Slide forward smoothly to prepare for the next stroke. The return should feel unhurried rather than like a sprint back to the front.
A first-day familiarization session
Do this before worrying about a complete workout. Concept2’s getting-started guidance suggests beginning with short rowing bouts. The purpose of the following original session is to leave you more comfortable with the machine, not to test your fitness.
- Spend a minute checking the seat, footrests, straps, and monitor while stationary.
- Row very easily for two minutes, using short, comfortable strokes.
- Stop for a minute to relax your grip and review one technique cue.
- Row easily for another two minutes, concentrating on that cue.
- Stop and assess how you feel before deciding whether to finish or repeat a short easy bout.
The basic version includes four minutes of rowing and one minute of stationary rest, plus setup time. It is intentionally small. If coordination starts to improve and you finish feeling comfortable, that is a successful first exposure. You can repeat the same session another day rather than immediately stretching it into a long workout.
Pick one cue per bout. For example, think “hands away before knees bend” in the second bout. Trying to monitor foot pressure, back angle, arm timing, breathing, stroke rate, and pace simultaneously can make a straightforward movement feel more complicated than it needs to be.
The 20-minute beginner rowing workout
Use this session once you can row easily for several minutes with a reasonably consistent sequence. Keep the “steady” minutes controlled, not maximal. The easy minutes are deliberately gentle enough to recover and reorganize your stroke.
- Minutes 0–4: easy warm-up rowing. Start very gently and gradually settle into a comfortable rhythm.
- Minutes 4–16: six rounds of one minute steady rowing followed by one minute easy rowing.
- Minutes 16–20: easy rowing, gradually reducing effort toward the finish.
The arithmetic is four minutes plus six two-minute rounds plus four minutes: 4 + 12 + 4 = 20. There are six steady minutes and fourteen easy minutes. The last recovery minute in the interval block runs from minute fifteen to minute sixteen; it is separate from the four-minute cooldown.
For the first attempt, make the steady minutes only slightly more purposeful than the easy minutes. You might press a little more firmly with the legs while keeping a similar stroke rate. Avoid treating the change in effort as permission to rush the seat or pull harder with the arms.
If twenty minutes is too much, use three rounds instead of six. Four minutes warm-up, six minutes of intervals, and four minutes cooldown equals fourteen minutes. You can also return to the familiarization session. Shortening the plan is preferable to preserving the time target with deteriorating technique.
Plan a few additional minutes for adjusting the machine and getting on and off. “Twenty-minute workout” refers to the rowing clock, not a promise that you can enter the gym, set up unfamiliar equipment, complete the session, and leave within twenty minutes.
Use breathing and the talk test to control intensity
The CDC’s talk-test guidance describes moderate aerobic intensity as an effort at which you can talk but not sing comfortably. For this starter workout, keep the steady intervals conversational and the easy intervals easier still. You do not need to approach the point where speaking becomes difficult.
On a simple zero-to-ten effort scale, you might describe the easy portions as two or three and the steady portions as four or five. These are rough coaching anchors, not laboratory thresholds. If four feels unusually hard today, use less effort rather than arguing with the number.
During an easy minute, say a short sentence to check your breathing. If you are gasping, reduce the drive pressure and allow the rhythm to settle. You may need a stationary break. A workout template cannot account for your sleep, recent illness, other exercise, or starting fitness, so your response takes priority.
Do not hold your breath to brace through each pull. Find a breathing pattern that feels natural and repeatable. You can experiment with exhaling through the drive and inhaling on the recovery, but there is no need to force an exact pattern if it makes the movement awkward.
Which monitor numbers matter at the beginning?
Elapsed time
This is the main number for the starter workout. A simple timer is sufficient if the monitor is unfamiliar. You can set a twenty-minute session and use the clock to alternate steady and easy minutes, or use an interval function after learning how it works.
Stroke rate
Stroke rate is usually displayed as strokes per minute. It tells you how often you row, not how hard each stroke is. Around eighteen to twenty-four strokes per minute can be a useful practice range for many beginners, but comfort and sequencing matter more than staying inside an exact band.
If you can only reach a target rate by rushing forward, slow down. If a slightly different rhythm helps you coordinate the movement, use it. Two people can row at the same stroke rate with very different power and effort, so do not treat the rate as a complete description of intensity.
Pace or split per 500 meters
This number estimates how long 500 meters would take at your current output. A smaller time represents a faster pace. It can be useful later, but there is no universal beginner split you must hit. Body size, fitness, technique, and equipment all affect what the number means for you.
Distance, watts, and estimated calories
Distance and watts can help compare similar sessions on the same machine once your technique is consistent. Estimated calories are not a precise personal measurement or a reason to keep rowing after your form breaks down. For the first few weeks, record time and perceived effort before adding more data.
Common rowing mistakes and practical fixes
Concept2’s technique troubleshooting guide identifies common problems involving grip, arm timing, trunk movement, and the sliding seat. Address one visible issue at a time. A short side-view video or qualified instructor can be more useful than simply adding more minutes.
Your knees rise before the handle clears them
Practice moving the hands away first. Let your torso follow, then bend your knees. If the handle has to climb over the knees, the recovery sequence needs attention. Reduce effort until the handle travels smoothly instead of tracing an exaggerated up-and-down path.
Your arms tire before everything else
Check whether you are bending the elbows at the beginning of every drive. Keep the arms long as the legs initiate the movement. Also relax an unnecessarily tight grip. Arm fatigue does not automatically mean you need stronger arms; it may reflect how you are distributing the work.
The seat shoots back without the handle
Lower the effort and reconnect the initial leg push to the handle movement. Avoid driving the seat backward while leaving your torso folded at the front. This is a good situation for an instructor’s eyes because trying to fix it by pulling harder can create another compensation.
You lean far back at the finish
Use a smaller torso swing and stop the finish before it becomes a reclining motion. A dramatic lean does not automatically create a better stroke. Make the position easy to reverse so that you can send the hands away and begin the next recovery smoothly.
You rush every recovery
Think of the drive as purposeful and the return as patient. Concept2’s rowing drills include rhythm practice that gives more time to recovery than to the drive. You do not need a perfect ratio; you need enough time to reset without crashing into the front.
How often should a beginner row?
Two sessions a week is a manageable starting experiment alongside other activity. Leave time between early sessions to notice how your hands, hips, legs, and back respond. If you already do substantial training, consider the total workload rather than adding rowing as if it has no recovery cost.
Repeat the same short session until it feels familiar. Progress can mean less confusion, steadier breathing, or fewer technique corrections before it means more distance. If you are returning after time away, Workit’s guide to returning to the gym after a break offers a broader approach to rebuilding activity gradually.
A four-week progression with room to repeat
Use this as a decision framework, not a calendar you must obey. Stay with a stage until it feels manageable, and move backward if symptoms, unusual fatigue, or technique problems appear.
- Week one: two short familiarization sessions. Learn setup and the recovery sequence.
- Week two: try the fourteen-minute version if short bouts feel comfortable. Keep both steady and easy periods gentle.
- Week three: move toward the twenty-minute version, or repeat fourteen minutes if that is the better fit.
- Week four: repeat twenty minutes with more consistent technique. Only consider a small duration increase if recovery and control are both good.
If you decide to add time, two additional easy minutes are a simple option. Keep the interval effort unchanged so that duration is the only new challenge. There is no requirement to increase intensity every week, and there is no need to turn these intervals into sprints just because they have become familiar.
For example, a person who finishes twenty minutes comfortably but still rushes the recovery has a technique target, not necessarily a fitness target. Repeating the session while improving that timing may be more useful than rowing twenty-five minutes with the same problem.
Combine rowing with strength training thoughtfully
Rowing uses repeated leg, hip, trunk, and arm movement, but it is not a substitute for a complete resistance-training program. A seated rowing machine workout also differs from a chest-supported dumbbell row: similar names do not make the cardiovascular session and the loaded strength exercise interchangeable.
If strength is your priority, avoid a demanding rowing workout immediately before your main lifts. A short easy warm-up is a different choice from twenty minutes of hard intervals. If rowing technique is your priority, practice while you are fresh enough to concentrate.
You can place the beginner session on a separate day or after a manageable strength workout. Workit’s discussion of cardio on leg day can help you think through competing fatigue demands. Start with the arrangement you can recover from and adjust based on actual performance.
If rowing is uncomfortable despite setup changes, choose another activity rather than forcing it. An elliptical starter workout has a different movement pattern and coordination demand. The useful cardio option is one you can perform comfortably and repeat consistently.
What to record after each session
Keep a short entry: machine type, resistance or damper setting, total minutes, interval structure, overall effort, and one technique note. “Air rower, damper four, fourteen minutes, conversational, recovery less rushed” gives you a practical reference for the next visit.
Use a workout log to compare similar sessions. If you change machines, note that fact rather than treating every distance number as directly equivalent. Improvement should not depend on selecting whichever monitor happens to display the most flattering result.
Beginner rowing workout FAQ
Is twenty minutes enough?
It can be a useful session, especially when you are learning, but it is not a universal daily or weekly prescription. Your overall activity, goals, and starting point matter. Begin with what you can repeat and build gradually rather than treating twenty minutes as either a minimum or a limit.
Should I aim for a particular distance?
Not initially. Use time and comfortable effort while you learn the stroke. A distance target can tempt you to rush the final minutes or compare yourself with someone whose body, experience, and machine differ from yours. Add distance-based goals later if they serve a clear purpose.
Will rowing make my back stronger?
Rowing involves the trunk and upper body, but outcomes depend on the person and program. It is not a treatment for back pain and does not replace appropriately selected strength work. If rowing provokes symptoms, stop and seek guidance instead of assuming discomfort means the exercise is helping.
Make your next row easy to repeat
Set the footrests, choose manageable resistance, and practice the sequence before chasing speed. Start short, then use the twenty-minute plan when you are ready. To explore Workit alongside your training, visit Workit on the App Store.