
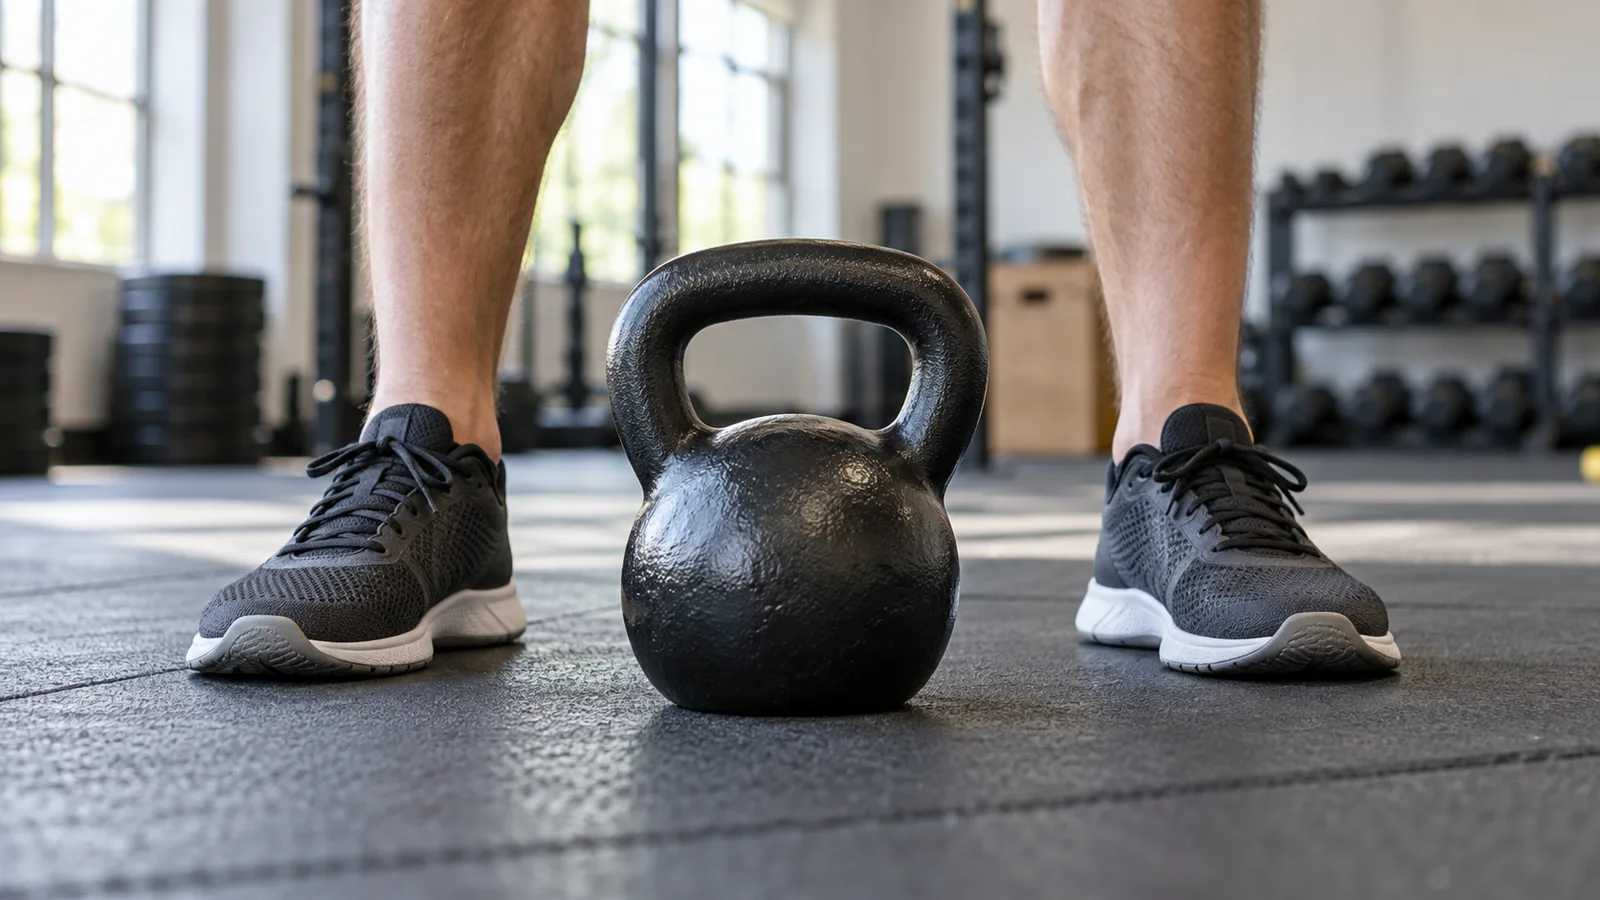
A kettlebell deadlift starts with a kettlebell resting between your feet: move your hips back, bend your knees enough to grip the handle, then stand while keeping the bell close. Lower it under control, let it settle, and reset before the next repetition. Beginners can start with two easy sets of six to eight repetitions using a weight and handle height that allow consistent technique.
Published October 14, 2026
The exercise is a practical way to learn a loaded hip hinge without needing a barbell. The main decisions are less glamorous than the weight on the handle: where the bell sits, whether you can reach it comfortably, and whether each repetition looks much like the first. This guide explains those decisions and offers original example workouts and progressions. They are adjustable training suggestions, not a trial-tested program or individualized medical advice.
What is a kettlebell deadlift?
A deadlift moves a weight from a resting position to standing. In the basic two-handed kettlebell version, one bell sits centrally between your feet and both hands hold its handle. Your hips and knees straighten together as you stand, while your arms mostly serve as the connection to the weight.
At the bottom of each repetition, the bell returns to a stable surface. That pause distinguishes the dead-stop version used here from a continuous Romanian deadlift, where the weight often reverses direction before touching down. Our Romanian deadlift versus deadlift guide explains the broader distinction.
A kettlebell swing is different again: it involves momentum and a moving arc. You do not need to swing the bell to benefit from deadlift practice. Learn to pick it up and put it down deliberately before considering faster exercises, and seek instruction when introducing movements you have not learned.
What muscles does it work?
The gluteal muscles and hamstrings contribute to straightening the hips. The quadriceps help with knee extension, with the contribution depending partly on your starting position. Your trunk and back muscles work to manage the position of your torso, while your hands and forearms maintain the grip.
This is a coordinated movement, not an isolation exercise. Feeling it only in one location is not a useful pass-or-fail test. You might notice the hips and thighs most, or discover that holding the handle is your first limiting factor. The goal is controlled repetitions without pain or a sudden change in position.
The American Council on Exercise’s introduction to kettlebells includes the two-handed deadlift as an introductory exercise. A bell can make the setup compact, but the tool itself does not guarantee good technique or make an unsuitable load appropriate.
Choose the bell, floor, and footwear
Use an intact kettlebell with a handle that comfortably accommodates both hands. Check that the base sits securely rather than rocking. Keep the handle dry and clear enough to grip. Remove nearby objects that could interfere with your feet, the weight, or your exit from the exercise area.
A firm, level surface makes it easier to feel the whole foot and set the bell down predictably. Follow your gym’s rules about flooring and equipment. Stable footwear is generally simpler than very soft soles that compress unpredictably. Avoid an improvised setup that makes you worry about slipping.
Different kettlebells have different handle heights and body shapes, even when the weight is similar. A lighter bell can be physically shorter, making the floor position harder to reach. Do not interpret that as proof that you need a heavier weight. Adjust the starting height using equipment intended to support the load.
Learn the hinge before adding much weight
Stand with your knees softly bent and hands resting lightly at the front of your hips. Move your hips backward as your torso inclines forward, then stand again. The movement is mainly a fold at the hips, although the knees are allowed to bend.
One rehearsal is to stand a short distance in front of a wall, facing away from it, and reach your hips backward until they gently touch. Choose a distance that makes contact easy without falling backward. Move farther away only if the pattern remains comfortable.
This wall drill appears in ACE’s deadlift coaching guidance. Use it as a brief explanation of direction, not an exercise you must master to an exact standard before touching a bell. A few comfortable rehearsals can be enough to make the loaded movement easier to understand.
If you cannot find a comfortable hinge or have persistent pain, individual coaching or clinical guidance is more useful than repeating increasingly forceful attempts.
How to do the two-handed kettlebell deadlift
- Set your stance. Place the bell between your feet, with the handle approximately over the middle of your foot length. Use a stance wide enough for your hands and the bell to pass freely.
- Move into position. Send your hips backward and bend your knees enough to reach the handle. Keep both feet planted and choose a comfortable back position you can maintain.
- Take a secure grip. Wrap both hands around the handle. Let your arms stay long rather than bending the elbows to lift.
- Prepare to move. Gently brace your trunk and feel steady pressure through each foot. Avoid jerking the bell off the ground.
- Stand. Push against the floor as your hips and knees straighten. Let the bell rise close to your body, with your torso and hips moving together.
- Finish upright. Stand tall without leaning backward or shrugging the weight toward your shoulders.
- Lower and reset. Move your hips back, bend the knees as needed, and return the bell to its starting spot. Let it settle before beginning again.
For an easy practice set, breathe normally between repetitions and exhale during the effort if that feels natural. You should not need prolonged breath-holding or a strained maximal attempt. If a cue makes you rigid or uncomfortable, simplify: steady feet, controlled movement, comfortable breathing.
How low should your hips start?
Your hips should be low enough to reach the handle while keeping a manageable torso position, but you do not need to squat them as low as possible. The exact height depends on your limb proportions, stance, bell dimensions, and starting surface.
Try a light setup and notice the first moment of the lift. If your hips shoot upward before the bell moves, the initial position may be lower than the one from which you can actually lift. Reset with a slightly higher hip position or reduced load and compare.
If your legs are nearly straight and reaching the handle pulls you into an uncomfortable position, bend the knees more or raise the bell. Avoid forcing a supposed “perfect” shin angle. You are trying to create a repeatable starting position, not pose for a universal geometry diagram.
A side-view recording can help you see whether the hips and shoulders begin rising together. It cannot diagnose pain or replace qualified feedback, but it can make a simple setup difference visible.
Raise the bell when the floor is too low
The floor is not a mandatory starting height. If reaching it makes you lose balance or move outside a comfortable range, put the bell on stable lifting blocks or a suitable raised platform designed for the load. Ask gym staff for an appropriate setup if you are unsure.
Do not balance a heavy bell on loose books, soft cushions, a chair, or a narrow unstable stack. The support needs a secure surface for the entire base, enough clearance for your hands, and a predictable landing area.
Start high enough to complete smooth repetitions. Over time, you can lower the support in small steps while keeping the same weight. Treat a lower start as a progression: it changes the range you must control. Avoid reducing the height and increasing the load in the same session when learning.
For example, if an elevated start allows six comfortable repetitions but the floor version does not, keep the elevation. You are still practicing picking up a load. The useful comparison is with your previous session, rather than someone else’s handle height.
How heavy should the kettlebell be?
There is no reliable universal beginner weight based only on sex, age, or body size. Previous training, grip, equipment design, current comfort, and movement experience matter. Choose by performance with the actual exercise.
Begin with a weight you expect to feel easy. Try five slow, deliberate repetitions. You should be able to set up consistently, stand without a jerk, and lower the bell without dropping it. Finish feeling that several more controlled repetitions would have been possible.
If the handle slips, the bell swings away, or the final repetitions require a different movement, reduce the load. If the available bell is too heavy, use another implement or ask for lighter equipment. There is no requirement to make the only kettlebell in the room work.
The same testing principle appears in our guide to choosing dumbbell weight: use an initial trial set, then adjust according to control and effort. Numbers on a chart cannot account for your particular starting point.
Common mistakes and fixes
The bell starts too far forward
If you have to reach forward substantially, the weight may pull you away from a balanced position. Put it nearer the middle of your stance and reset your feet around it. The bell should travel mostly up and down, with enough space to avoid hitting your legs.
You pull with bent elbows
The exercise is not a curl. Keep the arms long and imagine carrying the bell as your legs and hips bring you upright. Reduce the weight if bending the elbows feels necessary to get it moving.
You lean backward at the top
Finish in an ordinary tall stance. There is no need to push the hips dramatically forward or arch the lower back. A useful check is whether you could pause comfortably at the top without feeling that you are balancing behind your heels.
You rush the descent
Setting the bell down is part of the exercise. Send the hips back and keep control until the base reaches the surface. If you cannot lower it predictably, shorten the set or use a lighter bell.
Each repetition starts somewhere new
Small drift can turn a straightforward set into a series of awkward reaches. Pause when the bell lands and check where it is relative to your feet. Adjust while it is resting rather than trying to rescue a poor position mid-lift.
Warm-up sets and working sets
Spend a few minutes moving easily, then rehearse the hinge. Follow with one light practice set if a lighter bell is available. If you have only one manageable weight, use a few repetitions to check your setup before beginning the planned sets.
A warm-up set should leave you more prepared, not tired. For example, you might perform four easy repetitions, rest, and then begin two sets of six. Someone using a heavier working weight may benefit from additional gradual preparation.
Do not count an unexpectedly difficult practice set as something you must ignore. It is still effort. Reduce the remaining work when necessary. Our guide to warm-up sets versus working sets explains how to keep the two roles clear without treating the plan as an obligation.
A first workout you can actually repeat
Here is an original conservative template for a healthy adult learning the movement. Adapt it to your ability and any professional advice you have received.
- Three to five minutes of easy general movement.
- Four to six unloaded hinge rehearsals.
- One light practice set of four repetitions.
- Two working sets of six to eight kettlebell deadlifts.
- About 90 seconds to two minutes of rest between working sets, with more whenever needed.
Finish each set before your technique noticeably changes. You can stop at six even when eight was written down. Conversely, an easy first day does not require an extra five sets to make it feel worthwhile.
Rest is there to help the next set be useful. If grip or breathing has not recovered, wait longer. Our guide to resting between sets provides context for choosing rest according to the exercise and goal rather than racing a timer.
Progress with repetitions before forcing a weight jump
Pick a manageable repetition range, such as six to ten per set, and keep the number of sets stable initially. Add repetitions gradually while preserving the same start height and control. Once the top of the range feels repeatable, consider the next available load.
For example, a hypothetical trainee might use a 12-kilogram bell for two sets of six, then two sets of seven, and eventually two sets of ten across several sessions. Those numbers illustrate the method; 12 kilograms is not a recommendation for every beginner.
If the next bell is 16 kilograms, that is a substantial jump. Test a few controlled repetitions instead of assuming you should immediately repeat the same volume. If the jump is too large, stay with the previous bell, use smaller available increments with another implement, or get coaching about another appropriate progression.
This approach is called double progression. It makes the next decision clearer while allowing repeated sessions at the same prescription. Progress does not have to happen every workout.
Other kettlebell deadlift variations
Elevated two-handed deadlift
This is often the most useful adjustment when reaching the floor is the limiting factor. Keep the setup secure and record the start height. You can continue using it indefinitely if it fits your needs; lowering the bell is an option, not a requirement.
Two-bell suitcase deadlift
One bell sits on each side of your body. This changes grip and equipment demands and may allow a different comfortable stance. The total weight is the sum of both bells. Two 10-kilogram bells represent 20 kilograms, not a 10-kilogram exercise.
One-bell suitcase deadlift
A single bell sits beside one foot. The uneven load asks you to manage the torso differently. Use a lighter test load and avoid leaning toward the bell. This is a separate variation, not an automatic next step after the two-handed version.
Kettlebell Romanian deadlift
Begin standing, move the hips back, and reverse within a controlled range. The bell does not need to reach the floor. This changes the starting point and rhythm, so learn it deliberately rather than accidentally turning later deadlift repetitions into it as you tire.
Fit it into a balanced week
A kettlebell deadlift can serve as the hip-hinge movement in a full-body strength session. Pair it with an appropriate squat or lunge, a press, and a row rather than treating it as the entire program.
One example is deadlifts first, followed by a press and row, with a small dose of lateral lunges if sideways stepping is already comfortable. Keep initial volume modest when two lower-body movements are new. You can introduce the second exercise in a later session.
The CDC’s adult activity guidance recommends strengthening major muscle groups on at least two days per week alongside aerobic activity. That does not mean deadlifting hard every day or using the same exercise in both sessions.
Leave recovery time between challenging hinge sessions, especially while learning how you respond. If soreness interferes with normal movement or the next workout, reduce the initial dose. A routine should fit around the rest of your activity rather than compete with every other demand.
Track the details that explain progress
Write down the bell’s weight, sets, repetitions, and start height. Also record whether the weight is kilograms or pounds. A brief note such as “two sets of eight, elevated start, comfortable grip” gives the next session a clear starting point.
Note why you ended a set if it was unusual: grip fatigue, loss of focus, or difficulty controlling the descent. Those are different problems with different solutions. More leg strength will not necessarily solve a slippery handle or a poorly arranged platform.
Keep comparisons fair. Ten repetitions from a high support and ten from the floor are different tasks; both can be useful. If the setup changes, write that down before interpreting a different performance as improvement or regression.
Frequently asked questions
Is a kettlebell deadlift a squat?
It includes knee bending, but the version described here is organized around a hip hinge and lifting a resting weight. A squat generally uses more of a sitting-down pattern. Individual proportions create variation, so avoid forcing your body to match a rigid visual template.
Should I feel it in my lower back?
The back muscles contribute to the movement, but pain is not a target. Stop if you develop sharp, radiating, or persistent discomfort. Reducing weight or raising the start may make practice more manageable, but recurring symptoms need individual assessment rather than a promised online fix.
Do I need to touch the floor every time?
For the dead-stop version, return the bell to its chosen resting surface each repetition. That surface can be elevated. If you intentionally keep the bell suspended, you are using a different variation and should track it accordingly.
Can I practice with only one kettlebell?
Yes, if its weight and dimensions suit you. One bell is enough for the basic two-handed version. If it is too heavy or too awkward to reach, change the setup or equipment instead of forcing repetitions simply because it is available.
The practical takeaway
Choose a manageable bell, make the starting height comfortable, and practice standing up and setting it down with the same control. Build repetitions before forcing heavier loads. The best early benchmark is a set you can repeat with steady feet, a predictable path, and several good repetitions still available.
Comments
One response to “Kettlebell Deadlift: Setup, Form, Weight, and Beginner Progression”
[…] A manageable two-day full-body routine can complement aerobic activity. If you are learning a kettlebell deadlift or other new lift, introduce it gradually rather than making every part of the week harder at […]