
Published November 7, 2026
The inverted row is a bodyweight pulling exercise performed underneath a secure bar or suspension handles. Keep your body aligned, pull your chest toward the support, and lower yourself under control. Make it easier by using a higher bar and a more upright body angle; make it harder by gradually moving toward a more horizontal position.
It is a useful way to train your back and arms without starting with a full pull-up. The main challenge is choosing a setup that lets you row with your whole body steady instead of throwing your chest toward the bar. This guide covers equipment checks, technique, beginner progressions, and practical ways to measure improvement.
What muscles does the inverted row work?
Your back and arms create the pulling movement. The latissimus dorsi helps move the upper arm, muscles around the shoulder blades help control their motion, and the elbow flexors bend your arms. Your trunk and hips also work to maintain a consistent body position rather than sagging beneath the bar.
In an ACE-sponsored comparison of back exercises, inverted rows were among the exercises that produced relatively high middle-trapezius activity. They also involved the lats. The study measured electrical activity during specific exercise conditions; it does not prove that inverted rows are the best exercise for every back muscle or predict your long-term results.
For training purposes, consider the inverted row a horizontal pull. A pull-up or pulldown is a vertical pull. Both can belong in a program, but they are different movement tasks. Getting stronger at rows can support general pulling strength without guaranteeing that you can immediately perform a pull-up.
Choose equipment designed to support your body
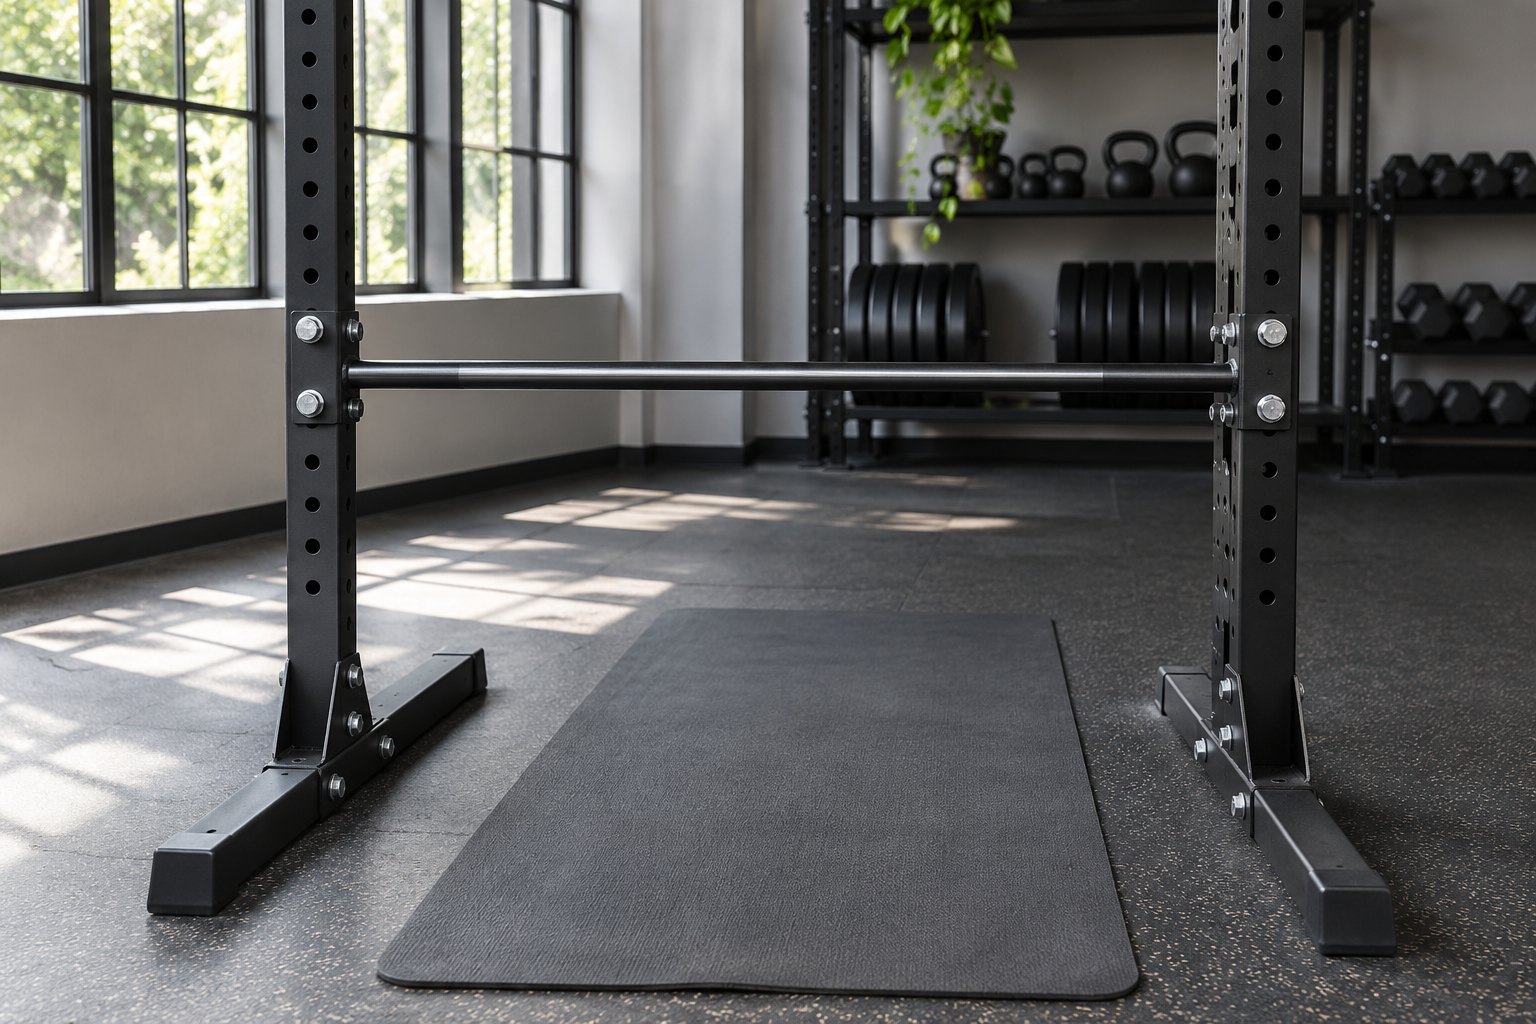
Use a fixed exercise bar, a properly configured rack setup approved for the movement, or a suspension trainer attached according to its manufacturer’s directions. The support must withstand the direction of your pull, not merely hold a weight resting on top of it.
A loose barbell resting in shallow hooks can roll or lift out when pulled at an angle. Do not assume that placing a bar on a rack makes it secure. Ask gym staff about an approved configuration, inspect locking mechanisms, and test the setup cautiously before putting your body beneath it.
A Smith-machine bar may be suitable if the machine’s instructions allow it and its hooks are locked securely. Your grip and pulling direction must not rotate the bar out of its catches. If you are unsure, use another station or get staff assistance rather than experimenting underneath the bar.
- Check anchors, straps, buckles, and handles for damage before using suspension equipment.
- Leave enough space for your head, torso, and elbows throughout the repetition.
- Use shoes and a floor surface that prevent your feet from sliding.
- Keep the area underneath you free of plates, bottles, and other hard objects.
- Know how to place your feet beneath you and stand up when the set ends.
A household table, broomstick between chairs, or an unverified doorframe is not a dependable substitute. Furniture can tip, break, or move under an angled bodyweight load. If you lack suitable equipment, use a properly anchored resistance band or a dumbbell row instead.
Set the difficulty before starting your set
Begin with the bar relatively high and your body at a moderate angle. When your torso is more upright, your legs generally support more of your weight, making the pull easier. As your body becomes more horizontal, your upper body usually has to manage more of the load.
Foot position matters too. With the same bar height, changing where your feet sit alters your body angle and leverage. Use small adjustments, then test a few repetitions. Do not move into a nearly horizontal position just because a demonstration uses it.
You should be able to lower to straight arms and pull upward without dragging your hips, thrusting your head, or holding your breath through the whole set. If the first rep already requires a struggle, make the setup easier before attempting several more.
For beginners, a high-angle row is often easier to understand than a low-bar version with bent knees. Bent knees can also reduce difficulty, but they introduce another variable: how much you push through your feet. Choose whichever version you can repeat consistently and document the setup.
How to do an inverted row
1. Take a secure, comfortable grip
Grasp the bar with your palms facing away from you and your hands around shoulder width or slightly wider. Wrap your thumbs around it. Keep your wrists reasonably aligned with your forearms rather than folding them sharply backward.
A neutral grip on suspension handles is another option. Let the handles take a comfortable orientation rather than twisting your wrists to match an arbitrary angle. If a fixed bar position bothers your wrists or elbows, try a different approved implement instead of forcing the grip.
2. Establish your starting line
Walk or position your feet so that your arms can straighten while your body stays clear of the floor. Brace your abdomen and lightly tighten your glutes. Keep your head in line with your torso, with your ribs and pelvis moving together.
With straight legs, aim for a steady line from shoulders through hips toward heels. With bent knees, keep the trunk and hips organized while your feet provide support. You do not need to squeeze every muscle as hard as possible; use enough tension to prevent unwanted motion.
3. Pull your chest toward the bar
Bend your elbows and move your torso toward the support as one unit. Allow the shoulder blades to move naturally around your rib cage as you pull. Avoid aggressively pinning them together before the repetition or forcing them downward throughout the entire movement.
Keep your elbows at a comfortable angle relative to your body rather than flaring them straight sideways. Think about bringing your chest upward, not poking your chin forward. Your hips should rise with your chest instead of arriving late after a separate hip thrust.
4. Finish without reaching with your neck
Pull as high as you can while keeping your body position and shoulders comfortable. You may touch your lower chest to the bar, but contact is not mandatory if your proportions or setup make it awkward. Choose a repeatable endpoint rather than forcing an extra inch with your neck.
Pause briefly if that helps confirm control. If your shoulders roll forward or your hips drop at the top, use an easier angle. A shorter, honest set is more useful than repeatedly changing the movement to reach the bar.
5. Lower smoothly to the start
Straighten your elbows gradually and return to the same starting position. Let your shoulder blades move with the descent rather than keeping them rigidly squeezed. Avoid dropping into the bottom or bouncing from your shoulders.
Take roughly a couple of seconds to lower while learning. The exact tempo is less important than being able to stop and control your body anywhere in the repetition. Reset your breathing and continue only while the next rep can follow the same path.
What a clean repetition should look like
Viewed from the side, the chest and hips should travel together. Your feet should stay planted, and your head should follow your torso. Viewed from the front, your shoulders should remain reasonably level rather than rotating as one arm finishes before the other.
A short video can help if your gym permits filming and you keep other people out of frame. Compare the first and last repetitions. Look for a consistent range, stable foot position, and controlled return. You do not need to measure angles precisely to notice that the last reps have become a different exercise.
Use one correction at a time. If you are thinking about ten cues, first simplify the setup and make the row easier. A manageable version often removes the need for constant technical reminders.
A beginner progression that does not skip steps
Stage 1: Upright suspension or high-bar rows
Start with a body angle that lets you perform six to ten smooth repetitions while leaving several in reserve. Practice starting and ending the set safely. Learn to move your torso as one unit before trying to make the exercise demanding.
Stage 2: Increase repetitions within the same setup
Keep the bar height, foot position, and grip unchanged. Build toward the upper end of your chosen rep range. For example, move from two sets of six to two sets of ten across several sessions without shortening the descent or leaning differently.
Stage 3: Make the angle slightly harder
Lower the bar one small setting or adjust your feet to make your body somewhat more horizontal. Return to fewer reps and assess the new version. If the change is too large, go back and use an intermediate setup if the equipment allows it.
Stage 4: Develop a controlled horizontal row
A lower bar and straighter body may eventually bring you close to horizontal. Continue using the same standards: stable trunk, comfortable shoulders, and no momentum. This version is demanding enough to remain useful for a long time without adding external weight.
Stage 5: Add difficulty selectively
Experienced trainees can consider feet-elevated rows or an appropriate weighted vest. These changes should come only after the basic version is secure and consistent. Avoid balancing a loose weight plate on your torso, especially when training alone. An advanced variation is optional, not a requirement for effective training.
Sets, reps, and rest for useful practice
Two or three sets of six to twelve repetitions is a practical starting range for many people. Use an angle that leaves about two good repetitions in reserve. Rest one to two minutes, or longer if needed to keep the next set controlled.
These numbers are examples, not a special formula established specifically for inverted rows. Your total pulling work, training experience, and recovery matter. A person also doing heavy pulldowns and dumbbell rows may need fewer inverted-row sets than someone using them as their main back exercise.
The ACSM resistance-training recommendations support regular, individualized training and note that reaching muscular failure is not consistently necessary for the average healthy adult. For inverted rows, stopping before your hips sag or your neck starts reaching is an easy way to preserve useful practice.
Train the movement once or twice a week initially, depending on your wider routine. Leave enough recovery that the next session is not limited by persistent soreness or exhausted grip. More frequent exposure can be useful, but repeating hard sets every day is not automatically better.
Fit rows into a balanced workout
In a full-body session, you might combine a lower-body movement, an upper-body press, inverted rows, and a small amount of trunk work. A kettlebell deadlift can fill the hinge slot without requiring the same equipment as your row. Keep the overall session manageable enough to repeat.
If pulling strength is your main goal, do rows before tiring arm exercises. If another lift is the priority, rows can come later as assistance work. Alternating a push and a pull can save time, provided you still rest enough to maintain technique.
A face pull provides a different upper-body pulling pattern, often with a lighter load and more emphasis on the position of the upper arms. It can complement a row, but adding it should serve a specific purpose rather than merely doubling your exercise list.
For trunk work, a controlled reverse crunch can be easier to place after rows than another grip-dependent hanging exercise. Your workout should account for the muscles already tired, not just the muscle names assigned to each movement.
How to warm up for inverted rows
Start with comfortable arm and shoulder movement and a few easy rows at a high angle. Use those repetitions to check the anchor, grip comfort, and shoulder motion. Then move to your working setup for a small practice set before beginning the harder sets.
If rows follow other upper-body exercises, you may need less general preparation but should still check the station and rehearse its specific movement. Warm-up needs can change when switching from a fixed bar to suspension handles or returning after time away.
The difference between warm-up sets and working sets matters here even though no weight plates are involved. Easy practice prepares you for the task. Hard working sets provide the main training challenge. Do not accidentally turn every warm-up into another near-limit set.
Common mistakes and how to correct them
Your hips sag below your torso
Make the row more upright and shorten the set. Check whether you are losing trunk position before your back and arms are tired. You can also practice a brief stable starting hold, but do not turn the whole workout into holding practice if the pulling angle is simply too hard.
You lift your hips to start each rep
A hip thrust can create momentum that helps you pass the hardest part of the pull. Reduce difficulty and begin each repetition from a still position. Watch whether your chest and hips start moving at the same time.
Your chin reaches the bar before your chest
Keep your gaze steady and your neck aligned with your torso. Use your chest as the reference point. If you cannot reach your intended endpoint without jutting your head forward, choose an easier version or a slightly shorter comfortable range.
Your feet slide
Stop immediately and fix the surface or footwear. Do not solve a slippery setup by bracing against an unstable object. The feet are part of the support system, so losing their position changes both the exercise and your ability to exit safely.
One shoulder turns toward the bar
Check that your hands are evenly spaced and your feet are positioned symmetrically. With suspension handles, ensure the straps are the same length. If the imbalance persists or is painful, stop forcing repetitions and ask a qualified professional to assess the movement.
You feel only your arms
Your elbow flexors are supposed to contribute, so feeling them does not mean the exercise failed. Check that you are moving your upper arms and shoulder blades rather than just trying to curl yourself upward. An easier angle may help you practice a fuller, more coordinated pull.
Track progress without a weight stack
Bodyweight exercise still needs useful records. Note the bar height or rack setting, foot position, knee position, grip, sets, and repetitions. For suspension rows, note strap length and where your feet sit relative to a fixed floor reference.
A simple entry might read: high bar, straight legs, heels at the floor seam, two sets of eight, two reps left. That description tells you more than writing only “rows, sixteen reps.” Use the same landmarks next time whenever possible.
Consider progress in several forms: more clean repetitions at the same angle, the same reps at a harder angle, or a steadier range with less unwanted movement. Avoid counting a faster, shorter repetition as an improvement over a slower full repetition without noting the change.
Bodyweight changes can also affect difficulty. A heavier or lighter body changes the load you move, although not all of your weight is lifted directly. There is no need to convert the exercise into an exact kilogram figure to track it productively.
Frequently asked questions
Are inverted rows the same as Australian pull-ups?
The names commonly describe the same general bodyweight-row movement under a low bar. Check the actual setup rather than relying on the label. Bar height, foot position, and grip determine how difficult your version will be.
Can inverted rows help you get your first pull-up?
They can develop pulling strength and body control, but a pull-up uses a different direction and loading pattern. If a first pull-up is your goal, combine suitable rows with gradual pull-up-specific practice such as an assisted machine or professionally coached progressions.
Should your chest touch the bar?
Touching can provide a useful endpoint if it happens comfortably with your body aligned. It is not worth forcing contact through a neck reach or a shoulder position that hurts. Use the fullest controlled range your setup permits.
Is an underhand grip better?
An underhand grip changes the arm position and may feel more comfortable for some people and less comfortable for others. Neither grip is universally superior. Begin with the version that lets your wrists and elbows move comfortably, and keep it consistent while measuring progress.
Can you build muscle with this exercise?
Inverted rows can be part of a muscle-building program when the difficulty is challenging enough and progresses over time. Results also depend on your overall training, nutrition, and recovery. A bodyweight label does not make an exercise automatically easy or ineffective.
What if hanging under the bar hurts my shoulders?
Stop rather than repeatedly testing the painful position. A higher angle or another row variation may be more comfortable, but pain should not be treated as something to overcome with effort. Seek individualized advice for persistent or recurring symptoms.
Are suspension rows harder than bar rows?
Not necessarily. Both can be made easy or demanding through body angle. Suspension handles allow more movement and require controlling the straps, while a fixed bar provides a stable reference. Compare specific setups rather than declaring one implement harder.
Make each set comparable to the last
Choose secure equipment, start with a manageable angle, and keep your body moving as one unit. Progress by changing one variable at a time. The goal is a stronger, more controlled pull that you can reproduce, not the lowest bar position you can survive.
Plan your sessions and log completed sets with Workit. Recording the setup alongside your repetitions helps you return to the gym knowing exactly what to repeat and when a slightly harder variation makes sense.