
Published October 13, 2026
The main difference between a glute bridge and a hip thrust is where your upper back rests. A glute bridge keeps it on the floor; a hip thrust raises it onto a bench or purpose-built support. The elevated setup usually allows more hip movement. Start with bridges for a simple floor exercise, or choose hip thrusts when you have a secure setup and want to train through that larger range.
Both exercises train hip extension, and both can use added weight. A bridge is not automatically a warm-up, and a hip thrust does not automatically build more muscle. The useful question is which version you can perform comfortably, challenge progressively, and repeat consistently.
Glute bridge vs hip thrust: the practical differences
- Support: Your shoulders and upper back stay on the floor during a bridge. During a hip thrust, your upper back pivots against an elevated support.
- Movement: The floor limits how far your hips can descend in a bridge. A suitable bench generally allows a deeper starting position in a hip thrust.
- Equipment: A bodyweight bridge needs floor space. A hip thrust needs a stable support even before you add resistance.
- Loading: Either can use a dumbbell or barbell. A well-equipped hip-thrust station can make repeated loading convenient, but equipment availability matters more than the exercise name.
- Learning demands: Bridges remove the bench-positioning problem. Hip thrusts require you to coordinate your movement with the support and manage a larger travel distance.
For example, placing a dumbbell across your hips while your back stays on a mat gives you a weighted glute bridge. Elevating your upper back and using no added weight gives you a bodyweight hip thrust. Weight alone does not determine the name.
What muscles do they work?
The gluteus maximus is a major hip extensor and a primary target of both movements. The hamstrings and other hip muscles contribute, while your trunk helps keep your torso controlled. Feeling some effort outside your glutes does not mean the repetition has failed. NASM’s floor-bridge exercise guide identifies the glutes as primary movers alongside contributions from the hamstrings, adductors, and trunk stabilizers.
Neither exercise is a complete lower-body program. They do not replace every function trained by squats, hinges, knee-flexion exercises, or single-leg work. You can use a bridge or thrust as one component of a session rather than trying to make it cover every muscle and movement.
A band around your thighs changes the task by adding resistance to outward pressure. It does not turn the exercise into a wholly different category, and it is optional. If the band makes you push your knees excessively wide or distracts you from moving your hips smoothly, remove it.
Which is better for growing your glutes?
There is no well-established universal winner from a direct long-term comparison. Be cautious with claims that a bigger burn, higher lifting number, or stronger muscle-activation reading proves superior growth.
A direct comparison by Kennedy and colleagues tested ten men using surface electromyography. The barbell bridge produced higher readings in the measured upper and lower gluteus maximus regions, while the hip thrust produced higher readings in the vastus lateralis, a quadriceps muscle. However, the study measured activity during exercise, not changes in muscle size over a training program. Its authors explicitly called for further research on hypertrophy.
That distinction matters. In a separate nine-week trial comparing hip thrusts with squats, glute growth was similar between groups despite higher initial glute activation readings during hip thrusts. The study supports hip thrusts as a viable glute exercise; it cannot establish whether they outperform floor bridges.
For your own choice, prioritize a repeatable setup, sufficiently challenging sets, and progress over time. A comfortable weighted bridge you perform regularly is a sensible option. So is a hip thrust that lets you train through a controlled, comfortable range. You do not need to alternate exercises every week to keep either useful.
How to perform a glute bridge
- Lie on your back with knees bent and feet flat, approximately hip-width apart. Rest your arms beside you.
- Gently brace your abdomen. Keep your head supported and shoulders relaxed.
- Press through your feet and lift your hips. Aim to finish with your shoulders, hips, and knees approximately aligned.
- Stop before lifting farther requires an exaggerated lower-back arch. A higher finish is not automatically a better repetition.
- Pause briefly if it helps you stay controlled, then lower your hips gently. Reset your breathing and repeat.
This follows the basic approach in the American Council on Exercise’s bridge instructions, including abdominal control and avoiding excessive back arching.
Start with five easy practice repetitions. If your feet slide, your mat bunches, or your head presses hard into the floor, stop and fix the setup before adding repetitions. Use a firm surface with enough padding for comfort, rather than a soft mattress that makes your position difficult to reproduce.
Adding a dumbbell to a bridge
Use a weight you can place and remove safely. Position it securely across the hip crease with appropriate padding, and hold it with both hands so it cannot roll. Avoid balancing a heavy or awkward object on your abdomen.
Practice getting into and out of position before doing a working set. If the dumbbell is difficult to handle, a lighter weight is the better choice even if your legs could move more. Handling the equipment is part of the exercise’s practical difficulty.
How to perform a hip thrust
- Choose a stable bench or dedicated station that cannot slide or tip. Test it without weight first.
- Position the bench edge near the lower part of your shoulder blades, with comfortable upper-back contact.
- Place your feet flat, about hip-width apart. At the top, roughly vertical shins are a useful starting reference.
- Brace gently, then raise your hips while pivoting against the support. Keep your neck comfortable rather than throwing your head backward.
- Finish with your hips extended and torso controlled. Lower through a range you can manage without slipping or losing position.
The technical article Barbell Hip Thrust, published in Strength and Conditioning Journal, describes stable bench contact, flat feet, and controlled positioning. Treat these as setup principles rather than a requirement to copy another lifter’s exact dimensions.
Bench height and equipment checks
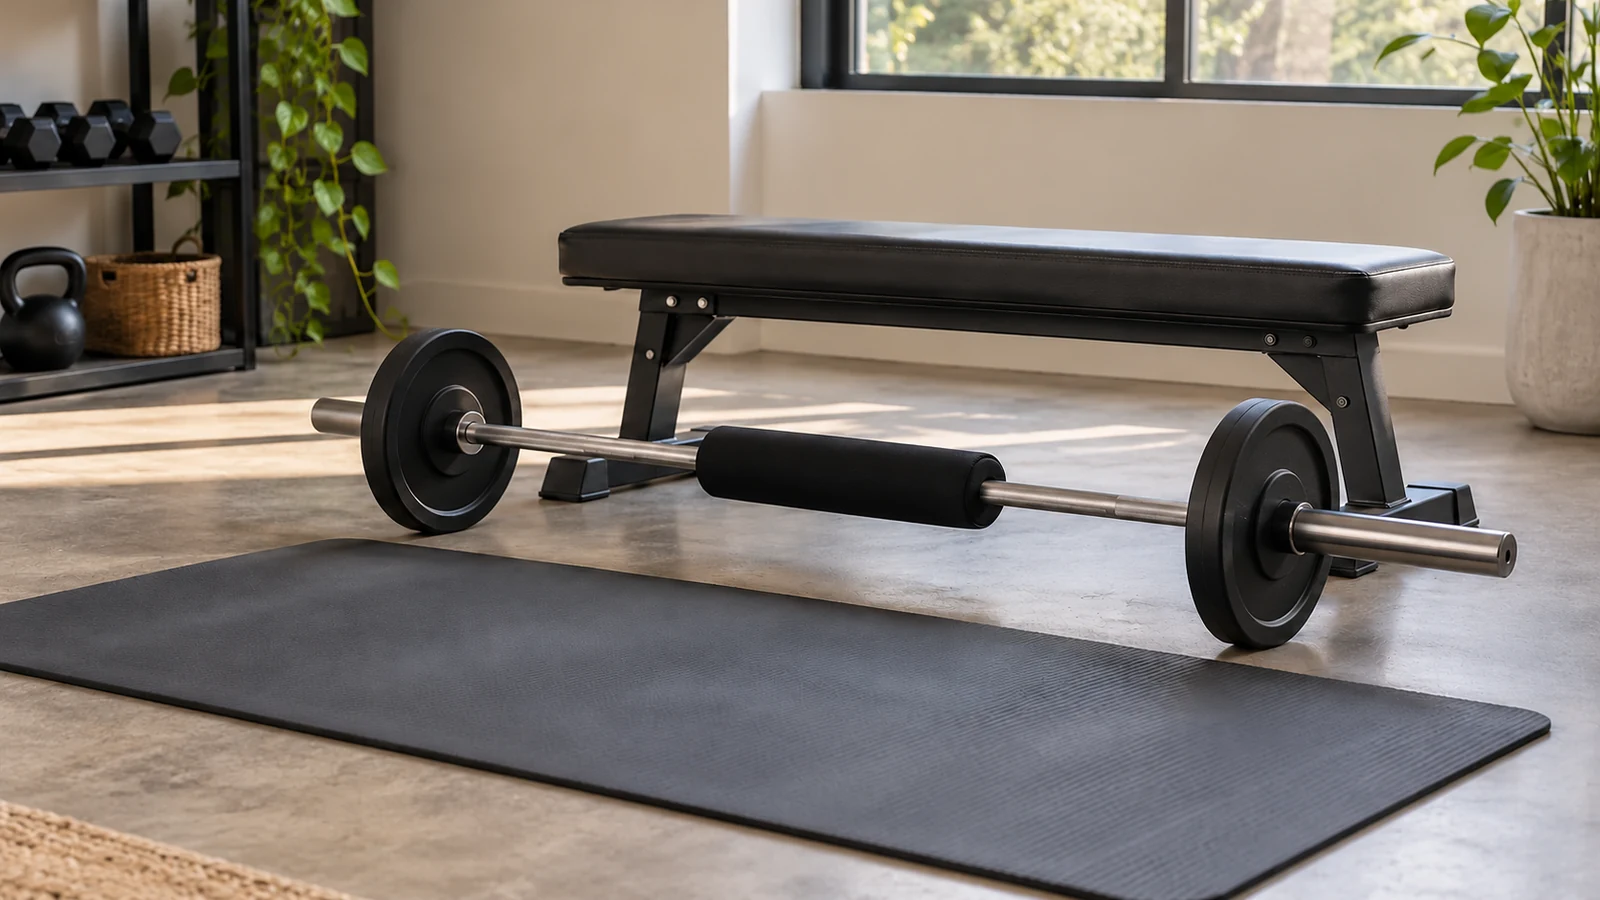
A standard gym bench does not fit everyone equally well. If its edge presses into your neck, your feet cannot stay planted, or you keep sliding, try a lower purpose-built support or return to floor bridges. Do not build a makeshift platform from loose plates or unstable furniture.
Before using a barbell, learn the setup with bodyweight or a manageable dumbbell. Use a suitable bar pad, secure plates appropriately, and make sure you can lower the load and exit safely. Ask gym staff to demonstrate unfamiliar equipment. On a dedicated machine, follow its setup instructions because belt position, back support, and release mechanisms vary.
A couch may look convenient, but softness, height, and movement can make it unsuitable. When no secure elevated support is available, the floor bridge already solves the problem. You do not need to improvise a bench to have a worthwhile session.
Find a foot position you can repeat
Start with feet around hip-width and check your position at the top. From there, make small adjustments rather than constantly changing your stance during a set. There is no universal heel-to-hip distance because limb lengths, support height, and comfortable range differ.
Keep your whole foot in contact with the surface. Think about steady pressure rather than lifting your toes to force a heel-only technique. Your knees should follow a comfortable line with your feet; do not deliberately collapse them inward or force them as wide as possible.
If one foot keeps drifting, mark its starting location with a visual reference on the floor. When comparing sessions, use the same support and approximately the same stance. Otherwise, a change in setup may explain why the exercise suddenly feels easier or harder.
Common problems and practical adjustments
Your lower back takes over at the top
Reduce the load and shorten the finish slightly. Check whether you are trying to lift your hips past the point your trunk can control. A gentle exhale and abdominal brace may help you find a steadier endpoint. Do not keep adding height to chase a stronger squeeze.
Your hamstrings cramp
Stop the set and let the cramp settle. On your next attempt, use less resistance and try a small foot-position adjustment, such as bringing your feet a little closer. Avoid repeatedly training through a cramp. Persistent or recurrent symptoms deserve individual assessment rather than endless stance changes.
You feel the front of your thighs
Some quadriceps effort can occur, particularly in hip thrusts. Check that your feet are not so close that the position feels cramped, then reassess with an easy set. Do not assume that every sensation outside your glutes means your glutes are inactive.
The pad or weight hurts
Stop and reposition or change the equipment. More padding may help with pressure, but it does not justify continuing through sharp pain, pinching, numbness, or bruising. A lighter dumbbell, bodyweight version, or different exercise may be more practical.
You cannot feel a dramatic glute squeeze
Use an easy load and check the movement, but do not make sensation your only score. Controlled repetitions, consistent range, and gradual increases in work are more useful records than whether every set produces a strong burn. Pain is a reason to stop; an ordinary lack of soreness is not evidence that training failed.
Beginner sets, reps, and effort
The following are practical starting examples, not individualized prescriptions or an exact minimum needed for results. Pick one exercise initially so you can learn it without doubling up on very similar work.
- Bodyweight bridge: Try two sets of 10–15 controlled repetitions.
- Weighted bridge: Try two sets of 8–15 repetitions after an easier practice set.
- Hip thrust: Try two sets of 8–12 repetitions after rehearsing the setup with less resistance.
- Effort: Finish with roughly two or three additional clean repetitions still possible.
- Rest: Start around 90–120 seconds between working sets and take longer if your breathing or control has not recovered.
Use these within two weekly strength sessions with a recovery day between them to start. If you are unusually sore, your technique deteriorates, or your next session suffers, reduce the amount rather than forcing the schedule.
The ACSM’s 2026 resistance-training guidance emphasizes training major muscle groups at least twice weekly, individualizing the program, and building gradually. It also notes that reaching muscular failure is not consistently necessary for the average healthy adult. Those principles support starting with manageable work instead of exhausting sets from day one.
Two ways to fit the exercise into a workout
At home with floor space and a dumbbell
For the lower-body portion of a full-body session, try two sets of a comfortable squat variation, followed by two sets of bridges. Add your usual upper-body and trunk exercises separately. If you need help choosing squat depth and handling the weight, use the goblet squat form guide.
Suppose your bridge target is 10–15 repetitions. You perform 12 and 11 with controlled lowering, and both sets leave a little capacity. Keep that resistance next time and aim to add one repetition where possible. You have a clear next step without needing more exercises.
At the gym with an appropriate bench
Start with the lower-body exercise that matters most to your goal. If learning the hip thrust is your current priority, do your easier rehearsal sets and two working sets while fresh. Then include a manageable hinge or unilateral exercise, rather than immediately adding several hard bridge sets.
A reverse lunge adds a standing, single-leg-focused task that differs from the supported thrust. For a hinge option, the Romanian deadlift versus deadlift comparison explains how the starting position and movement differ. Choose exercises you already understand, and introduce unfamiliar ones gradually.
These are examples of where a bridge or thrust fits, not complete prescriptions for every muscle. Avoid adding all the suggested options at once simply because each is useful on its own.
Progress without changing everything
Keep the exercise, support, and rep range consistent for several sessions. Add repetitions first while preserving your technique. When all working sets reach the upper end of your range with the intended effort, increase resistance by the smallest practical amount and return toward the lower end.
For example, a weighted bridge might progress from 12 and 11 repetitions to 14 and 13, then 15 and 15. If those final sets remain controlled and leave the planned capacity, try a modest weight increase. If the new load makes eight repetitions untidy, the jump was too large for that day.
This is the basic approach explained in Workit’s double progression guide. Progress is conditional on the quality of the set, rather than an obligation to increase weight every workout.
With limited equipment, you can add a brief pause or try a more demanding variation. Change one feature at a time and record it. Fifteen paused repetitions and fifteen fast repetitions are different tasks, so do not treat their numbers as interchangeable.
Keep a log that makes the next session easier
Record more than the weight if your setup is still changing. A short entry might read: “Dumbbell floor bridge, two sets of 12, brief pause, about three reps left.” For a hip thrust, add which bench or machine you used. Record total barbell weight, including the bar, rather than only the plates.
These details help explain a session that looks worse on paper. Ten repetitions with a new bench, a deeper controlled range, or a longer pause cannot be compared directly with twelve repetitions using the old setup. Establish a fresh baseline when the task changes.
If your numbers stop improving, check the obvious variables before adding exercises: Was the load the same? Did you rest as long? Had you already completed more demanding leg work? Were you rushing to finish? One flat session rarely tells you which adjustment is needed.
After several consistent sessions, choose one modest change. That might be a little more rest, a smaller load increase, or keeping two working sets instead of adding a third. A useful log turns progression into a decision based on what happened.
When should you switch from bridges to hip thrusts?
Consider trying hip thrusts when you can perform bridges comfortably, have access to a secure support, and want the additional movement or a different loading setup. There is no required graduation weight, and experienced lifters can continue using weighted bridges.
When switching, start lighter than you think necessary. Your bridge load is not a reliable prescription for your hip thrust. The range, support, and familiarity change, and your first goal is finding a repeatable position.
You can also switch in the other direction. If a bench is unavailable or the setup consumes too much of a short session, use a bridge and log it under its own name. Do not call the change a strength loss, and do not compare the weights as if the exercises were identical.
Frequently asked questions
Can glute bridges replace hip thrusts?
Yes, when you need a supported hip-extension exercise and floor bridges fit your equipment and comfort better. Start with an appropriate bridge load rather than copying your hip-thrust weight. The substitution is especially practical when bench stability or available space is a problem.
Can you do hip thrusts without weights?
Yes. Elevating your upper back defines the usual hip-thrust setup; a barbell is optional. Bodyweight repetitions can help you learn the movement. When they become comfortably easy, consider added resistance rather than assuming that more repetitions are your only option.
Should you do both in the same workout?
You can, but beginners usually do not need hard sets of both. Their roles overlap considerably. A few easy bridge repetitions can be practice before thrusts, while challenging working sets count toward the session’s training load. Keep a warm-up easy enough that it does not undermine later work.
Is a single-leg bridge always the next progression?
No. It increases the demand on one side and makes pelvic control more challenging, but a weighted two-leg bridge may suit you better. If trying a single-leg version, begin without added weight and use only a range where your pelvis stays reasonably level.
What is a Kas glute bridge?
The name generally describes a short-range, bench-supported variation near the top of a hip thrust. Naming is inconsistent across gyms and apps. Describe the support and range in your log so you know what you actually performed; the word “bridge” alone can be ambiguous.
Are bridge holds better than repetitions?
They are different ways to practice. A short hold can help you notice whether your hips stay level and your breathing remains comfortable. Repetitions let you practice both lifting and lowering. For an initial routine, choose controlled repetitions with an optional brief pause. If you use longer holds, record their duration separately; thirty seconds is not equivalent to thirty repetitions.
Which is better if you have back pain?
There is no universal answer. A floor bridge may be simpler to set up, but that does not make it a treatment or guarantee it will feel better. Stop movements that provoke pain and seek guidance for persistent symptoms, injury, recent surgery, or exercise restrictions.
Choose the version you can train well
Begin with a floor bridge if simplicity is your priority. Try a hip thrust when its support, range, and loading setup work for you. Then judge your choice by comfortable repetitions and repeatable progress.
Workit offers workout programs and a workout journal for recording weights, reps, and sets. Keep bridges and hip thrusts as separate entries so your next session starts with a useful comparison.