
Published October 13, 2026
The incline dumbbell press is a chest press performed on a bench with the backrest raised above horizontal. Start with a modest incline, often around 15–30 degrees, plant your feet, and press the dumbbells upward while keeping your wrists stacked over your forearms. Lower only as far as you can control comfortably, without forcing your shoulders into a deep stretch.
For a beginner, two sets of 8–12 controlled repetitions are a practical starting point. Use a weight you can also get into position and put away safely. The exercise should feel like a repeatable pressing movement, not a struggle to wrestle two dumbbells onto a bench before the first repetition begins.
What does the incline dumbbell press work?
The pectoralis major, front of the shoulder, and triceps all contribute. Raising the bench changes the direction of the upper arm relative to the torso and can change how the pressing muscles share the task. The upper, or clavicular, portion of the chest is one reason people include an incline press.
Your triceps help straighten the elbows. The front deltoids assist at the shoulders, so feeling some shoulder effort is normal. The wrists, forearms, and muscles around the shoulder also help control two separate weights. That control requirement is one reason a dumbbell press can feel different from a machine or barbell press even when the total displayed weight looks similar.
Do not use muscle sensation as your only test of whether the exercise works. A strong burn is not required, and a dramatic stretch is not a goal by itself. A comfortable, controlled movement that becomes more capable over time gives you a clearer basis for judging your training.
What bench angle should you use?
A low to moderate incline is a useful place to begin. If your bench has angle markings, try roughly 15–30 degrees above horizontal. If it only has notches, choose a modest rise, check the manufacturer’s angle information if available, and record the setting you use.
In a 2020 study of five bench angles, researchers tested 30 trained adults performing barbell presses. The highest mean upper-chest electrical activity occurred at 30 degrees, while steeper positions increased the prominence of front-shoulder activity. The study measured short-term muscle activity, not long-term muscle growth, and it used a barbell rather than dumbbells. It cannot establish one universally optimal dumbbell angle.
A separate bench-angle study found that results also depended on which part of the repetition was examined. Together, these findings support experimenting within a sensible range rather than treating one angle as a guaranteed growth formula.
Is 45 degrees wrong?
No. A 45-degree incline can be a valid exercise. It may feel more shoulder-demanding, and the weight you can manage may change. Choose it deliberately if it is comfortable and fits your plan. Do not assume a steeper backrest must be better simply because the exercise is called an incline press.
If 30 degrees feels good, there is little reason to change the angle every session. Consistency makes progression easier to judge. When you do change it, treat the new setup as a slightly different variation and establish an appropriate working weight again.
Set up the bench before picking up the weights
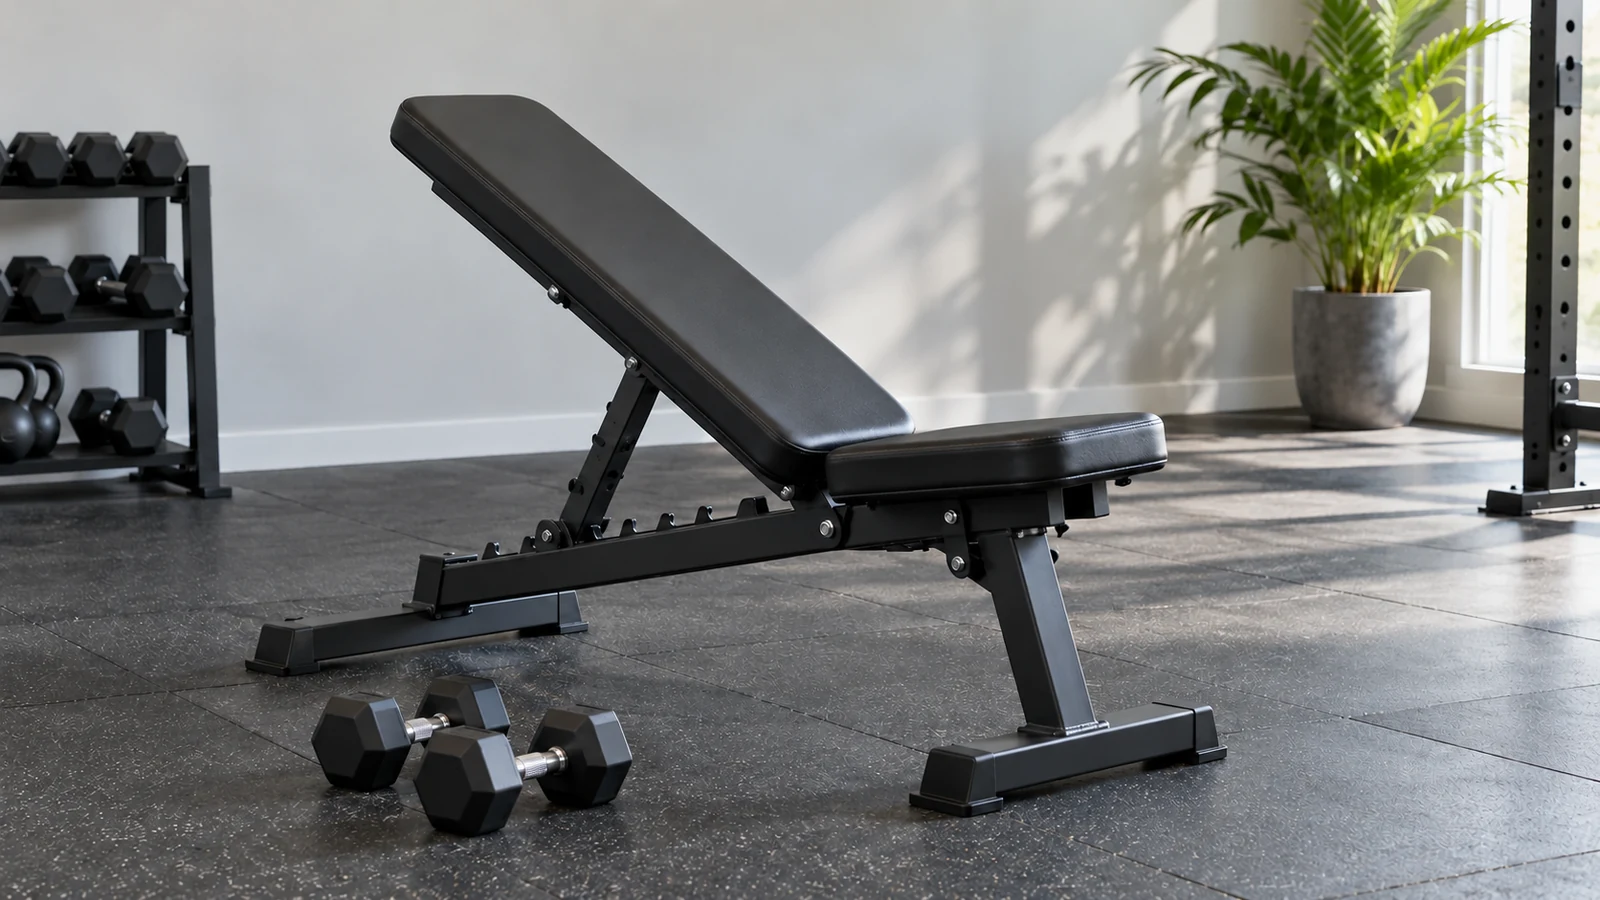
Inspect the bench, engage the adjustment mechanism fully, and make sure it cannot wobble or slide. Check both the backrest and seat settings. A small seat incline may help prevent sliding, but your feet still need secure support.
Position the bench with room to walk around it and put the weights down. Move loose bottles, towels, and other objects out of the area. Avoid placing your bench so your dumbbells could strike an adjacent lifter or a rack during setup.
Plant your feet where you can maintain steady pressure without lifting your hips. If the bench is too high for your feet to reach, use a stable, purpose-made platform or choose another bench. Do not balance your feet on loose dumbbells, stacked books, or objects that can roll.
For adjustable dumbbells, check the locking mechanism according to the manufacturer’s instructions. Some models have specific restrictions about resting the ends on your thighs or allowing plates to contact your body. Equipment instructions take priority over a generic setup cue.
How to perform the incline dumbbell press
- Sit with the dumbbells close to your body. With suitable fixed dumbbells, support their ends securely on your thighs before reclining.
- Using a light practice load, bring the weights into position as you settle onto the backrest. Ask a qualified trainer to teach the transition if it feels uncertain.
- Keep your head, upper back, and hips supported, with feet planted. Maintain a comfortable natural lower-back curve.
- Start with the weights above the upper chest, palms forward or turned slightly inward, and thumbs wrapped around the handles.
- Lower by bending your elbows. Keep your forearms reasonably upright and the elbows somewhat below the shoulder line rather than flared straight sideways.
- Stop at a depth you can control comfortably. Press upward until the elbows are straight without forcefully snapping them into lockout.
- Repeat with the same path, then finish the set using the controlled exit you practiced.
The ACE incline chest-press guide likewise emphasizes stable contact with the bench and floor, aligned wrists, controlled lowering, and assistance from a spotter when needed. Its example uses a steeper incline; the lower starting angle here is a practical option rather than a claim that every guide must use the same setting.
Grip, elbow position, and pressing path
Use a secure grip
Close your fingers and thumbs around each handle. Let the weight sit over the base of the palm rather than pulling your wrist far backward. A slight inward turn of the hands often feels natural with dumbbells. You do not need to force a perfectly straight line between the handles.
A fully neutral grip, with palms facing each other, is another option. It changes the movement slightly and may suit some people. It is not automatically pain-free or superior, so choose based on controlled, comfortable repetitions.
Let the elbows follow the hands
Think about supporting each dumbbell above its forearm. At the bottom, avoid having the hands drift far outside the elbows or fold inward toward your chest. Your elbows do not need to be pinned tightly to your ribs, and they do not need to point directly sideways.
A middle position is a useful starting point. Exact elbow angles vary with your build, grip, and bench setting. If you spend the entire set forcing your arms into a rigid numerical angle, reduce the load and find a smoother path.
Finish above the chest without clashing the dumbbells
The weights can move slightly closer together as you press. They do not need to touch. Banging them together can disrupt your wrist position and offers no necessary training benefit. Keep your gaze steady rather than following each dumbbell with your head.
How deep should you lower?
Depth should reflect the range you can control without pain or a loss of position. For many beginners, the upper arms reach around the level of the torso before the press begins again. Your proportions, bench width, and dumbbell shape affect what that looks like.
Do not use the bench pad as a competition line that your elbows must cross. If lowering farther makes your shoulders roll forward, changes your wrist position, or causes pain, stop earlier and reconsider the load or exercise.
Pick a comfortable depth with light weights, then keep it reasonably consistent as the set becomes harder. Adding weight while progressively shortening every repetition can make your log look better without showing that the original movement improved. A lighter weight and a repeatable range are easier to evaluate.
Getting the dumbbells into and out of position
The setup is part of the exercise. Before working hard, rehearse the entry and exit with very light weights. If you cannot safely control the transition, the load is not appropriate for an unsupervised set, even if you believe you could press it once someone handed it to you.
With suitable fixed dumbbells, many lifters bring the weights back toward the thighs as they return to sitting. That transition requires control and practice; do not improvise it with a challenging weight when you are already exhausted. A trainer can demonstrate it using the exact bench and dumbbell design you have.
If using a spotter, agree beforehand on the handoff, when you want help, and how the set will end. The spotter should know how to assist dumbbell presses. A person nearby who has never spotted this movement is not a complete safety plan.
For solo beginner training, leave several repetitions in reserve and select a machine or lighter alternative if the setup remains awkward. Avoid planning to drop the weights onto the floor as your normal exit strategy.
Warm up without using all your pressing energy
Begin with a few minutes of easy general movement, then use lighter presses to rehearse your position. Your warm-up should leave you ready to train rather than making the first working set feel like the last set of the session.
For an illustrative working load of 10 kilograms per hand, you might perform eight easy repetitions with 4 kilograms, then four or five with 7 kilograms. Rest, reassess comfort, and begin the working sets. The numbers are examples; choose the available loads that make the transitions gradual for you.
Very light working weights may need only one practice set. Heavier or unfamiliar loads may warrant more preparation. The guide to warm-up sets versus working sets explains how to distinguish preparation from the sets you use to track your training.
Beginner sets, repetitions, and rest
Try this starter structure when incline pressing is a new part of your routine:
- Two working sets of 8–12 repetitions.
- A weight that leaves about two or three clean repetitions available.
- Around two minutes of rest, with more time if needed to repeat the setup safely.
- One or two sessions weekly, depending on the other pressing in your program.
This is a practical template rather than an individualized prescription. Someone already doing several challenging chest exercises may replace some existing work with incline presses instead of simply adding more.
The ACSM’s 2026 resistance-training guidance prioritizes consistency and gradual development. It does not require beginners to use elaborate methods or take every set to failure. Leave enough energy to lower the weights and exit safely.
If repetitions fall sharply between sets, first check rest, load, and how close the first set came to your limit. For example, 12 repetitions followed by five may mean that the first set was much harder than intended. It is not an automatic reason to add more sets.
A four-week learning block
Use the following as a progression of priorities, not a deadline for heavier weights. Keep your usual training schedule and allow recovery between demanding chest sessions.
- Week one: find a bench setting, grip, and weight that allow two sets of eight controlled repetitions. Practice the exit as carefully as the press.
- Week two: repeat the setup. Add a repetition to a set only if you retain the same depth and could still do a few more.
- Week three: continue building within 8–12 repetitions. Repeating the previous week’s numbers is acceptable when technique becomes more consistent.
- Week four: review the log. If both sets reach 12 comfortably and your setup is secure, consider the smallest weight increase. Otherwise keep practicing with the current pair.
There is no need to estimate a one-repetition maximum for this block. A very heavy single adds a demanding setup problem without being necessary to select sensible beginner working weights.
Progress when dumbbell jumps are large
At lighter weights, the next pair may represent a substantial increase. Moving from 8 to 10 kilograms per hand is a 25 percent jump. That can be too much even after you complete the top of a repetition range.
Options include using smaller-increment dumbbells, staying at the current weight for a wider range such as 10–15, or choosing a machine that permits a smaller step. Make one change at a time. Do not compensate for a large weight jump by suddenly bouncing the bottom position or having a spotter lift half the repetitions.
When you try a heavier pair, treat the first set as an assessment. If it is difficult to position or you cannot reach the lower end of your range cleanly, return to the lighter pair. You have learned something useful about the next step; you have not failed the program.
Where to put incline pressing in your workout
Place it early if improving it is a priority. If it follows several hard pressing exercises, expect to use less weight. Keeping the order reasonably stable helps you understand whether your performance is changing.
A simple full-body session could include:
- A lower-body exercise such as the reverse lunge.
- Incline dumbbell press for two working sets.
- A chest-supported row for controlled pulling work.
- A hip-hinge movement and a suitable trunk exercise.
Rest enough that one exercise does not make the next unsafe. If alternating pressing and rowing saves time, include recovery between them rather than rushing to keep a timer happy.
A beginner does not need flat dumbbell presses, incline dumbbell presses, a chest machine, and several fly variations in every session. Choose a manageable amount of pressing that leaves time and energy for the rest of your body.
Common problems and useful adjustments
You slide down the bench
Check the seat position, clothing contact, and foot placement before lifting again. Do not solve sliding by arching your back dramatically or wedging loose objects under yourself. A different bench may be the simplest answer.
Your shoulders take over
Some front-shoulder effort is expected. If the movement feels excessively shoulder-dominant, reassess the incline, elbow path, and load. Try a lower setting with light weights. Pain is a separate issue and should not be treated as proof of productive shoulder work.
One dumbbell moves faster
Use a weight that both sides can control. Stop when the less capable side reaches the intended effort, rather than forcing extra uneven repetitions. A small difference can be normal; a new, marked change in strength or control deserves professional assessment.
Your lower back arches more each repetition
Keep your natural starting curve and steady contact with the bench. If fatigue makes you push the ribs high and lift the hips, end the set. Increasing the arch may also change the effective pressing angle, undermining comparison with your earlier repetitions.
You cannot reach the same depth after adding weight
Return to the lighter pair or choose a smaller increase. The objective is to progress the same movement. If you deliberately change range for a specific reason, record that clearly instead of comparing the new numbers with the old version.
Alternatives when the setup does not suit you
An incline chest-press machine can simplify balance and getting into position. Adjust the seat and handles so the movement fits you, then use the same basic principles of comfortable range and controlled repetitions. Machine and dumbbell numbers are not directly interchangeable.
Without a suitable bench, use a dumbbell floor press rather than constructing an incline from cushions or unstable furniture. It changes the pressing setup and limits how far the upper arms descend, but gives you a practical no-bench option.
An elevated push-up with hands on a secure surface is another pressing exercise. Despite sometimes being called an incline push-up, it is not identical to raising your backrest for a dumbbell press. Choose it for its accessible loading and setup, not because the names sound equivalent.
Pain and safety considerations
Stop for sharp pain, unexpected weakness, numbness, or a feeling that the shoulder is unstable. Do not try to press through those symptoms by changing grip repeatedly during the same heavy set. Persistent discomfort, recent surgery, or a known shoulder condition calls for individualized guidance.
Mayo Clinic recommends breathing during weight training, reducing weight when technique cannot be maintained, and stopping an exercise that causes pain. For this beginner approach, exhale through the press and inhale during the return instead of deliberately holding your breath.
Frequently asked questions
Is incline dumbbell press better than flat press?
Neither is universally better. They offer different pressing angles, and both can fit a balanced routine. Choose based on your goal, comfort, equipment, and ability to progress. You do not need both in every workout.
Should the dumbbells touch my chest?
No. Dumbbell size and body proportions make that an unreliable depth rule. Use a controlled, comfortable range rather than forcing contact.
Why do I lift less than on a flat bench?
The angle changes the movement and how the muscles contribute. Establish a separate working weight instead of expecting the same number or applying a fixed conversion formula.
Can beginners train this exercise alone?
Light, controlled practice can be appropriate if the setup and exit are secure. If you need assistance to position or remove the dumbbells, arrange knowledgeable help or choose an easier setup. Avoid solo maximal attempts.
How should I track the exercise?
Record the bench setting, weight per dumbbell, repetitions, and sets. An entry such as “30 degrees, 10 kilograms each, 10 and 9 reps” is much more useful than “chest press: 20.”
Make the next session easy to repeat
Choose a stable bench, a manageable pair of dumbbells, and a comfortable pressing range. Keep those details consistent while you build repetitions. You can record weights, reps, and sets in Workit’s workout journal, then review the trend before changing your load. A clear record makes gradual progress easier to recognize.