
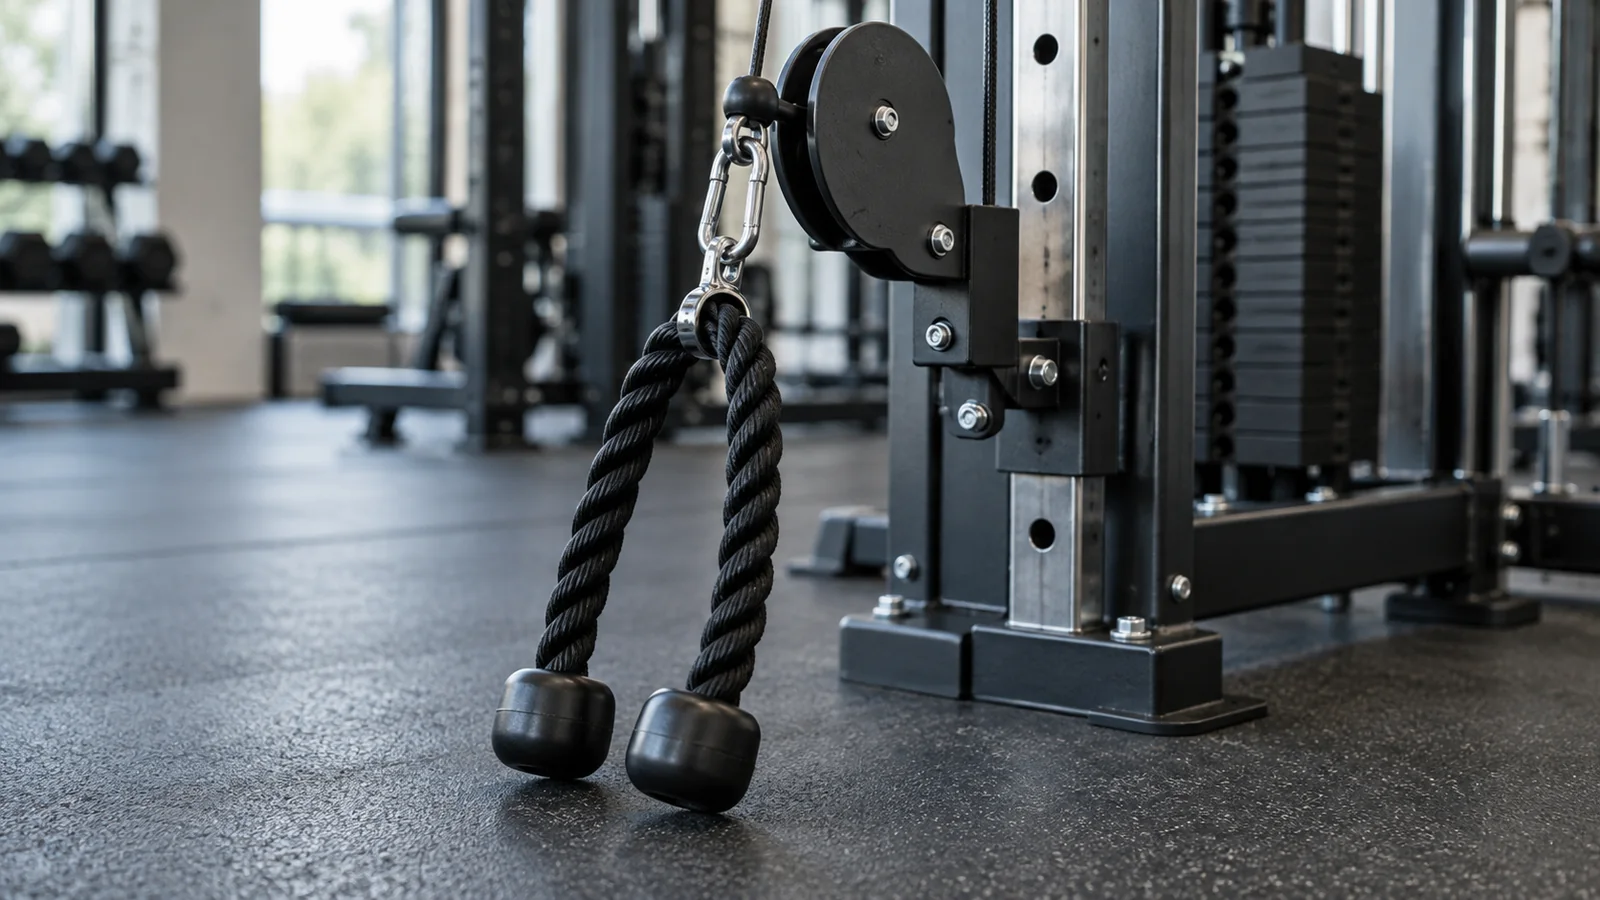
The cable pull-through is a standing hip-hinge exercise performed facing away from a low pulley, with a rope attachment passing between your legs. Push your hips backward, then stand tall by extending them while your arms stay long. Use a light load at first so you can stay balanced and finish without leaning backward.
Published October 16, 2026
This movement can help you practice a loaded hinge and add work for your glutes and hamstrings. A useful beginner starting point is two controlled sets of 10–15 repetitions, with a few good repetitions left at the end. The setup matters as much as the load: you need a secure attachment, an appropriate low pulley, and enough clear space in front of the machine.
What the cable pull-through works
The main movement is hip extension. Your hips move from a bent position back toward standing, with the gluteus maximus and hamstrings contributing to that action. The muscles around your trunk help maintain a steady torso as the cable pulls from behind.
Your hands hold the rope, but your arms should not perform the movement like a row. Think of the arms as the connection between the load and your body. Their position changes as your hips and torso move, while the elbow angle remains fairly consistent.
The University of Sussex’s cable pull-through teaching sheet describes a low-rope setup, a backward movement of the hips, and a return to an upright position. It also highlights control of the knees and trunk. Those fundamentals are more useful than trying to pull the largest possible number on the stack.
Although the movement uses a cable, it still places demands on your back and balance. It is not automatically suitable for every back condition, and it is not a guaranteed pain-free substitute for deadlifts. Choose the version of a hinge you can perform comfortably and obtain individual advice when injury or ongoing symptoms affect your training.
Find a suitable cable station
Use a low pulley and a rope attachment
Set an adjustable pulley to a low position intended for exercises near floor level. Attach a rope with secure end stops using the machine’s approved connector. Check that the attachment is fully clipped in and that the height adjustment and weight pin are engaged.
Do not change pulley height or move the weight pin while the stack is lifted. Inspect the visible cable and rope for damage. If anything looks frayed, loose, or unusual, ask staff to inspect it and use different equipment.
Check the space before you face away
You will step away from the machine and hinge backward, so your working area includes more than the space under your feet. Avoid positioning yourself across a walkway or in another person’s cable path. Look behind you before picking up the attachment, because you will not be watching the stack during each repetition.
Choose footwear that gives you reliable contact with the floor. If your feet slip even at a light load, stop and address the surface or footwear. Adding weight will not solve a traction problem.
Start with a deliberately light setting
The first set tests the setup, not your strength. Select a load you can hold while standing without being pulled backward. If the empty attachment or lightest available stack setting already disrupts your balance, use an unloaded hinge or another exercise.
Cable labels are not universal strength measurements. Manufacturers use different pulley arrangements; for example, Life Fitness describes different cable ratios across its equipment. Record the specific station and its displayed setting rather than assuming a number transfers directly to another machine.
Learn the hip hinge before adding cable resistance
Stand a short distance in front of a wall with your back toward it. Soften your knees, keep your whole foot grounded, and push your hips backward until they gently meet the wall. Let your torso tip forward as your hips travel back. Then return to standing.
If you simply bend deeply through the knees and drop straight down, move a little closer to the wall and try a smaller backward hip movement. Do not force your shins perfectly vertical or lock your knees. A comfortable amount of knee bend is part of the pattern.
This wall practice is also suggested in ACE’s beginner deadlift teaching guidance. A few easy repetitions can help you distinguish the hinge from a squat before the cable adds a backward pull.
You do not need to reach a particular torso angle. End the hinge where you can keep your trunk steady and your feet planted. A shallower controlled hinge is a useful starting point if a deeper position causes you to round, lose balance, or feel uncomfortable.
How to do a cable pull-through
- Take hold of the rope. Face away from the machine with the cable between your legs. Hinge to grasp one rope end in each hand. Keep the connector and cable clear of your body.
- Step into position carefully. Stand and walk forward a short distance until the cable is under light tension. Use small, deliberate steps and check that you still have enough cable travel for the movement.
- Set your feet. Use a comfortable stance around shoulder width or slightly wider so the rope can pass freely. Let your toes turn out a little if that feels natural.
- Prepare your trunk. Keep your ribs over your pelvis, soften your knees, and brace enough to hold your torso steady while breathing.
- Send your hips backward. Let your hands travel between your thighs as your torso tips forward. Keep your arms long and maintain pressure through the whole foot.
- Reverse at your controlled depth. Stop before you need to round farther, squat deeply, or let the cable pull you off balance.
- Stand tall. Extend the hips until you return to a comfortable upright position. Let the hands come forward naturally with that movement, without rowing the rope upward.
- Finish without leaning back. Stop when your hips and torso are upright. Repeat at a deliberate pace, keeping the cable path clear.
To end the set, maintain control and take small steps back toward the machine until the stack can settle gently. Bend at the hips and knees as needed to place the attachment down. Never release a tensioned rope and let it snap back.
If the entry or exit feels confusing, ask a trainer to demonstrate it with the lightest setting. You should understand how to return the attachment safely before beginning a challenging set.
How far should you stand from the pulley?
There is no correct distance in feet that applies to every machine and body size. Stand far enough away that the cable stays appropriately tensioned through your chosen range, but not so far that you approach the end of cable travel.
During a light test repetition, the selected plates should move smoothly. If the stack repeatedly settles during the hinge, you may be too close, using a different range than expected, or working on a station that is poorly suited to the movement. Adjust with the load resting.
If the cable reaches a hard limit, stop. Do not keep stepping farther out or pull harder against the stop. Move closer if the machine allows a comfortable range, or choose a different setup.
Walking farther from the machine does not provide a reliable progression method. It changes the cable angle and available travel. Progress with controlled repetitions and suitable load increases while keeping the working position approximately consistent.
What the top and bottom should look like
At the bottom
Your hips have moved backward, your knees remain softly bent, and your torso has tipped forward as one controlled unit. Your hands are between the thighs, clear of the cable hardware. You may feel effort or tension through the back of the legs, but you should not chase the deepest possible stretch.
Keep the head following the torso naturally. Looking straight ahead while your torso becomes nearly horizontal can encourage you to crane the neck. Looking down does not mean collapsing your entire upper back.
At the top
You finish in a tall standing position with your feet still planted. The rope is in front of or near the upper thighs, depending on the attachment and your proportions. You can briefly tighten the glutes without thrusting the pelvis beyond standing or arching the lower back.
There is no need to lift the rope to chest height or fling it forward. If your arms swing freely at the finish, slow down and reduce the load. The cable pull-through here is a controlled strength exercise rather than a ballistic swing.
Choose your starting weight and effort
After the light setup test, try a set of 10 smooth repetitions. You should be able to pause in the standing position without taking a step, pulling with the arms, or leaning forward dramatically to avoid being dragged backward.
Keep that setting if you could perform approximately two or three more good repetitions. If you cannot reach 10 without losing the hinge pattern, reduce it. If 15 repetitions feel very easy and your movement is stable, a small increase can be considered after a rest.
Think of load as limited by the whole exercise. Your glutes might be capable of more resistance than your balance or grip can manage in this setup. That does not mean you should keep adding weight until the rope pulls you backward.
For example, a lifter may complete 15 controlled repetitions at one stack setting but immediately lean forward and shuffle at the next. That second setting is not ready for working sets. Continue with the first, or choose a different hinge exercise if loading capacity eventually becomes the main limitation.
A beginner plan with clear progression
Try the following as one hinge option within a balanced strength routine:
- Practice several unloaded hinges before approaching the cable.
- Perform one light setup set of roughly 8 repetitions.
- Complete two working sets of 10–15 repetitions.
- Leave about two or three good repetitions available.
- Rest around 90 seconds between working sets, adding time if balance, breathing, or grip has not recovered.
Use it once or twice per week initially, with recovery time between demanding sessions for the same muscles. This is an illustrative beginner plan. The 2026 ACSM resistance-training guidance emphasizes consistent, individualized training across the major muscle groups rather than requiring a particular machine or advanced technique.
Start by adding repetitions at the same load. An example progression could be 12 and 11 in one session, 13 and 12 later, and eventually two controlled sets of 15. Once that upper end feels repeatable, try the smallest available increase and work back toward 10.
If the new setting prevents you from meeting the lower end with good balance, return to the previous one. A cable stack may have larger jumps than you can comfortably use. Only use manufacturer-approved incremental weights if the gym permits them; do not hang loose plates from the pin.
Where it belongs in a workout
When you are learning the hinge, practice it early enough that fatigue does not obscure the movement. If the pull-through is your main hinge exercise that day, it can follow your warm-up and sit alongside a squat or lunge pattern.
If you already do challenging Romanian deadlifts, pull-throughs can be optional additional work later in the session. You do not need to add them automatically. The combined workload should fit your goals, experience, and recovery.
For a simple lower-body example, choose a goblet squat, the cable pull-through, and a manageable calf raise. Add other movements only if your broader plan calls for them. Those exercises are examples of different movement demands, not a requirement to exhaust every muscle in one visit.
On a full-body day, the pull-through can sit between an upper-body press and a row, with normal rest between sets. Avoid treating the cable station as a timed circuit if rushing makes your entry, exit, or balance unreliable.
Common problems and their fixes
You turn it into a squat
If your hips move mostly downward and your knees bend substantially more with each repetition, return to the wall-hinge practice. Shorten the range and use less load. Think about creating space behind your hips rather than reaching your hands toward the floor.
Some knee movement is normal. The goal is a hip-dominant pattern, not an artificial rule that the knees must remain frozen.
The cable pulls you backward
Reduce the load first. Check that your stance and footwear give you stable contact, then retest with a lighter setting. Do not solve the problem by leaning progressively farther forward or taking a large, unstable stance.
If you cannot stand comfortably at the top, the station or exercise may not suit your current ability. A floor bridge or light kettlebell deadlift can be a more manageable alternative.
Your arms do most of the work
Keep the elbows long and let the rope follow the hip movement. If you bend the elbows and bring the handle toward your stomach, reset with a lighter load. Your hands should maintain the connection rather than actively row the attachment.
You arch your back at the finish
End the repetition when you reach standing. A hard forward thrust does not add useful hip movement once the hips are extended. Practice the top position unloaded and notice whether your ribs lift and your shoulders drift behind your pelvis.
The rope rubs or hits your body
Check stance width, attachment length, and the cable path with the stack resting. The hardware should not strike sensitive areas. Do not improvise by holding the metal clip or attaching extra unapproved pieces to create more clearance. Ask staff for an appropriate attachment or use another exercise.
You feel increasing discomfort in the lower back
Stop the set rather than adding more cues under fatigue. Review load, depth, and the tendency to arch at the top. If a lighter, shorter-range version is still uncomfortable, choose another movement and seek individualized advice for persistent symptoms.
Alternatives when the cable is busy or awkward
Kettlebell deadlift
A kettlebell deadlift loads a hinge from the floor with the weight underneath you. It avoids the cable’s backward pull but requires a comfortable start height and a controlled pickup. The load and movement feel different, so establish a new baseline.
Romanian deadlift
A Romanian deadlift typically begins standing and uses a hip hinge with a barbell or dumbbells. It may offer more convenient loading progression when the pull-through becomes limited by balance. Read the Romanian deadlift comparison before assuming the technique is identical to lifting a weight from the floor.
Glute bridge or hip thrust
A bridge offers hip extension while your torso is supported by the floor. It can be useful when standing balance or cable setup is the main obstacle. A hip thrust changes the support arrangement and available loading. Our glute bridge versus hip thrust guide explains the practical differences.
Resistance-band pull-through
A securely anchored band can create a similar direction of pull, but resistance changes as it stretches. Use an anchor and band intended for that purpose, inspect them before use, and follow their instructions. An improvised anchor or damaged band is not worth using to preserve one exercise in the plan.
Frequently asked questions
Is a cable pull-through the same as a kettlebell swing?
No. Both can use a hinge pattern, but a swing is typically a faster, ballistic movement with a freely moving weight. The cable variation described here uses a controlled pace and a tethered load. Learn each exercise separately rather than speeding up pull-throughs to imitate a swing.
Can it replace every deadlift variation?
It can fill a hinge role in some general fitness routines, but it does not teach all the same skills or offer identical loading options. Choose according to your goal. Someone training to improve a specific deadlift will need appropriate practice of that lift.
Should I feel the glutes more than the hamstrings?
Sensation varies with your proportions, range, fatigue, and technique. Both regions can contribute. You do not need a strong burn in one specific spot to count a controlled set. If you mainly feel painful tension or cannot maintain the movement, address that rather than chasing a target sensation.
When should I get help?
Ask a trainer if you cannot safely enter or leave the setup or consistently lose balance. Stop for sharp pain, tingling, numbness, or symptoms spreading into a leg. Persistent symptoms, recent injury, or existing restrictions need guidance from a qualified healthcare professional.
Keep a record you can use next time
Record the machine, displayed load, sets, repetitions, and a brief setup note. “Low pulley, rope, two sets of 12, stable at finish” gives you something concrete to repeat. Changing gyms or attachments may require a fresh starting weight.
Use Workit to log sets, reps, and weights (subscription required). At the next session, prioritize the same balanced stance, controlled hinge, and upright finish. Add resistance only when those features remain intact.