
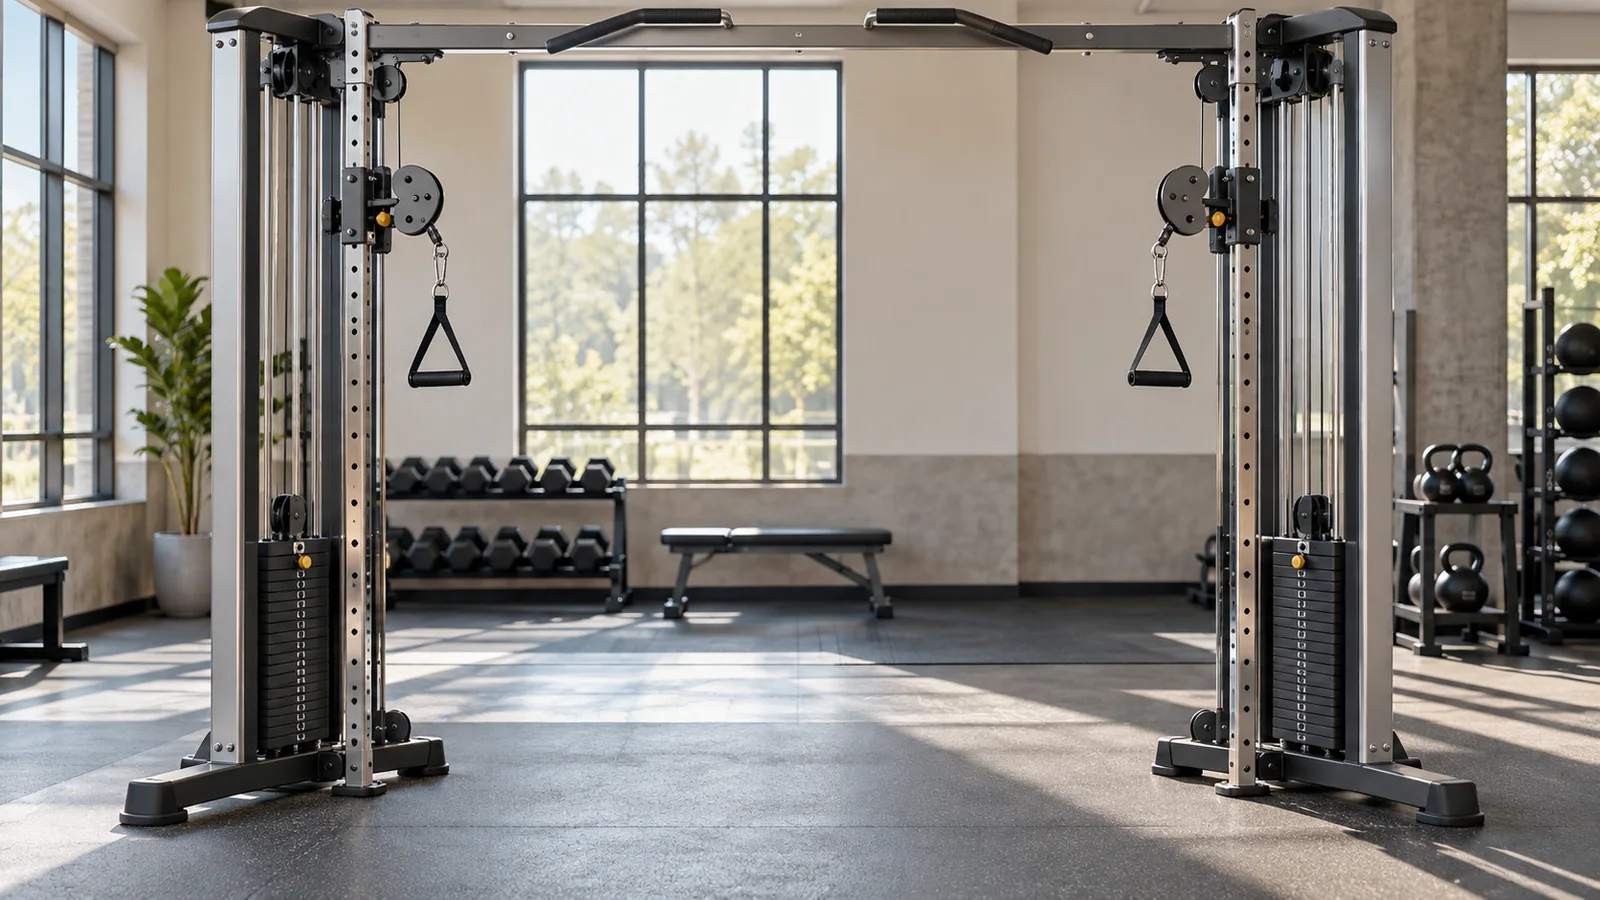
A cable chest fly trains the chest by bringing your arms together in front of you against cable resistance. Keep a small, fairly consistent bend in your elbows, use a stable stance, and open only as far as you can control comfortably. Start light enough that you can return the handles without being pulled backward.
Published October 14, 2026
For a beginner, one or two sets of 10–15 smooth reps after a main pushing exercise is a reasonable practice option. Leave a few clean reps available. These numbers are a practical example, not evidence that a specific fly routine works best for everyone.
The most useful details are often the ones missing from a quick demonstration: where to set the pulleys, how far to step forward, how to get out of the exercise, and how to record a load when two weight stacks are involved. This guide works through those decisions before adding heavier weights or extra variations.
What the cable chest fly does
The main movement is bringing the upper arms across the front of the body, called horizontal adduction. The pectoralis major is a major contributor, with the front of the shoulders also involved. Your arms hold the handles while your trunk and lower body help maintain your position.
The elbows stay slightly bent rather than repeatedly bending and straightening through a large range. That is the easiest way to distinguish a fly from a chest press. A press uses obvious elbow extension; a fly emphasizes the arc of the upper arms.
The ACE standing chest fly demonstration uses two cable handles, a small elbow bend, a controlled meeting of the hands, and a slow return. Its setup is one useful reference rather than the only possible pulley arrangement.
You can use a fly as additional chest work after presses, or choose it because you enjoy the movement and can perform it comfortably. You do not need a fly in every program. If you already have a repeatable pressing routine and limited time, making that routine consistent may matter more than adding another exercise.
Set up the cable station before you start
Check the equipment and adjustment points
Use matching handles and make sure their clips close properly. Check that the pulley-height adjustments are locked, the weight pins are inserted fully, and the cable moves smoothly. Report fraying, damaged handles, unusual grinding, or loose hardware to gym staff rather than trying to work around it.
Choose the same displayed load on both sides for a two-arm fly. Start conservatively. The number on the stack is useful for tracking that machine, but it is not a universal statement of the force at your hands. Cable routing and machine design differ.
Make sure you are using two sides intended to operate together. Some stations have shared stacks, unusual resistance ratios, or attachments with specific instructions. If the arrangement is unfamiliar, ask staff to show you before selecting a working load.
Choose an uncomplicated pulley height
For your first sessions, place the handles around shoulder height or slightly above, then bring them together in front of the middle of your chest along a comfortable path. The best exact setting depends on your height, the width of the station, and the machine’s adjustment intervals.
Start with one repeatable setup instead of testing every high-to-low and low-to-high option in the same workout. Record the pulley number so you can reproduce it. A change of height changes the movement enough that you should reassess the load.
Clear the whole exercise area
You need room for your outstretched arms and a safe path back toward the machine. Avoid positioning yourself where people will walk between you and the pulleys. Move any loose bottles or bags away from your feet before holding both handles.
How to do a cable chest fly step by step
- Collect the handles carefully. With a very light load, bring one handle and then the other into a controlled position near the front of your body. Avoid twisting or reaching far behind you while one side is heavily loaded.
- Take a small step forward. Move only far enough to create room for the arm path and maintain cable tension. Excessive distance can make setup harder without improving the exercise.
- Use a comfortable split stance. Put one foot slightly ahead of the other, keep both feet grounded, and soften the knees. A parallel stance is another option if it feels equally stable.
- Set your torso. A modest whole-body forward lean can be comfortable. Keep it consistent rather than hinging farther forward with each rep or arching your low back.
- Keep the elbows softly bent. Maintain roughly the same bend as the hands move. Your arms form a broad arc rather than a rigid straight line.
- Bring the arms together. Sweep the handles forward until the hands approach each other at a comfortable height. Breathe out during this phase if that helps your rhythm.
- Pause without forcing a crossover. A brief controlled stop is enough. You do not need to cross your wrists or squeeze the handles against one another.
- Open slowly. Return toward the start while keeping the body quiet. Stop before the weights pull your upper arms into a position you cannot comfortably control.
- End with control. Bring the handles to a manageable position, carefully step back toward the station to reduce the reach, and return the handles without dropping them or letting the stacks crash.
If you cannot collect or return both handles smoothly, reduce the load. An exercise is only manageable when the beginning and ending are manageable too. A chest-fly machine may be a more convenient alternative if the cable setup itself is the main obstacle.
How far should you open your arms?
Start with a modest opening that keeps your upper arms near the line of your torso. Explore a slightly larger range only with light resistance and comfortable control. You do not need to chase a deep stretch behind your body.
The amount of bend at your elbows changes the leverage. Straighter arms generally make the same stack setting feel more demanding. If you alter the elbow angle substantially, you have changed the exercise difficulty even without moving the pin.
Use a repeatable bottom position, not an arbitrary rule that every person must copy. A long-limbed lifter on a narrow station may need a different stance and arc from someone shorter on a wide crossover machine.
Keep your shoulders and rib cage organized without squeezing your shoulder blades together as hard as possible. Let the arms move smoothly. If the front of the shoulder feels pinched, end the set and reassess the load and range rather than trying to stretch through it.
Cable fly versus dumbbell fly versus chest press
Cable fly
The cables pull along the line between your hands and the pulleys. That direction changes relative to your arms as you move, and it depends on your position. Although cables can keep resistance present across much of the path, “constant tension” does not mean the demand at the shoulder is identical at every point.
The main practical advantage is adjustability. You can change the pulley height and body position, provided the machine supports those changes. The trade-off is that setup and stance require attention.
Dumbbell fly
Dumbbells are pulled downward by gravity. That creates a different resistance pattern from cables and usually involves lying on a bench. The loads are not directly interchangeable. A cable setting you can manage says little about the dumbbell weight you should choose.
If you already struggle to control a long arm lever, changing to dumbbells is not automatically an easier solution. Select equipment according to a manageable setup and comfortable motion.
Chest press
A chest press includes more elbow movement and generally allows a different loading strategy. The incline dumbbell press is one option for a main upper-body push. It is reasonable to learn a comfortable press first and add flys later if you want extra chest work.
For a no-bench setting, the dumbbell floor press gives another pushing option. Neither alternative has to duplicate every feature of a fly to be useful in a routine.
High-to-low and low-to-high cable flys
A high-to-low fly begins with the pulleys higher and finishes with the hands lower. A low-to-high version begins below the hands and finishes higher. These alter the direction of the movement and can change which position feels comfortable.
Do not assume one angle exclusively isolates an “upper,” “inner,” or “lower” chest compartment. Changes in arm path can alter muscular demands, but an angle label does not promise a particular visible result. A standard middle-height setup is enough to learn the exercise.
If you later test another angle, make it a separate variation in your log. Reduce the load first and choose a finish position you can reach without shrugging excessively, arching, or turning the movement into a press.
For example, switching from a shoulder-height fly to a low-to-high fly while keeping the same stack number may unexpectedly challenge your shoulders. The sensible response is to relearn the pattern at a lighter load, not to force the old number into a new path.
Choose a load that preserves the arc
Use a weight with which ten practice reps look similar from beginning to end. You should be able to stop briefly with the hands in front, then open under control without being pulled backward.
Leave about three clean reps available during early sessions. Estimating that is imprecise, particularly for a new movement. The useful question is whether the next few reps would still have the same stance, elbow bend, and comfortable range.
Do not use your pressing strength as the starting estimate. A person who presses substantial dumbbells may still need a low cable setting for a fly because the lever and movement are different.
If the smallest setting feels too demanding, ask whether that station has an approved lighter configuration. Otherwise choose a suitable alternative. Do not partly insert the weight pin, suspend extra loose plates from it, or improvise changes to the machine.
A first-session walkthrough
Here is a practical learning session rather than a research-tested protocol. Start after an easy general warm-up and any main pushing exercise you have already planned.
- Setup rehearsal: use the lightest suitable load and practice collecting and returning the handles. Confirm that you can get in and out without a rushed reach.
- Practice set: do six gentle repetitions. Pay attention to the pulley height, arm path, and how far you open.
- Rest: take about a minute or longer if needed, then make one setup adjustment if something felt awkward.
- First working set: do 10 controlled reps with several left available.
- Optional second set: after 60–120 seconds, repeat if your technique and comfort remain good.
If you spend the whole visit learning the setup and complete only the practice set, that is still useful information. You can return to a familiar arrangement next time instead of adding fatigue while you are still guessing.
At the end, write down the machine, pulley notch, load on each side, stance, and reps. A workout log template can help keep the details concise enough to use during a real session.
Where to put flys in a weekly routine
For general training, a cable fly often fits after a main chest press and before smaller accessory exercises. If chest-fly performance is your particular priority, you can place it earlier, but expect that subsequent pressing may feel harder.
Start with a small amount of fly work and count it alongside other chest work. Two fly sets after three pressing sets are five chest-focused sets in that session; the different exercise name does not erase the additional work.
The ACSM 2026 resistance-training update supports tailoring training to the person and prioritizing consistency. It does not establish an ideal cable-fly routine. The examples here translate broad principles into a manageable practice structure.
Example: two upper-body sessions
In Session A, do your chosen chest press for two working sets, a row for two sets, then one or two cable-fly sets of 10–15. Include any planned lower-body and trunk work as appropriate to your program.
Several days later, Session B could use a different comfortable press and pulling exercise, with no flys at all. You do not have to repeat every accessory in every workout.
If you also use a dumbbell shoulder press, remember that the front of the shoulders has already participated in chest exercises. Start with less total pressing work if recovery or technique becomes difficult.
A simple progression with actual numbers
Suppose the station’s manageable starting setting is 5 kg per side. Your planned range is two sets of 10–15 reps with two or three good reps available. These are illustrative numbers, not a recommended starting weight.
- Session one: 5 kg per side for 11 and 10 reps.
- Session two: 5 kg per side for 12 and 11 reps.
- A later session: 5 kg per side for 15 and 15, with the same arc and controlled return.
- After that feels repeatable: test the smallest suitable increase, accepting fewer reps if you remain within a manageable range.
If the next pin adds 2.5 kg per side, that is a 50% jump from 5 kg. It may be much larger than you can use. Staying at 5 kg, finding an approved smaller increment, or choosing equipment with finer steps are all reasonable.
Do not count progress that comes only from bending the elbows farther, taking a much larger forward lean, or opening less. Those changes can make a higher number possible while changing the task.
For the broader plan, the exercise-order guide helps you decide which lifts deserve your freshest effort. Compare fly sessions performed in roughly the same place in your workout.
Troubleshoot the most common problems
“I feel this mainly in my shoulders”
The front shoulders do contribute, so some effort there is unsurprising. First reduce the weight, use a comfortable opening, and check whether your upper arms are moving across the body instead of your hands simply wandering inward.
Do not keep adding load to force a chest sensation. The feeling of a strong burn is not a reliable measurement of future growth. If the sensation is joint pain or pinching, stop rather than trying another painful set.
“My elbows bend more as I close”
You may be turning the exercise into a press to manage the load. Choose a lighter setting and think about keeping the same broad arm shape. A little natural movement is fine; a large change is the sign to notice.
“The stacks hit after every rep”
Check your starting distance and control. You may be returning too far for that setup or losing tension abruptly. Follow the machine’s instructions and avoid stepping so far forward that setup becomes difficult just to prevent every plate from touching.
“I sway from side to side”
Check equal pulley settings, matching displayed loads, and a stable stance. Reduce resistance if you still need to shift your body to finish. A single-arm variation is a separate exercise with additional trunk demands, not an automatic fix for uncontrolled two-arm reps.
Alternatives when the cable station is unavailable
A chest-fly machine offers a supported version with a different setup. Adjust the seat and starting position according to its instructions. It may be easier to manage, but its displayed weight cannot be compared directly with the cable stacks.
A comfortable push-up variation can also provide chest training without waiting for the station. The beginner push-up progression starts with easier heights and progresses gradually. It trains a different movement pattern but can still fill a useful pushing slot.
Do not loop a band around an uncertain object just because the cable machine is occupied. Anchored band exercises require suitable equipment, a verified secure anchor, and the band manufacturer’s instructions.
Pain and other reasons to stop
Stop if you feel sharp pain, shoulder pinching, numbness, dizziness, or a sudden loss of control. Return the handles carefully and avoid repeatedly testing the same painful range.
Mayo Clinic’s technique guidance advises stopping an exercise that causes pain. Persistent symptoms or a recent injury call for individualized advice before you continue loading the area.
Ordinary effort can make the final reps slower, but you should still be able to decide where the handles go. If the machine is deciding for you, end the set.
Frequently asked questions
Should my hands cross?
No crossover is required. Bringing the handles toward one another is enough. Reaching far past the midline can make the setup harder to reproduce and may feel uncomfortable.
Should I use the same lead foot every time?
You can alternate the lead foot between sets if both stances feel stable. Keep the stance comfortable and consistent within each set. Do not turn the exercise into a balance challenge unless that is a separate, intentional goal.
Are flys better than presses for building the chest?
There is no universal winner. The useful choice depends on your whole program, comfort, equipment, and ability to progress. Presses and flys can coexist, but adding both is optional.
How much weight should a beginner use?
There is no meaningful universal stack number. Begin with a light setting on that specific machine and use control, comfort, and repeatable reps to judge it. Record the load per side.
Make your next set repeatable
Choose one pulley height, a manageable load, and a comfortable opening. Practice the start and finish, then record two or three useful details. Add reps gradually while keeping the same arm shape. A controlled exercise you can repeat is a better foundation than an impressive stack setting you cannot manage.
Explore Workit on the App Store.