
Published October 11, 2026
A practical resistance-band workout for beginners combines a band hip hinge, bent-over row, and biceps curl with bodyweight squats, wall push-ups, and dead bugs. Start with one controlled set of each exercise, twice a week on nonconsecutive days. Use a light band, leave a few good repetitions in reserve, and add work gradually.
This routine requires no door or furniture anchor. It uses a long band or handled tube that its manufacturer explicitly allows you to secure beneath your feet. The bodyweight exercises fill out the session without forcing a band into every movement.
Below you will find equipment checks, clear technique instructions, repetition targets, and a four-week progression. The routine is a general fitness example for adults. It is not a rehabilitation program, and your band’s model-specific instructions take priority over a generic workout description.
What you need before starting
Choose a long resistance band or tube with enough usable length for the exercises below. It should provide manageable resistance throughout the movement without approaching its stretch limit. A band that is already highly stretched in the starting position is unsuitable for that setup.
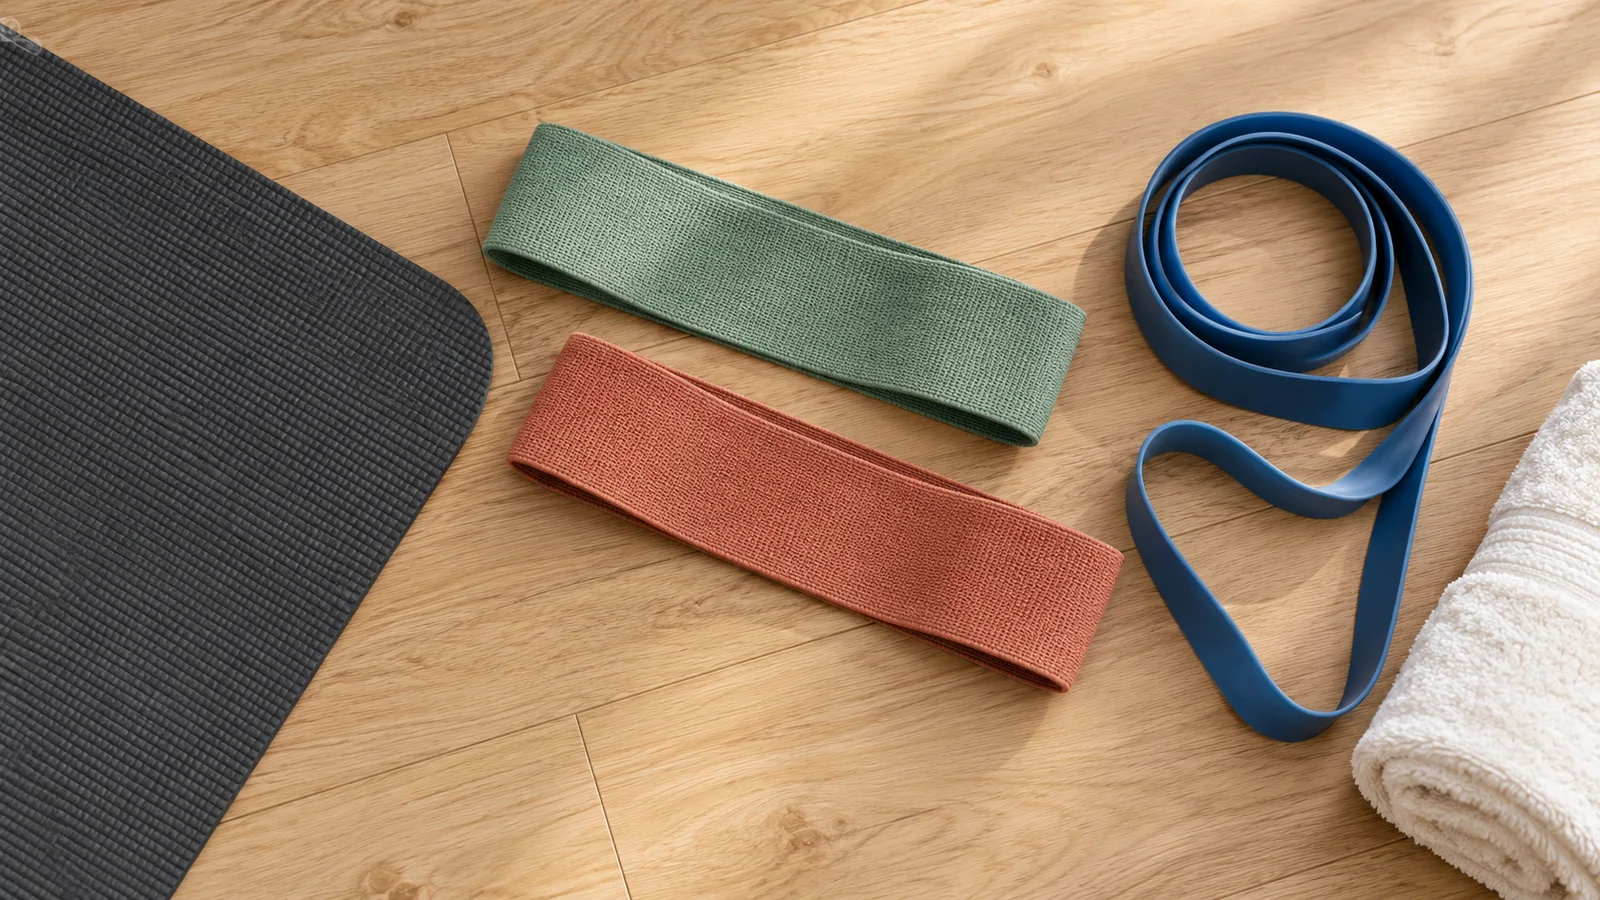
Check the manufacturer’s exercise instructions to confirm that standing on the band is an approved use. Some products have different construction, attachments, or intended uses. A short mini-loop designed to sit around your thighs is not interchangeable with a long exercise tube.
You also need clear floor space, a solid wall for wall push-ups, and secure footwear suitable for your band’s instructions. An exercise mat is optional for the floor exercise. Keep sharp objects, jewelry that could catch the material, and nearby pets away from the working area.
Do not choose resistance by color alone
Band colors are not standardized across manufacturers. A red band from one company may feel quite different from a red band from another. Printed resistance ranges also depend on stretch length and how the manufacturer measures them.
Choose by movement quality instead. You should be able to complete the planned range smoothly, without jerking, changing your posture, or struggling to control the return. It is reasonable to use different resistance levels for rows and curls.
If you own just one band, begin with a light option that suits the smaller exercise. Your hinge may be easier initially. You can add an appropriate second resistance later rather than trying to make one heavy band fit every movement.
The safety check that belongs in every workout
Elastic equipment stores tension. If it breaks, slips, or detaches, it can recoil quickly. Treat the equipment check as part of the session even when the band looks new.
- Inspect the entire band. Look for nicks, tears, cracks, punctures, thinning, or other damage. Check handles, stitching, and connectors where present. Stop using damaged equipment and replace it according to manufacturer guidance.
- Check the setup. Confirm that the band cannot slide from beneath your feet during the intended movement. Keep the working surface free of sharp or abrasive edges.
- Respect the product’s stretch limit. There is no universal safe extension ratio for every band. Read the exact model’s instructions and stay within them.
- Control the return. Do not release, unclip, or change your grip while the band is stretched. Reduce tension fully before adjusting the setup.
- Protect your face and other people. Keep your face out of the likely recoil path. Never aim a stretched band toward your eyes or someone nearby. Follow the manufacturer’s protective-eyewear instructions.
The NHS resistance-band safety leaflet emphasizes inspection, avoiding overstretching, and the possibility of rebound toward the face. University of Utah Health also describes eye injuries from exercise bands. Protective equipment does not make a damaged band or insecure setup acceptable.
What about door anchors?
You do not need one for this workout. If you later choose anchored exercises, use only an anchor and installation method approved for your exact equipment. Follow the instructions for compatible doors, placement, direction of pull, locking, and inspection. Keep other people from opening the door during use.
Do not improvise with a chair, lightweight table, loose railing, door handle, or other furniture that could move, tip, detach, or damage the band. If you cannot verify a setup, choose a different exercise. A hard tug is not proof that an unsuitable anchor is safe.
Check health and material considerations
If you have a chronic condition, a recent injury or surgery, or uncertainty about exercise restrictions, get individualized guidance before using this plan. Stop for concerning symptoms; chest pain, fainting, or severe unusual breathlessness requires prompt medical attention, not another set.
Some bands contain natural rubber latex. Check the material and choose a suitable latex-free product if you have a latex allergy. Do not assume that a fabric covering or a particular color tells you what is inside. Read the packaging and manufacturer information before handling unfamiliar equipment.
How hard should the first workout feel?
The final few repetitions can feel challenging, but your first sessions should leave room to learn. Finish most sets with the sense that you could perform about three more good repetitions. This is an estimate, not a test that requires continuing until you fail.
Our guide to reps in reserve explains this approach in more detail. For now, ask whether another repetition would look like the previous one. If you would need to swing, shorten the motion, or hold your breath, end the set.
Muscle effort and joint pain are different signals. Stop an exercise that causes sharp pain, pinching, numbness, dizziness, or unusual discomfort. Do not assume elastic resistance is automatically gentle just because the equipment weighs little.
Mayo Clinic’s strength-training guidance supports starting with controlled technique, allowing recovery between sessions for the same muscles, and increasing resistance as a movement becomes easier. The lower initial workload here is intended to help you learn each setup.
Your beginner resistance-band workout
Start with one set of each exercise in the order below. Rest about sixty to ninety seconds between exercises, or longer until you feel ready to move well. These are strength sets, not a race through a circuit.
- Bodyweight squat: 8–12 repetitions.
- Band hip hinge: 8–12 repetitions.
- Band bent-over row: 8–12 repetitions.
- Wall push-up: 6–10 repetitions.
- Band biceps curl: 8–12 repetitions.
- Dead bug or heel slide: 4–6 repetitions per side.
One round is six working sets. Two rounds are twelve working sets. When you progress to two sets, you can complete both sets of an exercise before moving on, resting between them. That often makes equipment adjustments easier than repeatedly changing setups.
Allow roughly twenty to thirty minutes for an introductory session, including equipment checks, warm-up, and pauses to learn. Your actual time depends on rest and setup. A one-set session may be shorter; taking extra time to work safely is fine.
Warm up before the working sets
Begin with several minutes of comfortable walking or marching. Add a few easy, unweighted squats, hip hinges, and arm movements. Then rehearse two or three repetitions of each band exercise using very light resistance.
The rehearsal is your chance to notice slipping, uneven grip length, or a band that becomes too tight near the end. Fix those issues before the working set. Warm-up repetitions should leave you feeling more prepared rather than tired.
Exercise 1: Bodyweight squat
Stand with your feet at a comfortable width, usually around hip to shoulder width. Bend your hips and knees to lower as far as you can comfortably control. Keep your feet planted, then push through the floor to stand.
Let your knees move in the same general direction as your toes. Your torso may lean forward somewhat; do not force yourself perfectly upright. Choose a depth that feels stable and does not cause joint pain.
Begin with eight repetitions. If you need a smaller range, use it consistently rather than dropping farther on early repetitions and struggling later. You do not need to add a band around your knees or shoulders to make the squat worthwhile.
Make it easier: Use a shallower range and slower, deliberate transitions. If balance limits you, seek guidance on an appropriate supported version rather than reaching for movable furniture.
Progress it: Build toward twelve smooth repetitions, then add a second set when recovery permits. Learn the movement before seeking a complicated band loading position.
Exercise 2: Band hip hinge
Use a long band or tube approved for an underfoot setup. Position its center securely beneath both feet according to the manufacturer’s instructions, with comparable working lengths on each side. Hold the approved handles or grip points beside your legs.
Soften your knees and push your hips backward, letting your hands travel down close to your thighs. Keep your spine in a comfortable, steady position. Stop when you reach a range you can control, then press through your feet and bring your hips forward to stand tall.
Do not lean backward at the top or shrug the band toward your ears. Your hands stay low; the movement comes mainly from your hips. Keep both feet planted throughout and lower with control so the band does not pull you abruptly downward.
Make it easier: Practice the same hip movement without a band. You should understand the hinge before adding tension.
Progress it: Add repetitions first. Once the target feels manageable, use the next appropriate resistance while keeping the same range. Do not widen your stance drastically or shorten the band beyond its approved setup to manufacture extra resistance.
Exercise 3: Band bent-over row
Secure an approved long band beneath both feet and hold its handles or approved grip points. Hinge at your hips with softly bent knees. Choose a torso angle you can hold comfortably and let your arms reach toward the floor.
Pull your elbows back toward your hips, bringing your hands toward your lower ribs or waist. Pause briefly, then lower with control. Keep your neck in line with your torso rather than looking up into a mirror.
Use a lighter band if you have to jerk your torso, shrug hard, or pull your hands toward your face. The working path stays low. Maintain your foot pressure and grip throughout; do not make adjustments while the material is under tension.
Make it easier: Reduce resistance and use a comfortable, more upright hinge angle. If holding a hinge itself causes pain or excessive back fatigue, stop and get help selecting an alternative.
Progress it: Build controlled repetitions without changing the torso angle mid-set. A heavier band is only useful if you can keep the same deliberate pulling and lowering pattern.
Exercise 4: Wall push-up
Place your hands against a solid wall at about chest height, slightly wider than your shoulders. Step back far enough to feel a manageable challenge. Keep your body moving as a unit as you bend your elbows and bring your chest toward the wall.
Press back to the starting position without sharply locking your elbows. Keep your shoulders comfortable and avoid flaring your upper arms straight out to the sides. Breathe through the movement.
This gives the session a pushing exercise without needing to stretch a band around your back or install an anchor. Keep the floor dry and your shoes secure so your feet do not slide.
Make it easier: Move your feet closer to the wall. Progress it: Move them slightly farther away while preserving control, then build repetitions. Avoid substituting a rolling desk, folding table, or other unstable surface.
Exercise 5: Band biceps curl
Use the approved underfoot setup with your feet stable and the band evenly positioned. Hold the handles or approved grip points with your arms beside your body. Bend your elbows to bring your hands upward through a comfortable range.
Keep your elbows near your sides and your wrists reasonably straight. Stop before you need to lift your elbows or lean backward. Lower slowly and finish with tension reduced before releasing your grip.
Keep the hand path below your face and follow the product’s guidance on recoil risk. If the setup requires excessive stretch at the top, use a lighter or suitably longer product rather than forcing the full range.
Make it easier: Choose less resistance. Progress it: Reach twelve controlled repetitions with a few remaining before moving to the next appropriate band. Curls often require less resistance than rows or hinges.
Exercise 6: Dead bug or heel slide
Lie on your back with your knees bent and feet on the floor. Gently tighten your abdomen while breathing normally. Slide one heel away and return it, keeping your trunk position comfortable and steady. Alternate legs.
If that feels manageable, use a dead bug variation with raised knees and opposite arm-leg movement. Stop the reach before your lower back arches or you hold your breath. Four repetitions per side means eight total reaches.
The dead bug exercise guide explains the full progression and common technique fixes. This exercise needs no band, and adding one is unnecessary for the beginner routine.
Make it easier: Shorten the heel slide. Progress it: Build to six repetitions per side before choosing a harder variation. If lying on the floor is unsuitable, get help choosing a comfortable alternative rather than forcing the position.
A four-week progression that leaves room to learn
Use two nonconsecutive workout days, such as Tuesday and Friday. Repeat a week whenever the exercises still feel unfamiliar or recovery is incomplete. The calendar is an example, not a requirement to advance.
- Week 1: One set of every exercise per session. Use the lower end of each repetition range and a light band. Concentrate on reliable setup.
- Week 2: Keep one set and gradually add repetitions where technique remains consistent. Different exercises can progress at different speeds.
- Week 3: If the previous sessions felt manageable, add a second set to the squat, row, and wall push-up. Keep the remaining exercises at one set. That is nine working sets per session.
- Week 4: Add a second set to the other exercises if you are recovering comfortably. That brings the session to twelve working sets. Keep resistance unchanged while adding these sets.
There is no need to increase band resistance during the same week you add several sets. Once two sets feel familiar, choose one exercise for a small resistance increase and return to the lower repetition target for that movement.
If you miss a workout, resume the schedule rather than doubling the next session. A disrupted week does not erase previous practice. The useful response is a manageable next workout, not a punishment session.
How to know when a heavier band makes sense
Consider progressing when you can complete the top of the repetition range with consistent form and still have several good repetitions available across more than one session. First confirm that you are using the same setup each time.
For example, suppose you row the same band for twelve repetitions on both sets with controlled lowering. At the next workout, try an appropriate slightly heavier band for eight repetitions. If your torso starts swinging, return to the previous resistance.
A band can feel harder simply because you gripped it shorter or changed your foot placement. That may be an approved adjustment for some models, but it must remain within the manufacturer’s limits. Record it so you do not mistake a different setup for a sudden change in strength.
Use the workout log template to note the band brand or model, resistance label, setup, sets, repetitions, and estimated repetitions remaining. A brief note such as “row: light tube, same foot position, two sets of ten” makes the next session easier to plan.
Common problems and sensible adjustments
The band feels easy at first and extremely hard at the end
That changing tension is a normal feature of elastic resistance, but the final position still needs to be controllable. Choose a lighter or appropriately longer band. Do not compensate by snapping through the difficult portion or stopping at a different point on every repetition.
Your grip gives out before the target muscles
Reduce resistance and check that you are using the approved grip. Handled tubing may be more comfortable for some exercises, but all parts still require inspection. Do not wrap a band tightly around your hands to prevent slipping unless the manufacturer specifically directs that method.
The band rolls, slides, or rubs against something
Stop and remove tension before fixing the setup. Do not continue hoping it will stay put. Repeated friction can damage the material, and a band that moves under your shoe may not be safely secured for that exercise.
You are very sore after the first session
Allow more recovery and reduce the next session’s sets or resistance. Some muscle soreness can follow unfamiliar exercise, but soreness is not the goal. Persistent pain, joint symptoms, or substantial difficulty with normal activities calls for professional advice.
Frequently asked questions
Can resistance bands build strength?
Yes, when the exercises provide an appropriate challenge and you progress over time. Bands are one strength-training tool among several. Their usefulness depends on the routine, effort, consistency, and equipment setup rather than the material alone.
Do I need a full set of bands?
No. One suitable light band can help you begin, though different movements may eventually need different resistance. Learn which exercises your current product supports before buying attachments or a large set.
Can I do this workout every day?
Begin with two nonconsecutive sessions. The CDC recommends muscle-strengthening activity at least twice weekly for all major muscle groups. Hard daily repeats are unnecessary for this starter plan; leave time for recovery and other activity.
What if I only have a small loop band?
Use a routine designed for mini-loops instead. Do not stretch a short loop into the long-band positions described here. You can still practice this plan’s bodyweight exercises while choosing suitable equipment.
How should I store the band?
Follow its care instructions. Keep it away from direct sunlight, extreme temperatures, sharp objects, and children. Inspect it again before the next session. Storage care does not replace checking for damage.
Start with a repeatable session
Inspect your equipment, choose light resistance, and complete one controlled set of each movement. Write down the setup and repeat it before making the workout harder. If you would like to learn about the app, explore Workit.