
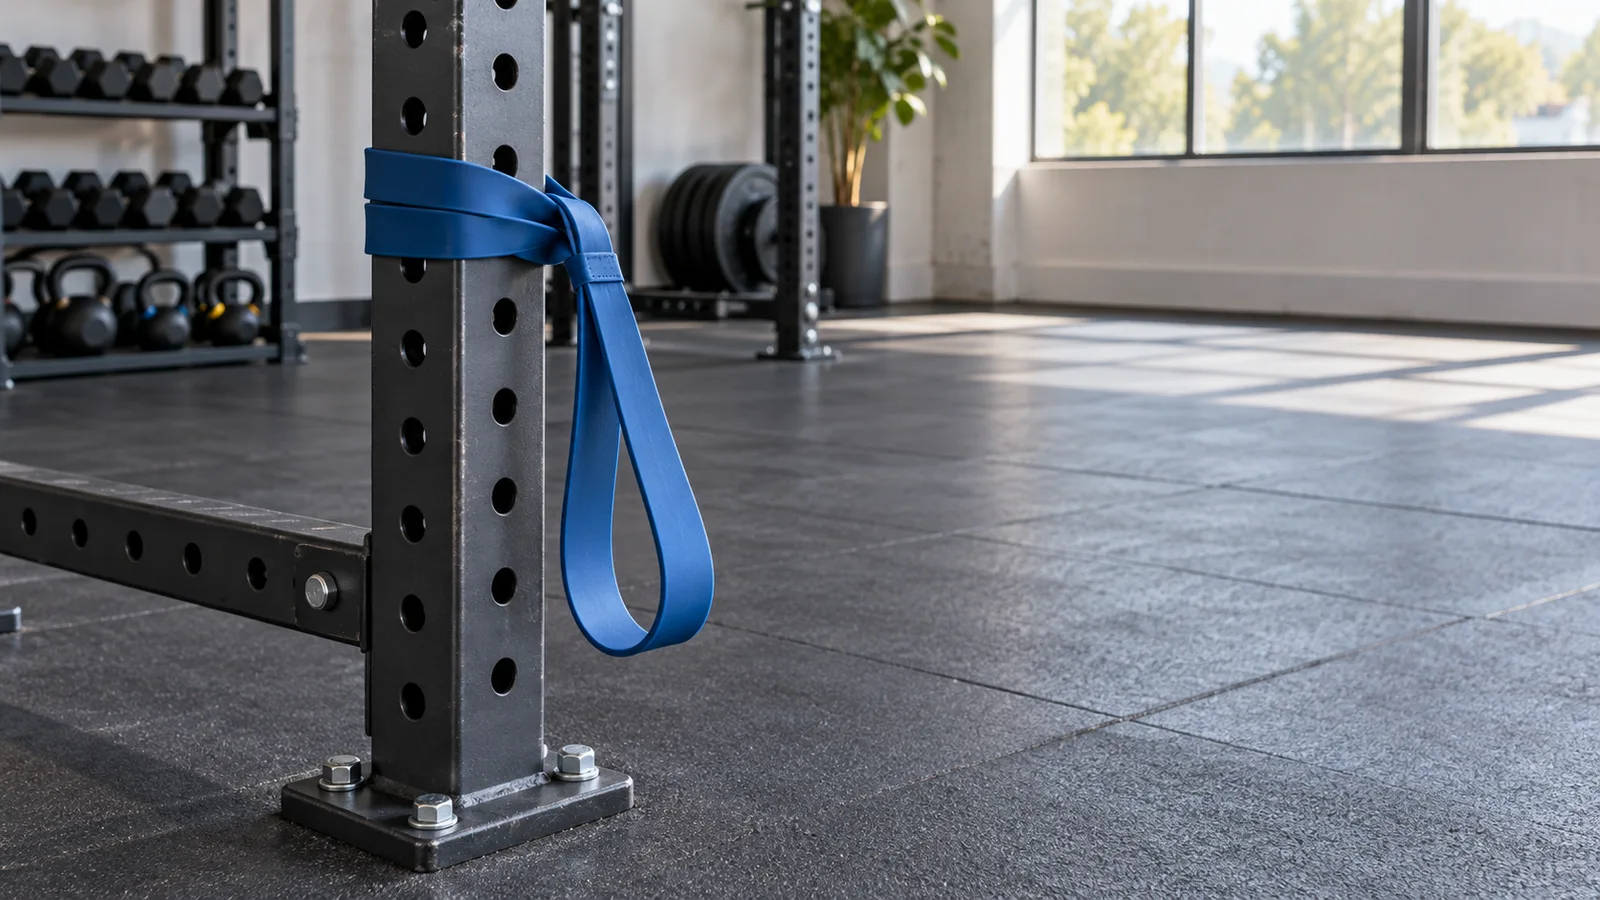
The Pallof press is a core exercise in which you stand sideways to a cable or securely anchored resistance band and press your hands forward while resisting the pull to turn. Keep your shoulders and hips facing ahead, use light resistance, and breathe throughout. The challenge is staying steady while your arms move.
Published October 14, 2026
A practical first session is one or two sets of 6–10 slow presses per side, with a brief pause when the arms are extended. Alternatively, try short holds of about 5–10 seconds. Those are conservative practice examples, not a uniquely proven Pallof-press protocol.
Before using a band, verify the band, attachment, and anchor according to their manufacturers’ instructions. A secure-looking piece of furniture is not necessarily a safe anchor. If you cannot verify the setup, choose a cable machine or an unanchored floor exercise instead.
What makes the Pallof press an anti-rotation exercise?
The resistance comes from one side. As your hands move farther in front of your body, that sideways pull has more leverage to turn your trunk. Your task is to keep facing the same direction while the arms press out and return.
“Anti-rotation” describes that task. It does not mean your spine should never rotate in exercise or everyday life. Controlled rotation and resisting rotation are different abilities, and a complete program can include either when appropriate.
The Prehab Pallof press guide describes the standard exercise as limiting trunk rotation while pressing against a band or cable. Its demonstration emphasizes keeping the hips and shoulders facing forward. That is a useful basic target before adding steps, lunges, or other complications.
The exercise can help you practice trunk control under a sideways pull. It is not a test that proves your entire core is strong, and it cannot guarantee protection from back injury. The useful outcome to track is more specific: can you handle a little more challenge while maintaining the same position and comfortable breathing?
Which muscles work?
Muscles around the abdomen and back cooperate to resist the turning force. The obliques are involved, along with other muscles that help control the trunk. Your shoulders and arms hold the handle in position, and your hips and legs contribute to a stable standing base.
The NSCA’s discussion of a Pallof-style sled exercise also describes the movement as anti-rotation work involving more than the abdominal wall alone. The sled version is a separate variation; you do not need a sled to learn the standard cable or band press.
You might feel effort in your arms as well as your trunk. That is not automatically a mistake. However, if your shoulders tire immediately and your body twists with every rep, the load or arm reach is probably too demanding for your current setup.
A stronger burning sensation is not the only sign that an exercise is useful. For this drill, a steady position, controlled arm movement, and a repeatable challenge are more informative than trying to make one small area feel exhausted.
Choose equipment you can secure and repeat
Cable machine
Use a single handle on an adjustable pulley. Set it around chest height, check that the height adjustment is locked, and insert the weight pin completely. Confirm that the handle attachment closes securely and the cable is in good condition.
Start with a low setting. Machine labels do not always equal the force at the handle because cable systems differ. Track the specific machine and displayed weight rather than comparing numbers with a different gym’s stack.
Stand where other people will not walk through the cable path. Keep enough room to move closer to the station when you finish so you can reduce tension before returning the handle. Ask staff for help with unfamiliar equipment.
Resistance band
Use a band intended for exercise and an attachment system approved for it. Inspect the whole band, especially where it meets the anchor or handle. Do not use a band with cracks, tears, abrasions, damaged stitching, or loose connection parts.
THERABAND’s manufacturer guidance calls for inspection before use and replacement when there are signs of wear. It also recommends appropriate protective eyewear for its latex bands. Follow the specific safety and stretch limits for your product, including any eye-protection instructions.
Choose a purpose-built, properly installed anchor suitable for the direction and amount of pull. Do not attach the band to a loose chair, towel rail, door handle, sharp-edged support, or an object you merely hope will stay put.
If you use a door anchor
Use only a compatible door-anchor product and follow its instructions for door type, positioning, closing direction, and locking. Check that no one can open the door while you are exercising. Keep children and pets away from the band’s path.
For example, THERABAND’s accessory guidance specifies the side of the door used with its anchor and recommends securing the door. That instruction belongs to that system; it is not permission to improvise with any strap and door.
Perform the manufacturer’s pre-use security check before standing in the exercise position. Stop if the anchor shifts, the door moves, or the band rubs against a damaging surface. If security is uncertain, skip the anchored exercise. Our no-anchor resistance-band workout offers other ways to train.
How to do the standing Pallof press
- Start with very light resistance. Hold the handle or approved band grip in both hands near the middle of your chest.
- Turn sideways to the anchor. The pull should come from your left or right rather than directly in front of you.
- Set a stable base. Place your feet around shoulder-width apart and keep the knees comfortable. Let your weight remain reasonably balanced across both feet.
- Take up the tension. For a band, move only as far away as the instructions permit. For a cable, step far enough to move smoothly without the stack repeatedly slamming down.
- Face ahead. Keep your chest and hips pointing toward the same spot. Start tall without exaggerating a low-back arch or clenching into a rounded posture.
- Press forward slowly. Move the hands away from your chest toward a comfortable reach. Keep the shoulders level and avoid letting the handle drift toward the anchor.
- Pause and breathe. Hold the position briefly without turning or leaning. You can stop short of completely straight arms if that gives better control.
- Bring the hands back. Return along the same path without suddenly yielding to the sideways pull.
- Finish safely and change sides. Bring the hands close, move toward the anchor to reduce tension, then reset facing the opposite way. Do not spin under a heavy pull.
Think of the first set as a rehearsal. If you are using a mirror, glance at your position before starting rather than repeatedly turning your head during the movement. A trainer can check whether your hips and shoulders remain aligned.
How much resistance should you use?
Choose a load that lets you perform several clean presses without visibly twisting, leaning away, or changing your stance. Begin lighter than a weight you could simply hold near your chest. The outward reach increases the challenge.
With a cable, use the same station and pulley setting while learning. With a band, note the band identity, anchor height, and your starting distance. Band color alone is not a universal resistance measurement across brands.
Elastic resistance changes as a band stretches. THERABAND’s product information specifically relates its band force to elongation. This is why stepping farther away changes the exercise even when you keep the same band.
Avoid increasing distance indefinitely. Stay within the manufacturer’s limits. If you need more challenge later, choose an approved higher-resistance band and relearn the setup rather than overstretching the old one.
There is no need to find a maximum Pallof-press weight. A number obtained while leaning heavily away from the machine does not describe the same task as a lighter, upright, controlled repetition.
Repetitions or holds: both are practical options
Presses with a pause
Try 6–10 reps per side, taking a second or two to press out and pausing briefly before returning. Keep each rep smooth. One or two sets per side is enough for an initial practice session.
The movement gives you frequent chances to check your position. If the eighth press is visibly different from the first, end the set instead of rushing to reach ten.
Short static holds
Press to a manageable reach and hold for about 5–10 seconds while breathing. Return the hands, relax briefly, and repeat a few times if you remain comfortable. This is an option when holding a position feels easier to understand than coordinating repeated presses.
Longer is not automatically better. A 40-second hold spent leaning and holding your breath is a different task from a clean ten-second hold. Increase duration only while the same position remains available.
Rest enough to regain control
Take a short rest between sides and about 45–90 seconds between rounds if needed. Those intervals are practical suggestions, not a special physiological threshold. Rest longer when your breathing, grip, or stance still feels unsettled.
A four-session learning example
The following sequence illustrates how to change one variable at a time. It is not a promise that everyone should progress after exactly four sessions. Repeat a stage as often as needed and stop if the exercise causes pain.
- Session one: learn the equipment checks and do one set of six presses per side with a short, comfortable reach. Use very light resistance.
- Session two: repeat the same setup. If it remains easy to control, complete two sets of six per side.
- Session three: keep the load and reach the same; aim for two sets of eight per side.
- Session four or later: repeat eight clean reps with a slightly longer pause, or test a small load increase while returning to six reps. Choose one change.
Suppose the cable stack reads 2.5 kg. The next plate reads 5 kg. That is a 100% increase in the displayed load, so it may be unsuitable even if the first setting has become easy. More controlled reps, a small approved increment, or a different station may be more manageable.
Do not extend the arms farther, increase resistance, narrow the stance, and lengthen the hold in the same session. Each changes the challenge, making it difficult to understand why control disappeared.
A concise log might read: “Cable station 2, chest-height notch 7, 2.5 kg displayed, feet shoulder-width, 2 × 8 each side, two-second pause, comfortable.” The workout log guide shows how to keep this kind of detail without turning training into paperwork.
Standing, seated, and kneeling variations
Standing with a broad base
This is a straightforward starting option because you can adjust your foot position and easily step closer to release tension. Keep the stance wide enough for control without turning it into an exaggerated sideways lean.
Seated
A stable exercise seat may be useful when standing is inconvenient, but it requires a suitable anchor height and a secure base. Do not use a light chair that can slide or tip. Ask for help arranging the station if you are unsure.
Tall kneeling or half kneeling
These positions change the base of support and the demands on the hips and trunk. They are alternatives, not compulsory upgrades. Use comfortable padding, reduce resistance, and adjust the pulley to the new chest height.
Skip kneeling versions if they cause knee discomfort or make getting up and down difficult. Standing with control is a complete exercise choice. You do not need to make your base smaller to justify continuing it.
Step-outs and other moving versions
Adding a step changes both position and resistance, especially with a band. Save these versions until you can manage a stationary press and understand your equipment’s limits. There is no requirement to progress to unstable surfaces, fast perturbations, or partner pulls.
Where it fits in a workout
A short Pallof-press practice block can go near the end of a full-body workout. For example, after your main lower-body, pushing, and pulling work, do one or two rounds per side and finish.
If you use it earlier as a positioning rehearsal, keep it easy. Exhausting your trunk before a demanding dumbbell shoulder press can make that later exercise harder to control. The point of the warm-up version is to leave you prepared.
You could practice on two nonconsecutive training days each week, adjusting to your overall workload. This is an example schedule. The 2026 ACSM guidance supports consistent, individualized resistance training, but does not establish a required Pallof-press frequency.
A busy gym is also a reason to keep the plan flexible. One brief trunk exercise does not require holding a cable station while you complete several unrelated movements elsewhere.
How it differs from other core exercises
The side plank challenges you to maintain a side-supported position. It requires no anchor, but bearing weight through an elbow or shoulder may feel different from holding a Pallof handle.
The dead bug uses a floor position with moving limbs and no sideways cable pull. It can be a useful alternative when you want to practice trunk control without standing equipment.
The bird-dog exercise uses hands-and-knees support while you reach with opposite limbs. It asks you to control a different body position and may fit a home session with no weights.
You do not need all four in one workout. Choose one or two that fit your setting and can be performed comfortably. If a clinician gave you a specific rehabilitation plan, follow that plan rather than treating these options as interchangeable treatment.
Common mistakes and quick adjustments
Your body turns toward the anchor
Shorten the reach or reduce resistance. Check that you begin truly sideways instead of already turned toward the cable. Keep the same point ahead of you as your reference.
You lean away to survive the hold
Bring the load down. A big counter-lean can make a heavy stack look manageable while changing the intended position. Start with your weight comfortably distributed across both feet.
Your shoulders rise and your neck tightens
Try less resistance and a slightly shorter reach. Keep the handle around chest height rather than drifting upward. Do not force the shoulders down rigidly; simply avoid adding an unnecessary shrug.
You cannot breathe normally
End the hold and make the next attempt easier. Use a few short breaths while the hands are out, or count quietly to check that you are not holding your breath. A low-load control exercise does not need a maximal brace.
One direction feels harder
Begin with the more difficult direction and use its clean performance to set the reps for both sides. Check your stance and distance before assuming a strength imbalance. A single uneven session is not a diagnosis.
When to stop or get individualized advice
Stop for sharp pain, numbness, dizziness, or a sudden loss of strength or control. Release resistance safely by bringing the hands close and moving toward the anchor before letting go.
Mayo Clinic’s weight-training guidance emphasizes stopping painful exercise and maintaining sound technique. Persistent symptoms, a recent operation, or an existing back condition may require a clinician’s guidance before you add resistance.
Do not treat the Pallof press as a self-prescribed cure for back pain. Its usefulness in an individual rehabilitation plan depends on the person, symptoms, and clinician’s assessment.
What to check before the next session
Review how the exercise fit into the whole workout. If your grip or shoulders were already tired from earlier work, try the same light setup when you are less fatigued before deciding you need a new variation.
Record whether you could keep breathing, whether both directions used the same reach, and whether any discomfort appeared during or after practice. A cleaner set at the same resistance is useful progress. If the next session starts with unusual soreness or poor control, reduce the work or choose another comfortable exercise.
For home training, inspect the band and anchor again every session. A successful setup yesterday is not a substitute for today’s equipment check, especially if the door, attachment, or band has been moved.
Frequently asked questions
Do I press away from the machine?
You stand sideways to the machine and press forward from your chest. The cable still pulls from the side. Pressing directly along the cable’s line creates a different movement.
How many sides count as one set?
Write “one set per side” or “one round, both sides” so your plan is clear. Eight left-facing and eight right-facing repetitions means eight per side, not eight total.
Can I do it every day?
Daily practice is not necessary. Start with a few manageable exposures within your normal training week and see how you recover. Adding frequency should serve a clear goal rather than make every day harder.
Can it reduce belly fat?
It is a trunk-training exercise, not a way to choose where your body loses fat. Evaluate it by control and usable resistance rather than expecting a specific change in waist appearance.
Make the setup the first progression
Before chasing a heavier band or stack, make the exercise repeatable: secure equipment, the same anchor height, a stable stance, a comfortable reach, and steady breathing. Then add one small challenge while preserving those details.
Explore Workit on the App Store.
Sources
- Prehab: Pallof press technique and variations
- NSCA: core development and Pallof-style anti-rotation work
- THERABAND: inspection, resistance, and eye-protection guidance
- THERABAND: band and anchor accessory guidance
- ACSM: 2026 resistance training guidance
- Mayo Clinic: weight-training technique and safety