
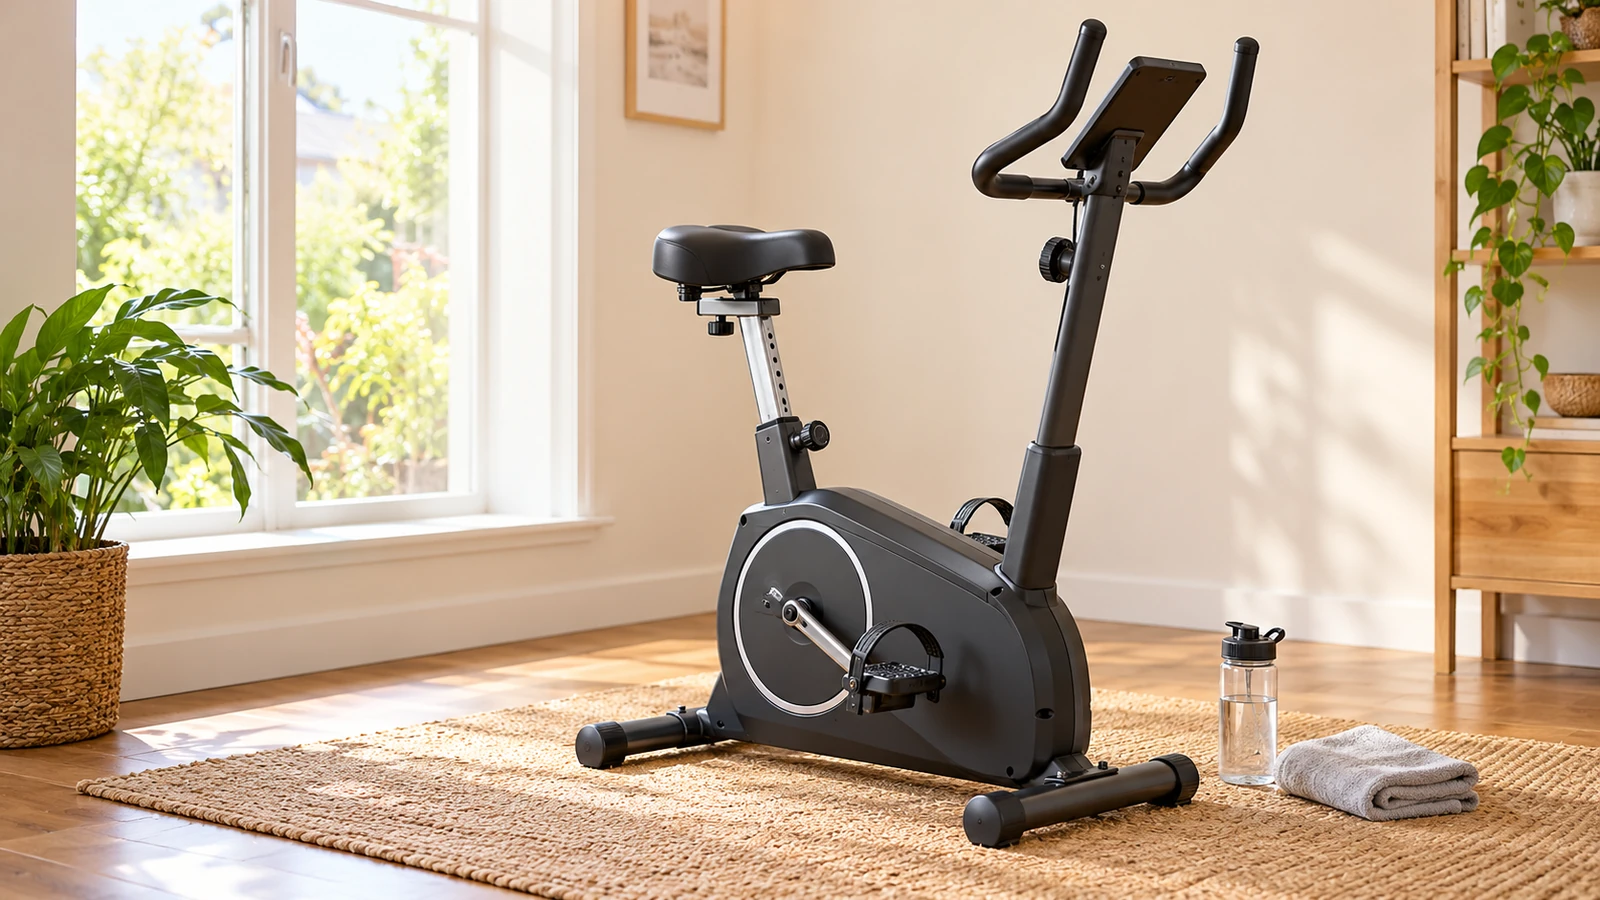
A simple stationary bike workout for beginners is 20 minutes: pedal easily for five minutes, ride at a comfortable steady effort for ten minutes, then ease down for five minutes. During the middle section, aim to breathe a little harder while still being able to speak in sentences. Start with a shorter, easier ride if 20 minutes feels like too much.
Published October 10, 2026.
You do not need a spin class, a heart-rate zone calculation, or a target calorie burn to begin. You need a bike that fits, an effort you can control, and a repeatable plan. The workouts below keep you seated, explain what to do when a setting feels wrong, and show how to build toward longer sessions without turning every ride into a test.
Choose the beginner ride that matches today
- First time or very little recent activity: try ten minutes of easy pedaling, gradually easing in and out.
- Comfortable with short walks or other easy activity: try the 15-minute introductory ride.
- Already comfortable riding for 15 minutes: try the 20-minute steady workout.
- Several comfortable steady rides completed: consider the optional 25-minute easy-interval session.
These are sample sessions for generally healthy adults, not a rehabilitation prescription or a fitness test. If you have a condition that affects exercise, are recovering from surgery, or have been given activity restrictions, follow your clinician’s guidance. People with known heart disease should get individual advice before starting a new exercise program. The American Heart Association recommends starting slowly and increasing activity gradually.
If you are simply returning after an ordinary break, set your first ride according to current comfort rather than the settings you used months ago. Our guide to returning to the gym after a break can help you rebuild a broader routine at a manageable pace.
Set up your stationary bike before starting the timer
Find a comfortable seat position
On an upright bike, begin with the saddle near hip height as a rough starting point, then check while seated. At the bottom of the pedal stroke, your knee should retain a comfortable bend. You should not need to rock your hips from side to side, lock your knee, or point your toes dramatically to reach the pedal.
On a recumbent bike, adjust the seat forward or backward so you can reach the farthest pedal position without stretching out your leg completely or lifting your hips away from the seat. Your knees also need enough room at the nearest point of the stroke. A seat that works for another rider may be wrong for your leg length.
Make adjustments with the pedals stopped, then secure the seat using the manufacturer’s instructions. Try a few gentle revolutions before changing anything else. If you are unsure, ask gym staff to check the fit. The cycling section of Cambridge University Hospitals’ exercise guidance also emphasizes seat setup and starting with manageable resistance; its rehabilitation program itself should be followed only when appropriate to your care.
Keep the handlebars easy to reach
Choose a handlebar position that lets you keep your shoulders relaxed and your elbows slightly soft. You should not have to round dramatically through your back, crane your neck toward the screen, or support most of your body weight through your hands. A comfortable upright posture is fine for a beginner.
If your bike has several hand positions, use the one that feels stable while seated. You can change your grip gently during the ride, but keep control of the bike. Avoid doing upper-body exercises with dumbbells while pedaling; you have enough to learn from a smooth, comfortable pedal stroke.
Check pedals, controls, and the stopping method
Wear shoes that stay secure on the pedals. If there are straps, adjust them so your feet are supported without uncomfortable pressure. Keep loose laces, clothing, towels, and headphone cables away from moving parts. Learn how resistance changes before you begin the work portion of the session.
Some indoor cycling bikes have a flywheel that continues to move the pedals even when you stop pushing. Know how the emergency brake works and let the pedals stop before dismounting. Do not assume every bike behaves like the model you used last time. Ask for a demonstration if the controls or pedals are unfamiliar.
Use breathing and the talk test to choose intensity
Resistance levels are specific to each bike. Level four on one model may be much harder than level four on another. Instead of chasing a universal setting, adjust resistance and pedaling speed until the ride matches the intended effort.
The CDC’s talk test describes moderate activity as an effort where you can talk but would struggle to sing. For these beginner workouts, stay on the comfortable side of that description. You should be able to say a full sentence without having to gasp between a few words.
- Easy: breathing is relaxed and conversation is effortless. Use this for warming up, recovery, and cooling down.
- Comfortable steady: breathing is noticeably quicker, but sentences remain comfortable. Use this for the middle of the workout.
- Too hard for this plan: you can only manage a few words, your legs are grinding, or you are straining to keep the pedals moving. Back off.
Do not assume sweat proves the intensity is right. Room temperature, a fan, clothing, and individual differences all affect sweating. Likewise, a low displayed speed does not make the workout ineffective. The machine’s screen is useful context, but your breathing and control are the more practical starting guides.
The 20-minute stationary bike workout for beginners
Use manual mode if possible, so the bike does not unexpectedly change resistance. Stay seated throughout. The 20 minutes below include the warm-up and cooldown; allow extra time before the ride to adjust the bike.
Minutes 0–5: ease into the ride
Begin at a light resistance with a relaxed pedal rhythm. During the first couple of minutes, check that your feet feel secure and your hips stay steady. Gradually add a little pace or resistance only if the movement feels comfortable. By minute five, you should feel warmer and ready for a modest increase in effort.
Minutes 5–15: ride at a comfortable steady effort
Adjust one control at a time until your breathing is a little quicker but you can still speak in sentences. Keep that effort for ten minutes. It is normal to make small changes as you settle in. If the same setting starts to feel much harder, lower the resistance or slow your cadence instead of forcing the original number.
At approximately minutes eight and twelve, do a quick check: relaxed shoulders, steady hips, comfortable knees, and controlled breathing. If any of those are slipping, make the ride easier. The middle section can include easy pedaling whenever you need it. You have still completed useful movement even if you never reach a sustained moderate effort.
Minutes 15–20: gradually ease down
Lower the effort and continue pedaling easily. Let your breathing settle rather than stepping off immediately after the work section. The American Heart Association’s warm-up and cooldown guidance recommends gradually entering and leaving aerobic exercise, commonly over five to ten minutes. Extend this easy period if you need more time to feel settled.
The arithmetic is straightforward: five minutes warming up, ten minutes steady, and five minutes cooling down equals 20 minutes. If bike setup takes five minutes, reserve at least 25 minutes before any changing or travel time. A realistic time estimate makes the plan easier to repeat.
Shorter options for your first few rides
A 15-minute introductory ride
Pedal easily for five minutes, use five minutes at a comfortable steady effort, then ease down for five minutes. The middle block is deliberately short. Use it to practice changing resistance and recognizing manageable effort, without wondering whether you can survive another ten minutes.
If the steady block feels too demanding, keep the entire ride easy. Repeat the same session on another day before making it longer. Finishing with enough energy for ordinary daily activities is a better starting outcome than needing to lie down after your first workout.
A ten-minute easy familiarization ride
Use the first five minutes to ease into gentle pedaling and the last five minutes to gradually ease back down. There is no required hard section. This can help you learn the controls and check seat comfort when you are new to exercise or unsure about the bike.
You can stop earlier if needed. Do not rush the first or last portion to fit an intense workout into ten minutes. If even easy pedaling produces unusual symptoms or feels unexpectedly difficult, pause and seek appropriate advice instead of trying to complete a time target at any cost.
An optional 25-minute beginner interval ride
Intervals simply alternate efforts. They do not have to involve all-out sprints. Once the steady workout feels familiar, try this version for variety while keeping the harder portions at the same comfortable steady effort you already know.
- Warm up with five minutes of easy pedaling.
- Ride two minutes at a comfortable steady effort.
- Ride one minute easily.
- Repeat steps two and three five times in total.
- Finish with five minutes of easy pedaling.
Each interval cycle lasts three minutes. Five cycles therefore take 15 minutes, and adding the five-minute warm-up and five-minute cooldown gives 25 minutes. You accumulate ten steady minutes and five easy recovery minutes within the middle block.
Use a small resistance change, a small cadence change, or neither if the difference in effort is already clear. There is no need to stand up, sprint, or reach a particular heart rate. If one minute does not feel like enough recovery, stay easy longer and shorten the remaining work. The plan should adapt to your response.
A flexible four-week starting schedule
This example assumes the short rides are comfortable and you recover normally. Repeat a week, shorten a ride, or stay at the same level as needed. The calendar is a guide to organizing practice, not a deadline your fitness must meet.
- Week one: two 15-minute introductory rides on separate days. Total scheduled bike time: 30 minutes.
- Week two: two 20-minute steady rides. Total scheduled bike time: 40 minutes.
- Week three: two 20-minute rides and one 25-minute ride, with the longer ride kept easy if needed. Total: 65 minutes.
- Week four: one 20-minute ride and two 25-minute rides. Total: 70 minutes. The optional interval format can replace one ride if comfortable.
Those totals include warm-ups, recovery, and cooldowns. They are not all necessarily moderate-intensity minutes. For example, two 20-minute sessions using the main plan provide 40 minutes on the bike, but only 20 minutes are planned as steady work. Even those minutes count as moderate only if that is the effort you actually reach.
The CDC’s adult activity guidance recommends at least 150 minutes of moderate aerobic activity weekly, or an equivalent amount of vigorous activity, plus muscle-strengthening activity on two days. You can build toward that over time and combine cycling with other activities. It is not a requirement to complete 150 minutes of biking in your first week.
How to progress without making every ride harder
Look for a pattern of comfortable sessions before changing the plan. Can you maintain a smooth pedal stroke? Does your breathing settle normally afterward? Are ordinary activities manageable later that day and the next? If so, adding a few minutes to one ride may be reasonable.
Change one main variable at a time. If you extend a ride from 20 to 25 minutes, keep the effort familiar. If you add a third weekly session, make it short or easy at first. Increasing duration, resistance, cadence, and frequency together makes it difficult to tell which change caused excessive fatigue.
A practical duration increase is five extra minutes in the middle of a ride, preserving the warm-up and cooldown. The 20-minute format becomes five minutes easy, 15 minutes steady, and five minutes easy. If that feels like too much, use the extra minutes at an easy effort or return to the shorter session.
Progress can also mean the same ride feels more comfortable, you need fewer unplanned breaks, or the seat setup takes less time to find. You do not need to chase a new distance or resistance record every week. Keep a plan steady long enough to learn what a normal day feels like.
Combine cycling with walking and strength training
Two bike sessions and two manageable strength sessions can be a useful starting routine. For example, lift on Monday and Thursday, and ride on Tuesday and Saturday. Adjust the days to your schedule, and keep the first rides easy enough that they do not leave your legs unusually tired for lifting.
Our two-day full-body workout guide offers a way to organize the strength side. Cycling involves your legs, but it does not replace training the major muscle groups through a balanced resistance program.
If you prefer combining activities in one visit, prioritize the activity that matters most to you and keep the other manageable. A brief easy pedal before lifting is different from a tiring cycling workout. The exercise-order guide explains how to think through that distinction.
Walking is another option when you want variety or the bikes are occupied. Use our beginner incline-walking guide as an alternative, adjusting the effort to your current ability. There is no need to make every available cardio machine part of the same workout.
Troubleshoot common beginner problems
Your thighs tire before your breathing changes
The resistance may be too high for a comfortable pedal rhythm. Reduce it and let the pedals turn more smoothly. You do not have to grind slowly against heavy resistance to get a cardio session. Avoid the opposite extreme, too: if your hips bounce on the seat, ease the cadence and regain control.
The seat becomes uncomfortable
Check the fit and shorten the ride rather than sitting through worsening discomfort. Clothing seams, saddle shape, and posture can all matter. Numbness, tingling, or persistent pain are reasons to stop and address the problem, not sensations you need to tolerate until you become a cyclist. A different bike style may suit you better.
Your knees hurt while pedaling
Stop rather than pushing through. Check seat position, resistance, and whether your foot is secure on the pedal. Do not assume a particular knee symptom has one simple cause. If pain continues or returns despite an easier setup, get guidance from a qualified healthcare professional before repeatedly testing it.
You finish more exhausted than expected
Make the next session easier or shorter and allow recovery. Check whether the bike used an automatic program, whether you chased someone else’s resistance setting, or whether the room was unusually hot. If fatigue seems disproportionate, persists, or comes with concerning symptoms, seek medical advice rather than solving it by adding more training.
You feel dizzy, have chest discomfort, or become unusually breathless
Stop exercising and get to a safe position. Seek urgent medical help for chest pain or pressure, fainting, severe breathing difficulty, or other severe or persistent symptoms. Do not keep pedaling to complete a cooldown when you feel unwell. General workout instructions never take priority over a concerning symptom.
What to log after your ride
Record the bike model or location, seat settings, total riding time, the main workout format, and one effort note. You can add the resistance setting when it is useful, but label it as specific to that bike. Distance and displayed calories are optional and should not become targets you must beat.
A useful entry might read: “Upright bike by the window, seat 6; 20 minutes total: 5 easy, 10 steady, 5 easy. Level 3 during steady block. Could speak comfortably; no knee discomfort. Repeat next time.” This gives you enough information to recreate the session without pretending the machine’s numbers are laboratory measurements.
Our workout log template includes a simple cardio format and filled-in examples. If you forget one setting, record what you do remember and label the missing detail. A useful partial record is better than an invented precise one.
Beginner stationary bike questions
How fast should a beginner pedal?
Choose a smooth rhythm that lets you stay stable and speak comfortably at the planned effort. There is no single required speed or cadence for every bike and rider. If the pedals feel uncontrolled or your hips bounce, slow down. If you are straining against heavy resistance, reduce it.
Is a recumbent bike okay?
Yes. A recumbent bike can work for these seated workouts when it fits you comfortably. Its supported position may feel easier to settle into, while an upright bike may feel more familiar to someone who rides outdoors. Choose the machine you can use comfortably rather than assuming one style is always superior.
Should you ride every day?
You do not need daily rides to start. Two or three manageable sessions can make it easier to assess recovery and build a habit. Easy activity on other days is an option, but avoid adding daily hard workouts just because the bike is available at home.
Will this workout burn belly fat?
Cycling uses energy and can support overall activity, but it cannot choose where your body loses fat. Changes in body weight depend on more than one workout, and calorie estimates on a bike are approximate. Start by building a routine you can repeat, rather than treating a displayed calorie number as a promised result.
Start with one comfortable ride
Set the bike up, choose the shortest format that fits your current ability, and keep the effort conversational. Record what you did, then repeat it before making several changes. If you are exploring support for your broader fitness routine, explore Workit on the App Store.
Comments
One response to “Stationary Bike Workout for Beginners: A Comfortable 20-Minute Plan”
[…] main block. It also avoids pretending resistance three means the same thing on every bike. The beginner stationary-bike workout explains this session in more […]