
Published November 7, 2026
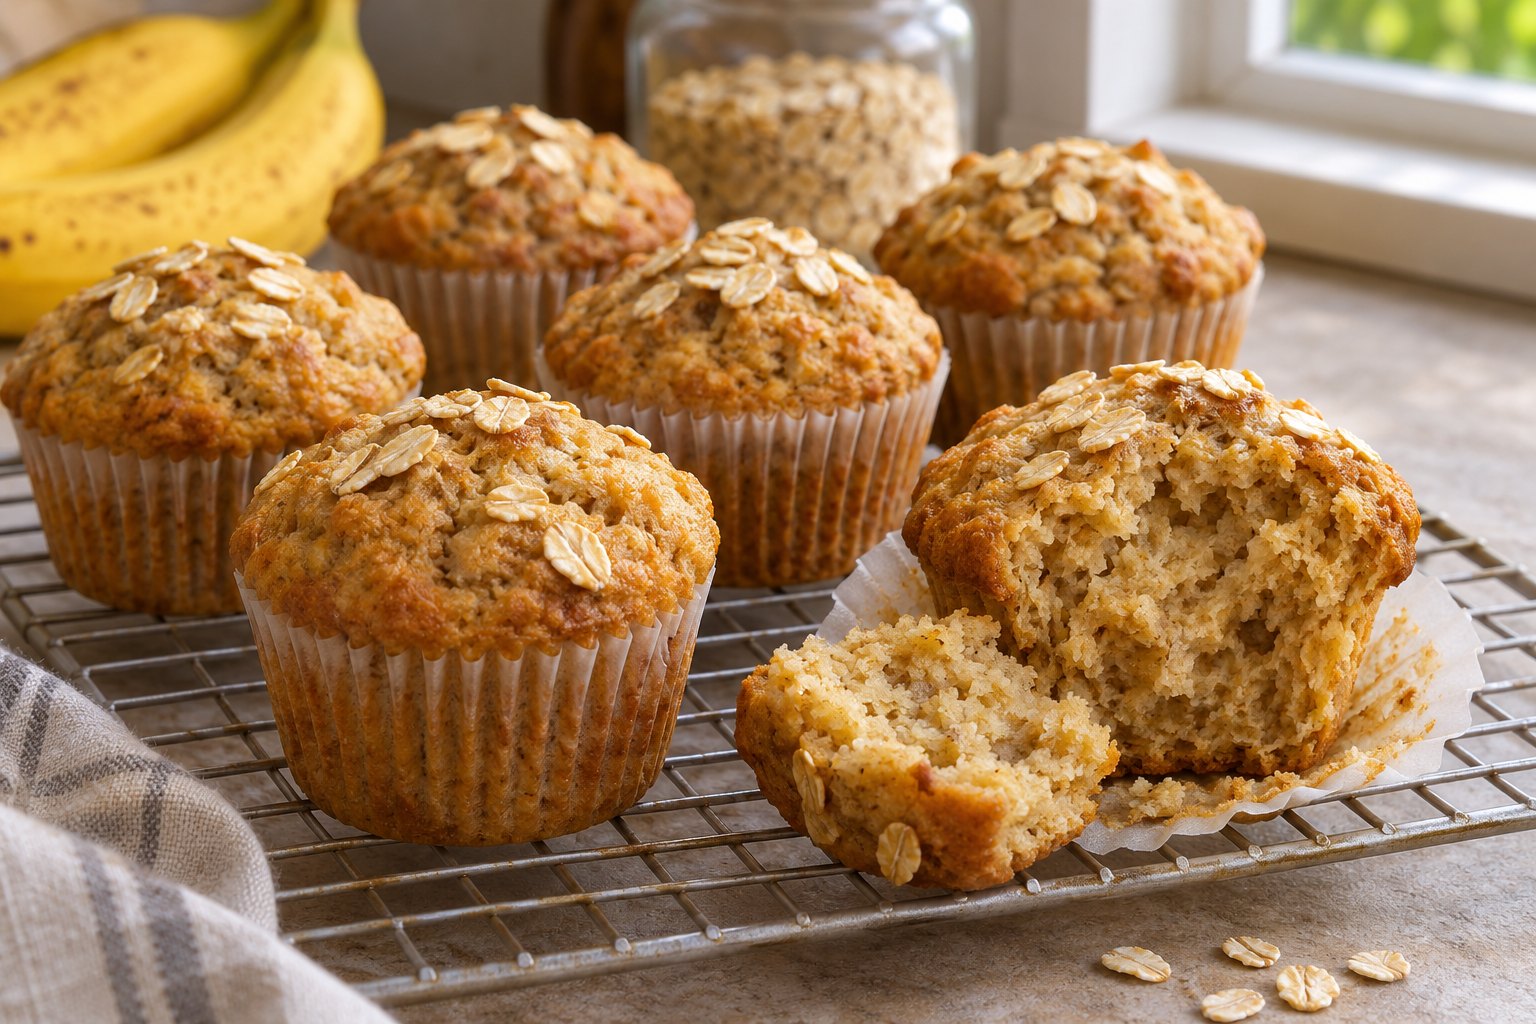
Banana oat muffins need enough mashed banana for flavor, enough flour to hold their shape, and enough liquid to soften the oats without leaving the center gummy. This recipe combines rolled oats, plain yogurt, ripe banana, and all-purpose flour in twelve standard muffins. The result is intended to be tender and lightly textured, with visible oats rather than a completely smooth cake crumb.
Weigh the peeled banana instead of relying on a count of fruit. Three small bananas and three large bananas can contribute very different amounts of moisture. That difference is often more important than whether the skins have a few extra brown spots. Keeping the banana quantity consistent makes it easier to identify what to change if your first batch is wetter or denser than you prefer.
Recipe at a glance
- Yield: twelve standard muffins in a twelve-cup metal muffin pan.
- Preparation: approximately 15 minutes, including a short oat soak.
- Baking: approximately 20–25 minutes.
- Cooling: about 5–10 minutes in the pan, followed by cooling on a rack.
- Oven: 375°F/190°C conventional.
- Total: roughly 45–60 minutes before the muffins are comfortable to handle and serve.
- Equipment: kitchen scale, three mixing bowls, fork or potato masher, whisk, flexible spatula, muffin pan, paper liners or suitable pan grease, and cooling rack.
- Main allergens: wheat, egg, and milk. Check oats and all other packaged ingredients for your needs.
The recipe quantities and timing are a practical starting formulation, not a claim of documented kitchen testing. Pan size, yogurt thickness, banana moisture, and oven calibration affect the result. Use the batter and doneness descriptions below to guide the process, and make one measured change at a time when adapting future batches.
Ingredients for twelve banana oat muffins
- 300 g ripe banana flesh, weighed after peeling, mashed.
- 100 g dry old-fashioned rolled oats, plus 10 g optional additional oats for the tops.
- 180 g all-purpose wheat flour, weighed dry.
- 120 g plain unsweetened yogurt, preferably ordinary whole-milk yogurt rather than very thick strained yogurt.
- 60 ml milk.
- 2 large eggs, approximately 100 g total without shells.
- 60 ml neutral oil, such as canola or a mild sunflower oil.
- 80 g light brown sugar.
- 2 teaspoons baking powder, approximately 8 g; follow your product’s weight information if different.
- ¼ teaspoon baking soda, approximately 1 g.
- 1 teaspoon ground cinnamon.
- ½ teaspoon fine salt.
- 1 teaspoon vanilla extract.
The oats are measured dry, not as prepared porridge. The flour is also a dry weight. Banana weight excludes the skin, and egg weight excludes the shells. These simple distinctions help when you are shopping, scaling the recipe, or recording ingredients. Measuring a bowl of cooked oatmeal as though it were dry oats would introduce a very different amount of water.
Use plain yogurt without fruit pieces or added flavoring for the baseline batch. A sweetened vanilla yogurt changes both sweetness and flavor; a heavily strained Greek yogurt changes moisture. None of those products is automatically unusable, but they are substitutions that require attention rather than invisible equivalents.
How to make banana oat muffins
1. Heat the oven and prepare the pan
Set a rack near the center of the oven and preheat to 375°F/190°C. Line the twelve muffin cups with paper liners or grease them thoroughly with a product appropriate for baking. Have the pan ready before the wet and dry mixtures meet, so the batter does not sit while you search for liners.
A standard muffin pan is the reference here. Mini, jumbo, silicone, and very dark metal pans will behave differently. If you use one of those, adjust your checking schedule and rely on the finished structure rather than assuming the same baking time. Do not fill a smaller cup to overflowing just to maintain a twelve-muffin count.
2. Hydrate the oats
In a large bowl, stir the 100 g rolled oats with the yogurt and milk. Leave for about 10 minutes while you prepare the banana and dry ingredients. This short rest gives the oats a head start on softening and helps prevent dry, chewy flakes from drawing too much moisture out of the surrounding crumb during baking.
The mixture will be thick, especially with a firm yogurt. It does not need to look like a bowl of finished oatmeal. Stir once halfway through if some oats remain dry on top. Keep the optional 10 g topping oats separate; they are used for appearance and surface texture rather than soaked with the main batch.
3. Mash the banana and combine the dry ingredients
Weigh 300 g peeled banana into a separate bowl and mash with a fork until mostly smooth, leaving only small soft pieces. Large chunks can create wet pockets that look underbaked even when the surrounding muffin has set. If the fruit is extremely liquid after thawing, stir it thoroughly before weighing rather than pouring off an arbitrary amount of juice.
In another bowl, whisk the flour, baking powder, baking soda, cinnamon, and salt until evenly combined. Break up any visible baking powder lumps. This matters because the batter is mixed gently later; a pocket of concentrated leavener is unlikely to distribute itself once the wet ingredients have been added.
4. Finish the wet mixture
Add the mashed banana, eggs, oil, brown sugar, and vanilla to the soaked oats. Stir until the eggs are fully incorporated and no separate streaks of oil remain. Break up brown sugar clumps with the back of the spoon. You do not need to beat the mixture until airy or use an electric mixer.
Do not taste the raw mixture or the finished batter. Both raw flour and raw eggs can carry harmful germs. The FDA’s flour-handling guidance advises against eating uncooked dough or batter and emphasizes proper cooking. Wash hands and utensils after handling raw ingredients, especially before touching finished food.
5. Fold in the flour mixture
Add the dry mixture to the wet bowl. Use a flexible spatula to fold from the bottom, turning the bowl as you work. Stop once there are no obvious dry flour pockets. The batter should be thick and scoopable, dropping from a spoon rather than pouring like pancake batter. A few small banana lumps and visible oats are expected.
Avoid beating vigorously to make the batter perfectly smooth. That extra mixing can work the wheat flour more than necessary and make the crumb firmer. If flour is hiding at the bottom, use two or three deliberate folds to reach it rather than stirring the entire bowl for another minute.
6. Portion and bake
Divide the batter evenly among the twelve prepared cups, generally filling each around three-quarters full depending on the pan. An ice cream scoop or two spoons makes this easier. Sprinkle with the optional topping oats. Keep those oats to a light scatter; a thick dry layer can become loose and chewy rather than attractive.
Bake for approximately 20–25 minutes, beginning to check near the earlier end. The tops should be lightly golden and spring back gently when pressed, and a skewer inserted into a central muffin should emerge without wet batter. Moist crumbs are different from a glossy smear of uncooked mixture. Check more than one muffin if your oven heats unevenly.
7. Cool before judging the crumb
Let the muffins stand in the pan for about 5–10 minutes, then transfer them to a cooling rack. Handle the hot pan with oven mitts. Leaving them in the pan for a long time traps steam around the bottoms, which can make the liners damp and the sides softer than intended.
Allow at least one muffin to cool before deciding whether the texture is right. A hot banana muffin can seem fragile and sticky because its structure is still settling and steam is escaping. If a cooled muffin has a wet, paste-like center, treat it as underbaked and do not eat it. Return underbaked muffins promptly to the oven until the centers are fully baked, checking again for wet batter, or discard them. Also adjust the baking time or ingredient measurements for your next batch.
Choosing bananas and oats
Ripe fruit gives a more consistent mash
Choose bananas with soft flesh and brown-speckled skins, without mold or signs of spoilage. Ripe bananas are easier to mash and generally taste sweeter than firm greenish fruit. Very underripe bananas can leave firmer pieces and a less pronounced banana flavor even if the measured weight is correct.
If you have extra ripe bananas, peel and freeze them in a container labeled with the amount. Thaw in the refrigerator before baking, then mash and weigh the full thawed mixture. Freezing changes the texture, so expect the fruit to look wetter. Keep the measured quantity at 300 g rather than adding another banana because the thawed mixture looks smaller.
Rolled oats are the baseline
Old-fashioned rolled oats soften during the short soak while retaining some visible texture. Quick oats can be used by the same dry weight, but they usually produce a finer, more uniform crumb. The batter may thicken differently, so make that substitution on its own before changing flour, yogurt, and banana at the same time.
Steel-cut oats are not a direct replacement. Their harder, thicker pieces need a different cooking process and would remain too firm in this method. Prepared oatmeal is also not equivalent to dry rolled oats because its water content varies widely. If your goal is a spoonable breakfast rather than an individual muffin, try high-protein baked oatmeal as a separate recipe.
Why the other ingredients matter
Flour supplies structure that the banana and oats alone would not provide in the same way. Replacing all of it with extra oats changes the recipe into a different style of bake. If you want a wheat-free result, use a formulation built for that goal or a suitable baking blend rather than assuming every dry ingredient can be swapped gram for gram.
Oil contributes tenderness and helps the muffins stay soft after cooling. Removing it completely is likely to change the texture. Applesauce or extra banana brings water and fruit solids rather than the same properties as oil, so a full replacement should be treated as an experiment rather than a guaranteed lighter version.
The sugar quantity is moderate for a twelve-muffin batch, but the recipe is not labeled sugar-free or suitable for a particular medical diet. Sugar affects browning, moisture, and texture as well as sweetness. If you reduce it, start with a small change and compare the cooled result rather than replacing it with an unspecified quantity of liquid syrup.
Yogurt and the small amount of baking soda are part of the same overall formulation. Baking powder provides additional lift. Do not replace baking powder with an equal amount of baking soda; they are different ingredients, and too much soda can create an unpleasant taste and color. Use level measuring spoons if you are not weighing these small quantities.
Variations worth trying one at a time
Walnut banana oat muffins: Fold in 60 g chopped walnuts at the end. This introduces tree nuts and changes nutrition and texture. Keep the pieces small enough to distribute across the batch, and identify the addition clearly if serving other people.
Chocolate chip version: Add 60 g small chocolate chips with the final folds. Check their label for milk, soy, and other relevant ingredients. Chocolate makes it harder to interpret a skewer test if you pierce a melted chip, so check a second spot in the muffin rather than assuming every dark smear is raw batter.
Whole-wheat variation: Begin by replacing 60 g of the all-purpose flour with whole-wheat flour, keeping the remaining 120 g unchanged. The muffins may feel a little firmer and the batter may absorb more liquid. Evaluate that partial swap before replacing all the flour and changing several other ingredients.
Dairy-free variation: Use a plain unsweetened dairy-free yogurt with a similar spoonable consistency and a suitable milk alternative. Products vary substantially, so this is a variation requiring observation rather than a tested equivalence. Eggs remain in the recipe, and a dairy-free change does not make the muffins vegan.
Gluten-free variation: Choose certified gluten-free oats and an appropriate gluten-free baking blend if needed, checking every label. Ordinary oats can have gluten cross-contact, and replacing only the wheat flour may not meet someone’s requirements. A different flour blend can also change the hydration and crumb, so follow its guidance.
Serving banana oat muffins
One muffin is one-twelfth of the batch, not automatically a complete breakfast. Pair one or two with foods that fit your appetite, such as plain yogurt, fruit, or eggs. Keep those additions separate when estimating the meal’s nutrition. The recipe does not claim a precise protein or calorie figure because brands and substitutions vary.
For a breakfast with a different format, Workit’s high-protein pancakes offer a stovetop option. If you prefer something savory alongside a muffin, a slice of cottage cheese frittata provides a contrasting texture and flavor. Choose portions according to the whole meal rather than treating every linked recipe as another required course.
Muffins are also convenient for a packed snack. Let them cool before closing the container so condensation does not soak the tops. If packing yogurt or another perishable accompaniment, use an insulated bag with an appropriate cold source. A muffin does not make the rest of the lunch safe to leave warm.
Storage and freezing
These are moist homemade muffins without a measured shelf-life study. For a conservative home-storage approach, cool them on a rack and refrigerate in a closed container within two hours, using them within three to four days. Keep the refrigerator at 40°F/4°C or below. This applies a cautious leftover routine rather than claiming that every muffin recipe has the same room-temperature shelf life.
The USDA leftover guidance provides the general cold-storage and timing principles used here. Avoid sealing muffins while they are steaming, but do not leave them out all afternoon waiting for perfect dryness. If your kitchen is very warm, shorten the time before refrigeration.
For longer storage, freeze cooled muffins individually, then place them in a suitable sealed freezer container or bag. Label the batch and use within about two months for best eating quality. That is a practical quality target, not a guarantee for every freezer or package. Freeze only muffins that were handled safely before freezing.
Thaw in the refrigerator or warm an individual muffin from frozen using short intervals appropriate to your microwave. A brief warming can soften the crumb, but overheating makes the edges tough. If using an oven, cover loosely to protect the surface while the center warms. Do not warm paper or other packaging unless it is suitable for that appliance.
Troubleshooting the crumb
- Wet or gummy center: Check banana weight, baking time, and pan size. Too much fruit or cups filled too deeply can leave the middle behind while the top browns. Evaluate a cooled muffin rather than cutting one immediately.
- Dense, rubbery texture: Overmixing, too much flour, or a major ingredient swap may be responsible. Weigh flour, fold gently, and avoid changing several ingredients simultaneously.
- Dry muffins: They may have baked too long, used too little banana, or contained extra flour from packed measuring cups. Begin checking earlier next time and verify the ingredient weights.
- Flat tops: Check that the oven was preheated and that the leaveners are in good condition. Letting finished batter sit for a long time can also affect the rise.
- Dark outside, unfinished middle: The oven may be running hot, the pan may be dark, or the cups may be oversized. Lower the heat slightly if needed and keep checking rather than removing underbaked muffins.
- Liners stick badly: Allow the muffins to cool further, try a different liner, or lightly grease the liners if their manufacturer permits. Hot, moist crumb is more likely to tear away with paper.
Frequently asked questions
Can I make mini muffins?
Yes, but the yield will be larger and the baking time shorter. Fill the mini cups consistently and begin checking early rather than using the full standard-muffin schedule. Do not assign the nutrition of one standard muffin to one mini muffin; divide the batch by the actual number made.
Can I mix the batter the night before?
For this recipe, it is better to prepare the dry ingredients and measure the oats ahead, then mix the batter shortly before baking. An overnight rest after adding leaveners and flour changes hydration and lift. Keep any prepared wet ingredients refrigerated and separate until you are ready to finish.
Can I leave out the eggs?
Not without changing the structure. An egg replacement may work in a separately adjusted version, but it should not be presented as an equivalent substitution without checking the result. If avoiding egg for an allergy, inspect all ingredients and preparation surfaces rather than focusing only on the two eggs in the list.
How do I calculate nutrition for my batch?
Add the label values for the oats, flour, yogurt, milk, eggs, oil, sugar, and any add-ins, plus a suitable food-composition entry for the peeled banana. Divide by twelve if the muffins are evenly sized. Count optional topping oats if used, and record any toppings or breakfast sides separately.
For a simple place to organize training alongside your cooking routine, explore Workit for workout planning and logging. Keep meal choices flexible and build a routine you can actually repeat.